
Home › Forums › Photography Q&A › Sharper Images
- This topic has 17 replies, 6 voices, and was last updated 11 years, 4 months ago by
 James Staddon.
-
AuthorPosts
-
March 8, 2015 at 7:23 pm #9890
JonahB
ParticipantHow can I get my pictures sharper without a tripod or any other support?
March 9, 2015 at 3:27 pm #9905timtam
Participant1. Shoot in RAW and always sharpen in Lightroom from 50 to 100 depending on the image. If you shoot in JPEG your camera sharpens the image and you may not like the results your camera’s software comes up with.
2. Do not shoot a scene that is beyond the dynamic range of your sensor.
3. Exhale slowly while shooting and shoot between heartbeats.
4. Shoot at a fast enough shutter speed (1/focal length or faster) with your lens set at a mid range aperture; f/6.4 f/8 or so.
5. Shoot at ISO 400 or much less if you can.
6. Do not underexpose and try to push the shadows in Lightroom, you will have too much noise. I do this way too much because I am paranoid about blowing out detail by overexposing my shots. This is a worse transgression than underexposing your image.
7. Do not use a zoom lens. Use a prime. Always use a lens hood, always.
8. Don’t use a UV or clear filter over your lenses. Use filters only if you must (i.e. ND, polarizer, etc…)
9. Make a tripod with your arms and forehead and a wide stance with your feet or lean up against a building, fence, tree, car…. or get on the ground.
10. Pan with your subject if it is moving. practice this technique.
11. Make sure everything is clean.
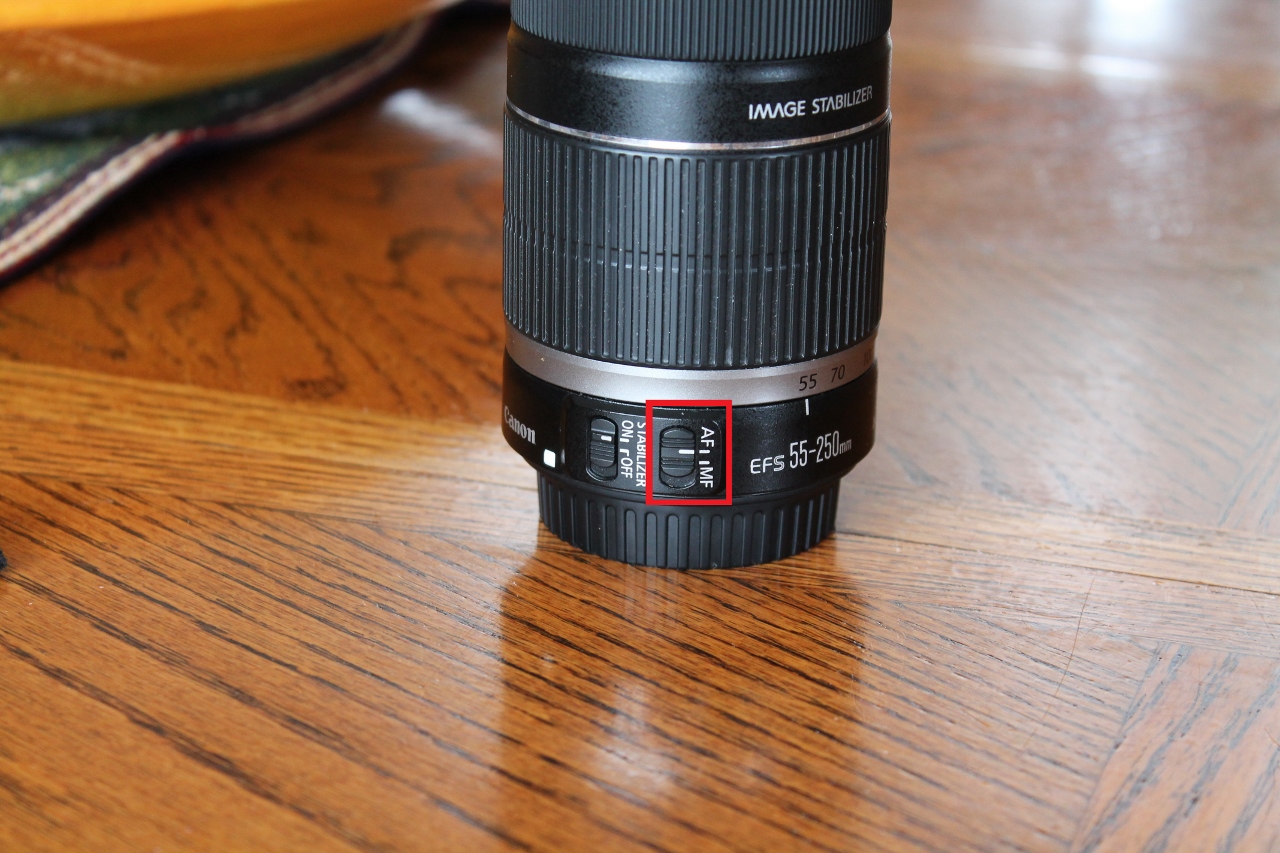
12. Focus manually or check your auto focus system using a tripod and take several shots in manual and auto focus to see how accurate you auto focus is working. Some cameras let you adjust your auto focus.
13. Use back button focusing to focus and set it up for single point focusing and lock focus BEFORE you take the shot.
14. When shooting people; always focus on the eye that is closest to the camera.
15. Shoot multiple shots and look at the images 1:1 in LR and pick the sharpest ones.That’s all I can think of.
test your lens: http://bobatkins.com/photography/technical/lens_sharpness.html
March 9, 2015 at 8:02 pm #9910Ezra Morley
ModeratorThat’s a pretty good summary, @timtam! I think you covered every point I can think of!
I don’t totally agree with #5 about shooting ISO 400 or below all the time. If you limit yourself to ISO 400 and an aperture of f/6.4-f/8, you’re going to get more motion blur than anything else! Of course it depends on your camera, but any modern DSLR can go to ISO 1600 and be just fine for web-sized pictures, and even small prints. Of course, if you shoot RAW, and use the advanced noise reduction software available nowadays, you can get very decent results!
March 12, 2015 at 4:52 pm #9942ParticipantI’ll add one more to my list. Shoot with a speed light to freeze the subject and negate the effects of camera shake.
JonahB was asking about getting sharp images so a lower ISO is a must. I hope I didn’t come across as suggesting always shoot at a low ISO. I regularly shoot up to 1600 ISO or much more; however, I don’t expect to get very sharp images above ISO 400. For all around indoor shooting in a large room I will usually shoot manual at ISO 800 with a speed light at f/4 so I don’t end up with a dark background which will occur if you shoot using with a flash and auto settings.
Here are some samples of the difference for indoor shooting at different ISOs. I don’t know if the differences show up in the compressed jpegs very well. The ISO 400 shot should be significantly sharper. All hand held.
ISO 400
ISO 800
ISO 1600- This reply was modified 56 years, 8 months ago by .
Attachments:
March 14, 2015 at 5:54 am #9958 Nathanael & Samantha FrazerModerator
@timtam has very good points, but I just thought I might bring some balance in regards to clear/uv filters. While adding a cheap piece of glass in front of your lens is less than optically ideal, scratching the front element of your lens (by cleaning or by use) is not a way to get sharper images. Always use high-quality filters such as b&w (why go cheap on what’s already not that expensive?) It is actually unlikely you’ll be able to distinguish any difference with a filter on, unless you start stacking nd’s cpl’s etc, then take your clear/uv filter off to avoid vignetting, naturally. Here’s Bryan Carnathan on filters: http://www.the-digital-picture.com/Reviews/UV-and-Clear-Lens-Protection-Filters.aspx The effects of a *high quality* filter are negligible, and most of us would rather chuck a 100$ filter, than send our lens into CPS to get a front lens element replaced. It’s also worth mentioning that most “weather sealed” lenses (such as the 70-200 2.8 is II) require a front filter to complete weather sealing.
March 14, 2015 at 6:42 am #9959Nathanael & Samantha FrazerModeratorOh, and if you choose to use a filter, be careful what you choose: some lenses such as the 24-70 2.8 ii have a curved (convex)front element so only some filters will work without scratch the glass. These buggers get scratched all the time, just ask Cicala over at lense rentals. http://www.lensrentals.com/blog/2013/10/bad-times-with-bad-filters
March 18, 2015 at 4:31 pm #10037 Mr. QuebecParticipant
It was not the first time I hear that UV filters alter the sharpness of the image, so I went ahead and tried to see if there is any differences. I installed my camera on a tripod, took two shots (one with a $25 filter and one without), and cropped severely the pictures and then compared them.
I’ll drop them here so that you can see the results…
First : with the filter
Second : without the filter- This reply was modified 56 years, 8 months ago by .
Attachments:
March 18, 2015 at 5:30 pm #10049Mr. QuebecParticipantOops, I guess it can be pretty hard to judge on sharpness if there’s not the original picture that shows how much the re-sized version was cropped…
There it is.- This reply was modified 56 years, 8 months ago by .
Attachments:
March 18, 2015 at 6:56 pm #10053ParticipantDefinitely a difference.
Did you use a remote? Try it with lower ISO with a flash at f/8.I suggest losing the filter only when you are going for max sharpness, i.e. in studio on tripod, remote, macro, etc….
March 19, 2015 at 6:08 am #10054Nathanael & Samantha FrazerModeratorHi! thought I’d try my own tests:
tripod with IS to off, mirror-lockup, remote release. I took five shots with each combination, refocusing each time, then manually selected the one that looked best.
This is on the Canon 60d with the 70-200mm 2.8 IS II at 100mm, iso 100, 1/320 sec, f5.6
The three tests are: bare lens, 77mm 75$ hoya filter, 77mm 116$ b&h uv filter (http://www.amazon.ca/77mm-Clear-Haze-Multi-Resistant-Coating/dp/B0000BZLBQ/ref=sr_1_1?ie=UTF8&qid=1426763205&sr=8-1&keywords=B%2BW+77mm+Clear+UV+Haze+with+Multi-Resistant+Coating+%28010M%29)
Wanna guess which is which? 😉Attachments:
March 19, 2015 at 6:09 am #10057Nathanael & Samantha FrazerModeratorAnd here is the third one, along with an un-cropped version.
Attachments:
March 19, 2015 at 8:07 am #10061ParticipantI am going to say test-2 has the filter on the lens.
March 19, 2015 at 8:46 am #10063Nathanael & Samantha FrazerModeratortest1 has the B&H filter
test2 has no filter
test3 has the ‘cheap’ Hoya filterEdit, sorry I got that wrong, the lens started with the B&H filter already on it, silly brain.
- This reply was modified 56 years, 8 months ago by .
March 19, 2015 at 8:01 pm #10078Mr. QuebecParticipantDid you use a remote?
No, I didn’t.
I suggest losing the filter only when you are going for max sharpness, i.e. in studio on tripod, remote, macro, etc…
That’s what I think too. It’s better to remove the filter, but at the same time I prefer to lose some sharpness than to have the risk of ruining my lens, just like Nasa said.
BTW, the quality of the filter is very apparent too! My $25 filter can’t compare with a $100 B&H filter, although I think that in my case, I won’t put a $120 filter on my $100 lens. I will be as sad to scratch my filter than to scratch my lens 🙂 !March 19, 2015 at 8:35 pm #10087ModeratorI used to “religiously” use a UV filter on all of my lenses. However, I got tired of the unwanted reflection, aberrations, and other artifacts, (maybe a slight exaggeration) and finally I kind of got away from using it. It got to where I was removing it so often that I figured I might as well leave it off. I don’t have a $100 filter, they were $5-$10 filters… I have a lens hood on my kit lens 100% of the time, so hopefully if I drop it, the hood will absorb the shock.
-
AuthorPosts








You must be logged in to reply to this topic.