
Home › Forums › Photography Q&A › Pictures when no color or beautiful scenery
- This topic has 83 replies, 5 voices, and was last updated 10 years, 1 month ago by
 James Staddon.
-
AuthorPosts
-
April 15, 2016 at 7:49 pm #16628
Ezra Morley
ModeratorYou’re welcome! I’m glad I could be of assistance! I know first-hand that there are lot’s of “hidden” features that aren’t easy to figure out without some assistance. Here’s a hint: Every camera comes with a thing called the “Owner’s Manual” it will tell you about all of the hidden features if you read it. I’ve heard that there are 3 things you’re supposed to do when you get a new camera:
- Read the Manual
- Read the Manual
- Read the Manual
Am I repeating myself? 🙂
P.S. I know you bought your camera used, so you may not have a manual. In that case, you can download it here… Nikon D80 User Manual
Good idea, a flash opens up a lot of opportunities, especially indoors! I use mine probably 80-90% of the time indoors. If you’re wanting one soon, then you’d better take advantage of sales! Adorama is having a sale right now for Tax Season, in which they have the Youngno YN-560 III for $9.00 off! That’s probably as cheap as you’ll ever find them, except for maybe a Black Friday sale or something.
- http://www.adorama.com/YNYN560III.html?EmailPrice=T YN-560 III for $54.99
Note that this is a manual-only flash. You have to set all the settings manually, unlike your sister’s flash. If you want an “Auto” flash like hers, you’re going to spend almost that much again for a Youngno, or even more for a Nikon branded one. I just looked, and an “Auto” Youngno YN-565 is $81.00 from Adorama, which isn’t bad for a fully automatic flash!
The best way that I know of to get to know your equipment is to use often! And if you have a question, or don’t understand some concept about it, don’t hesitate to ask! That’s what the forums are for, is to help you learn!
April 16, 2016 at 7:38 am #16629 Hannah MooreParticipant
I actually started reading the Manual book directly after I got the camera, because I had “NO” clue how to run the camera. I did learn some things! But then I signed up for the photography course and stopped. I should pull that back out though, so I don’t have to bother reading “You”(r) book! 🙂
I would be very interested in buying that flash, http://www.adorama.com/YNYN560III.html?EmailPrice=T YN-560 III for $54.99!! Now I have a question, @buddingphotographer. What are the advantages of having Manual over the Auto\Manual flash? And what are the differences besides the lower price and Auto, or are there differences?
- This reply was modified 56 years, 10 months ago by -.
April 16, 2016 at 4:35 pm #16631ModeratorWell, to quote your own words:
I normally shoot in Manual, to be able to have total control, but it always seemed to be grainy without the flash, so then I would turn it to Auto to be able to get a clear picture!
That’s where your Auto flash will be handy. When you’re not sure what you’re doing, you just let Auto make the decisions for you, and hopefully you get a clear picture. Another advantage of Auto (i-TTL) flash, is that it’s quicker! You don’t have to take a test shot, look at your screen, adjust, rinse and repeat. Just “point and shoot”!
I’ve never actually used an Auto flash, so I don’t know every advantage… I do know that I’ve survived just fine with Manual flashes, and I even photographed a wedding with one. (Actually 2, manual speedlights).
As far as specs are concerned, I think they’re basically the same thing. It’s mainly just the Auto/Manual difference. It takes a lot more work to reverse-engineer Nikon’s i-TTL stuff to make a 3rd party “Auto” flash that’s fully compatible.
You could try out your sister’s flash in Auto, and then in Manual, to get a feel for how it works in both modes!
April 19, 2016 at 7:30 pm #16648Hannah MooreParticipantI happened to order the flash, and it came in today! So….. now I have to figure out how to use it. 🙂 Thanks for the link! I did happen to remember that you’re the one to go to to find good sales! 🙂 Thanks again for the help!
April 20, 2016 at 3:38 pm #16651ModeratorGreat! Mine came a couple of days ago, but I haven’t really had a chance to use it for anything “real”. I actually ordered 2 speedlights, one was the next newer version, the YN-560 IV which has wireless control capabilities. (It was used for the same price as the new III on sale!) So now I can remotely/wirelessly fire my III from anywhere within signal range, and even adjust the settings remotely! It’s a step up from just having optical slave which relies on sight instead of signal.
I did find out the the III and IV both have more options, with the wireless stuff. If you don’t use the wireless functions, then it should be fairly straightforward to get it running. If you have any questions on how to use it, just ask! (I happen to know that the Chinese/English user manual is quite hard to understand… 🙂 )
April 21, 2016 at 7:16 pm #16657ModeratorSee here for some tips on using your new flash.
May 5, 2016 at 7:18 pm #16829Hannah MooreParticipantWell, I got a start. First I was waiting to go to the store and buy batteries, and I now have them!! Next, I found a dark corner, to take a picture of an other water drop, to try with my NEW flash, but now I need to figure out how to actually set my camera flash for taking the picture. I read up on @buddingphotographer post above, but that was only what the settings are for the flash, so I read the readers manual, which was like a book with dry words in it, and didn’t find anything about how to set the flash, so now I’m back to the beginning and at a loss!! My question is what settings should I put the flash to, and “HOW!!?” I know this is a wide area to cover, so at least if you could show me the basics that would be great! The first shot I got was completely white, and then I tried the reflection board pointed up and now it’s coming along. Are most of the settings that I need to set, on the camera ??
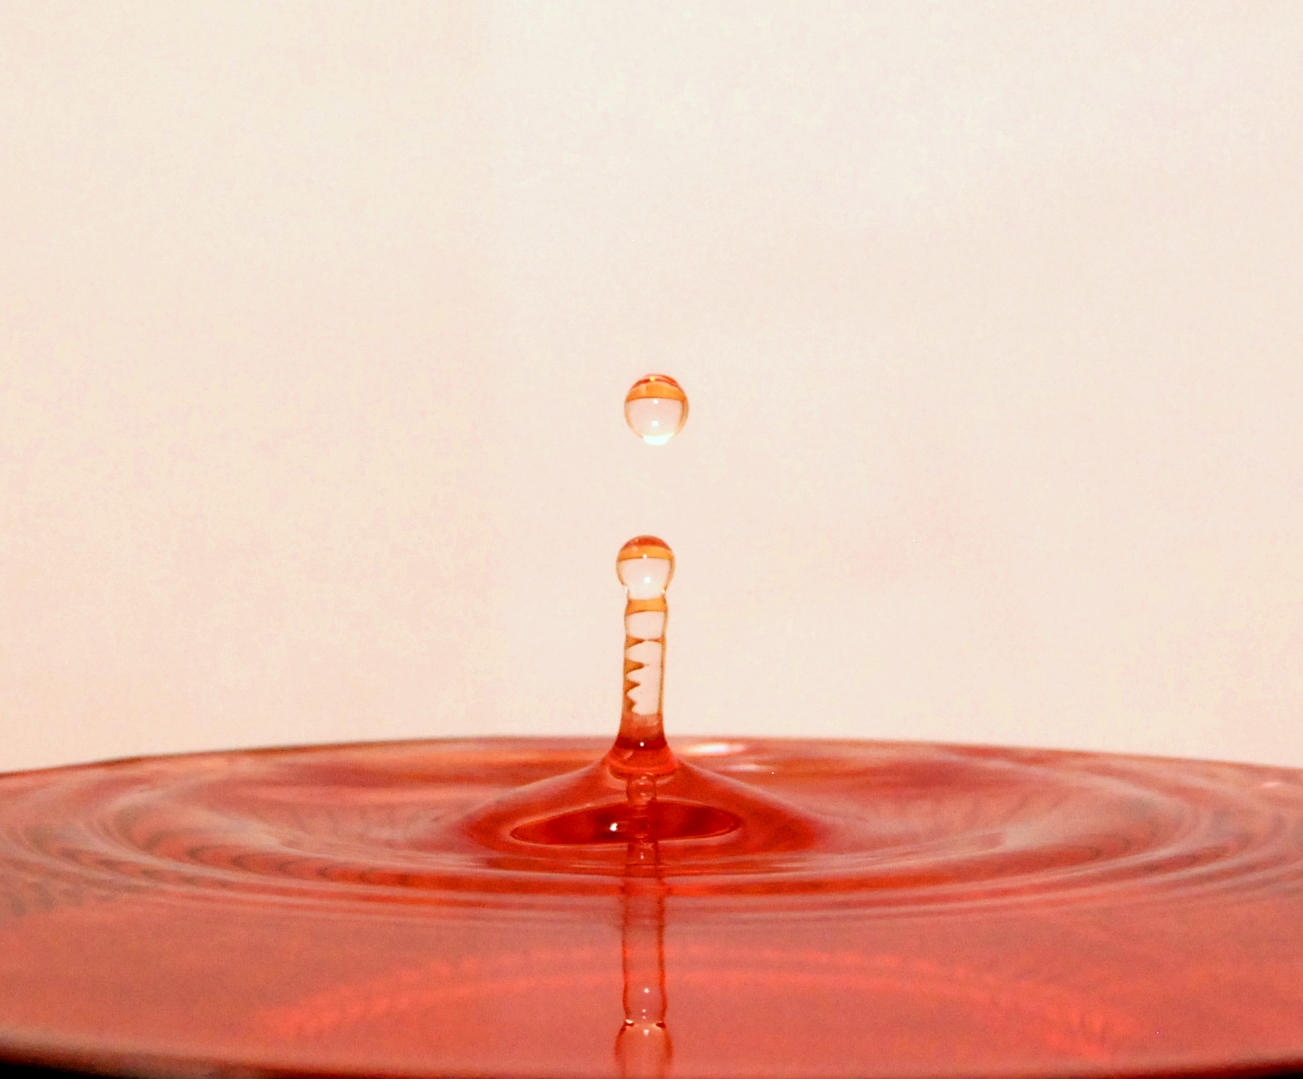
I took another picture without the extra flash, and here it is. I have them on the settings you told me to set them on earlier, but I think the little blur is, my finger touching the release button. Maybe once I know more about the flash, HOPEFULLY I can get better pictures!
I hope this makes sense for you! Thanks for taking the time to write up the list of tips in the other post. I think I’ll understand it better when I know more about the behind the scenes of the flash. 🙂- This reply was modified 56 years, 10 months ago by -.
Attachments:
May 5, 2016 at 8:13 pm #16833ModeratorOh dear! I guess my tutorial wasn’t much better than the “dry words” of the Chinese users manual. 🙁
First, did you buy re-chargeable batteries? If not, do yourself a favor, and buy some. (That is, if you want them of course. You don’t have to! 🙂 ) I highly recommend these: http://www.amazon.com/dp/B00HZV9WTM/ (They pay for themselves in a hurry, and they’ll recycle your flash faster too, compared to alkalines) If you don’t have a charger, I highly recommend this one: http://www.amazon.com/dp/B00JHKSMJU/ (It comes with 4 re-chargeable batteries.)
Anyway, on to more important matters! 🙂
So you’re getting a pure white picture with your flash? I guess I should have started on the bright side with my flash tutorial!
To quickly change the “brightness” of the flash, just use the left/right arrow buttons on the back of the flash. If it’s too bright, then use the left arrow to decrease the brightness. The large numbers on the left side of the screen should change progressively down, like so:
1/1 – Brightest
1/2
1/4
1/8
1/16
1/32
1/64
1/128 – DimmestAlso, make sure the flash is in “M” mode. Your flash settings should look exactly like this:

(I didn’t take that picture, I found it here: http://digichar.com/unt/77104-yongnuo_yn___560_iii_yn560___iii_munual_flash_speedlite_light_for_canon_nikon_pentax.html)
Let me know if you’re still having trouble with it; maybe a video tutorial would be more useful…
Your picture looks great! It looks almost exactly identical to one that I have somewhere in all of my files! I’m not really seeing any motion blur, if anything maybe it’s a tad out of focus.
Attachments:
May 6, 2016 at 7:38 pm #16842Hannah MooreParticipantI didn’t happen to buy the rechargeable batteries. Maybe when I use these up, I’ll buy the other ones.
What is it that is harder with this flash over the Auto one? I think I remember something we talked about, having to set it every time you turn it on, although the readers manual said that it will set it to the settings you have them on, so when you turn it on, it will be set.
I actually played around a little with the settings, and did see the picture you sent, that was like my flash. This time the list gave a good idea and start for me!!
Do you have any other ideas for me that I could practice on, since, You know, you said my picture “Looked” Great, and “almost exactly identical to one that you have???!”BTW, The manual did happen to have English, but,……. 🙂 like I said, it had all these Sd 5 30\15 60\30 120\–120 numbers\words and so on!! 🙂 🙂
May 6, 2016 at 8:51 pm #16843ModeratorYes, your manual flash will remember your previous settings when you turn it on. However, it’s up to you to set the correct brightness so that your photo doesn’t turn out too dark or too bright. Have you ever left your camera in Manual Mode, then the next time you turned it on and took a picture, it turned out under/over-exposed? That’s exactly what will happen with your flash, if you don’t change the settings to give you a proper exposure.
Flash is actually sort of easy, you only have 1 setting to set, (as opposed to the exposure triangle with your camera: [Shutter Speed, Aperture, and ISO]). Remember though, that your camera settings and flash settings are related. Flash basically makes it the exposure “Quadrangle”; although shutter speed is the one thing that (normally) isn’t affected.
With an Auto flash, you don’t have to “set” anything, just turn it on, and it will automagically figure out the right brightness to give you a properly exposed image. It’s basically just an extension of your on-camera flash.
Have you tried using your external speedlight for water-drops yet? See if you can get a proper exposure with your speedlight.
Another thing to practice, is to make sure that you get your drop in focus. If you set your “dripper” somewhere where it can’t move between shots, that will help a lot. If you dangle a string down to the bowl from the spot where you’ll be dripping, then you can pre-focus on the string. Remove the string, and when you start dripping, all your drips should be in focus!
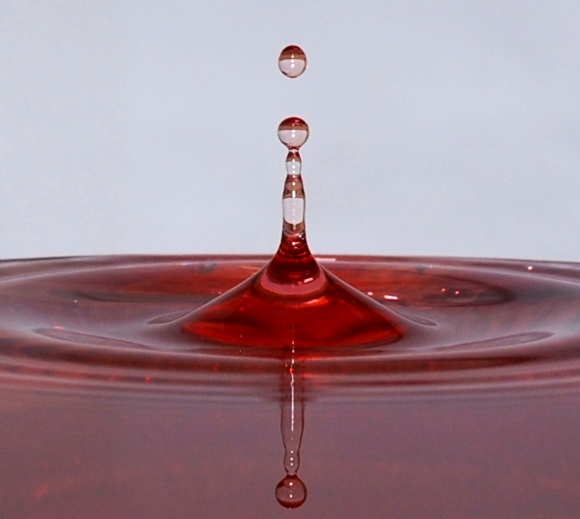
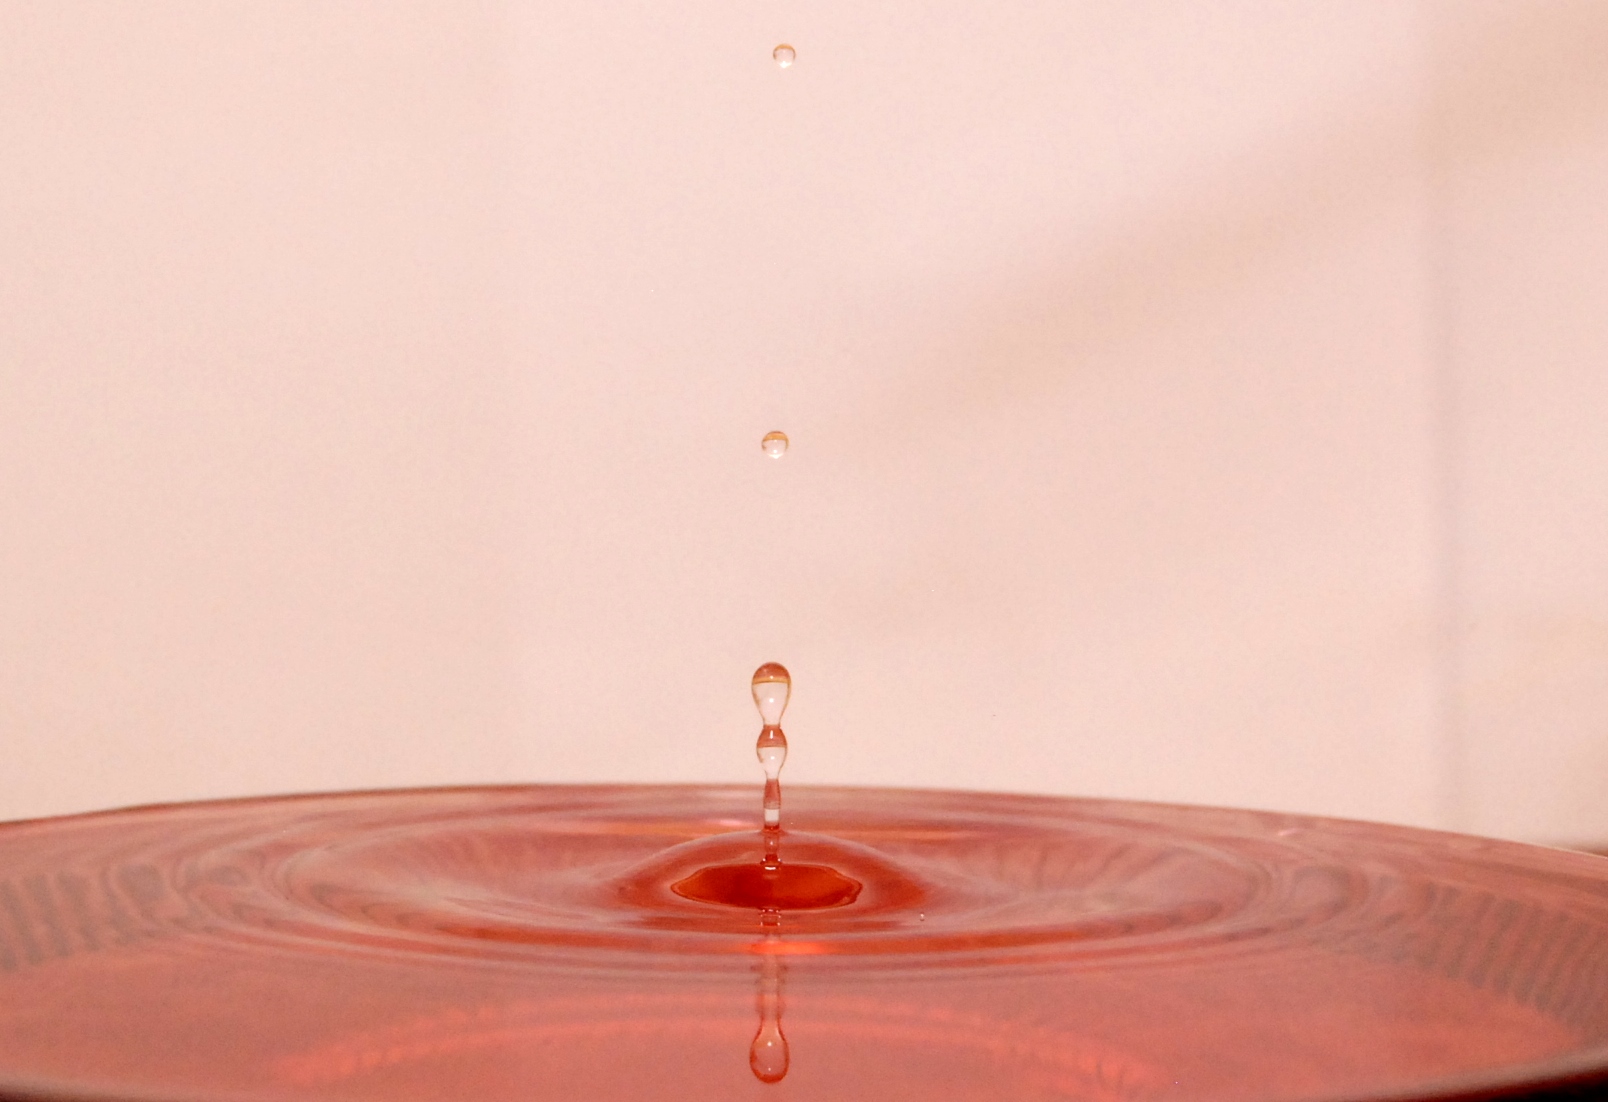
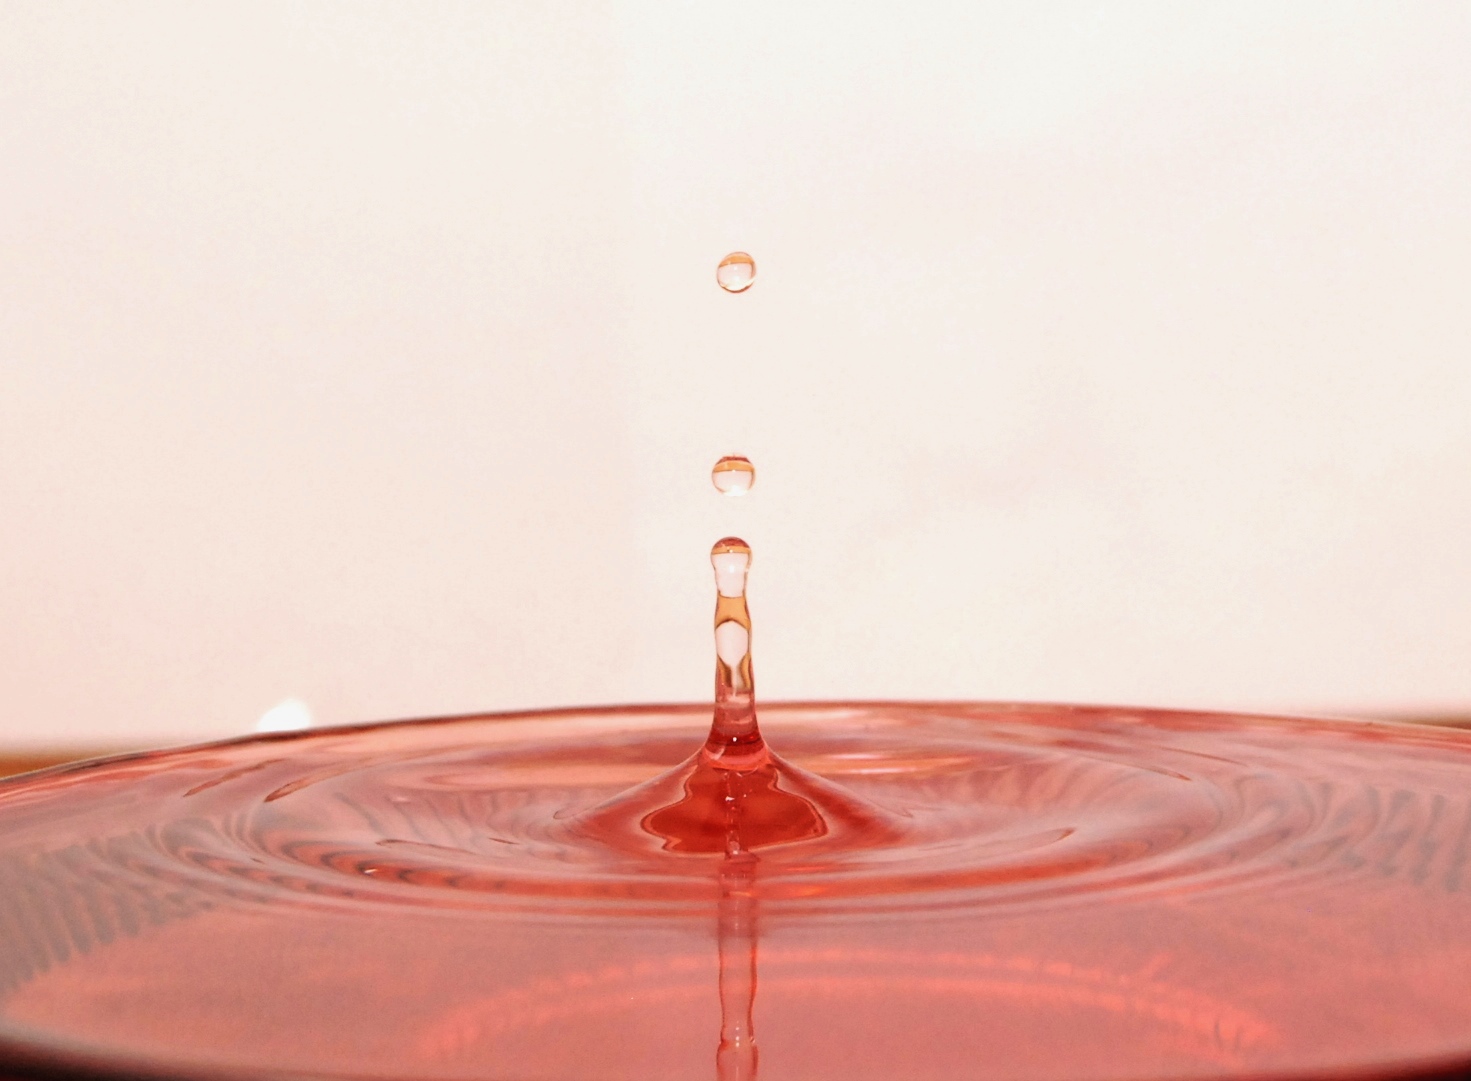
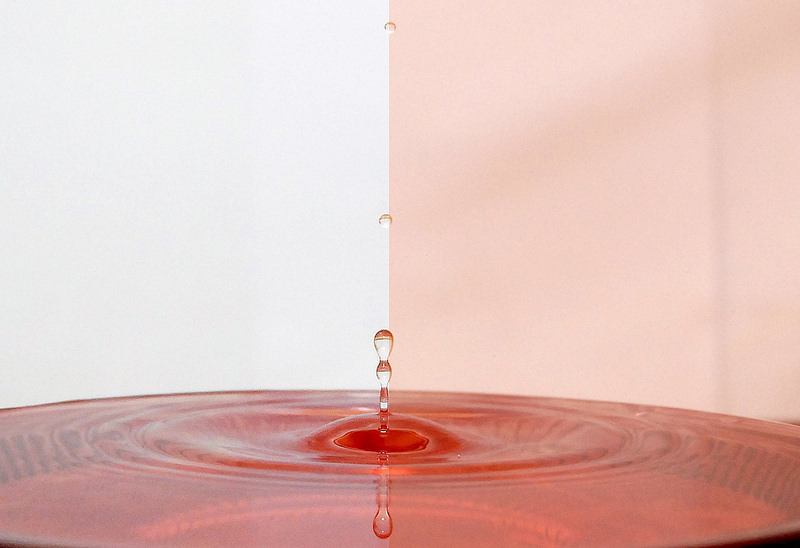
May 11, 2016 at 3:12 pm #16932Hannah MooreParticipantSo this is the out come of the drip with the speed-light, @buddingphotographer. I feel something is wrong?? I have it on the dimmest and I tried the string, but it didn’t focus on the drip after that I had taken the string out, and I have a question. Am I supposed to shoot with Manuel focus or auto focus?? I have been shooting in Manuel sine Auto doesn’t focus well in the dark. I believe one problem I have is that I forgot to change the ISO to lower, in the first two pictures. The camera I believe says, 400 and the properties on the computer say ISO-1600?? Would you mind explaining? 😉 These pictures I don’t believe, quiet match up with
yours…but in the picture I saw of you taking pictures of drips, you were using your on camera flash?!?!
Tell me what you think! I’m curious to hear what you have to say about “allll” the questions!!- This reply was modified 56 years, 10 months ago by -.
Attachments:
May 12, 2016 at 7:38 pm #16941ModeratorHmm…
You had the flash set to 1/128?
Yes, once you get the string in perfect focus, switch it to manual focus so it doesn’t try to re-focus every time you hit the shutter button.
It sure looks to me like it was shooting at ISO 1600. Like you said, the EXIF data shows ISO 1600, and the picture does look a little on the grainy side. (It’s kinda hard to to tell… When most of the picture is a bright white, grain doesn’t show up very well) Either the camera was wrong, or you were wrong. I can’t tell you which it is, but it should be a pretty easy test to figure out! 🙂
I think the main problem with this set of pictures is that the White Balance is way off. I popped one of them into Lightroom, and I got this:

A bit different, eh? Here are the settings I used:

A tip for getting a correct white balance, is to pay attention to the whites in the picture. In this case, the “white” background was actually pink. So you know you have the correct WB when your “white” background is actually white! If you’re using Lightroom, it’s easy to get it close with a simple trick. See the little eyedropper icon to the left of the WB sliders? Click on it, then click on a pure white area of the picture; it will set the WB to a much more neutral color which you can then tweak to how you like it.
Attachments:
May 16, 2016 at 1:24 pm #16963Frazer Family
ParticipantI haven’t been following the entire thread, but I just stumbled across this tip on WB. I had forgotten the WB eyedropper existed. I’ll have to keep it in mind next time I need to correct WB. Thanks!
May 25, 2016 at 6:30 pm #17021Hannah MooreParticipantI did try to fix it up after I took the picture, but I think the more I fixed it up, the more worse it got. 🙁 I used the quick program of Microsoft Office which does the simple fixer uppers to try to get the picture to maybe improve, but I guess that didn’t work! Getting Lightroom up takes awhile, especially when it’s on an other computer. 😉 (I suppose that’s an excuse and I just didn’t want to take the time to do it), but the picture you fixed up was exactly how I wanted my picture to turn out!! I think if I took the picture correctly, I wouldn’t have to fix it up as much anyway! Thanks for the example @buddingphotographer. I’ll try Lightroom next time if I need it! I will also play around with the WB too!
- This reply was modified 56 years, 10 months ago by -.
May 25, 2016 at 7:37 pm #17023ModeratorYou’re welcome, @Frazer-Family! You never know when you might find a tip in the middle of a long, long thread! 🙂
@Hannahm, I know what you mean… When I first started editing pictures, it seemed like they got worse, rather than better! I would look at the before and the after comparison and say, “What!?! The original looked better than that!” 🙂P.S. To see a before/after comparison in Lightroom, just hit the
\key. (It’s the one right underneath the “Backspace” key.)Keep trying! It’ll come soon enough with practice. Sometime in the near future I’m going to make a tutorial for RAWTherapee, to try to help people learn what I struggled to learn when I first started “editing”. Many of the principles are the same, regardless of the software you use.
Was your camera set to Auto WB? If so, it should definitely have done a better job than that! 🙁 You can always change it manually if you notice that it’s way off…
-
AuthorPosts



You must be logged in to reply to this topic.