Forum Replies Created
-
AuthorPosts
-
June 7, 2026 at 7:36 pm #101422
 Logan LamarParticipant
One more thing! James has a great product here for explaining Manual Mode well. I don’t get a kickback for this or anything but it did help me a ton when I was getting into Manual for the first time 🙂
Good luck!June 7, 2026 at 7:34 pm #101420Logan LamarParticipantHi @kansasgirl!
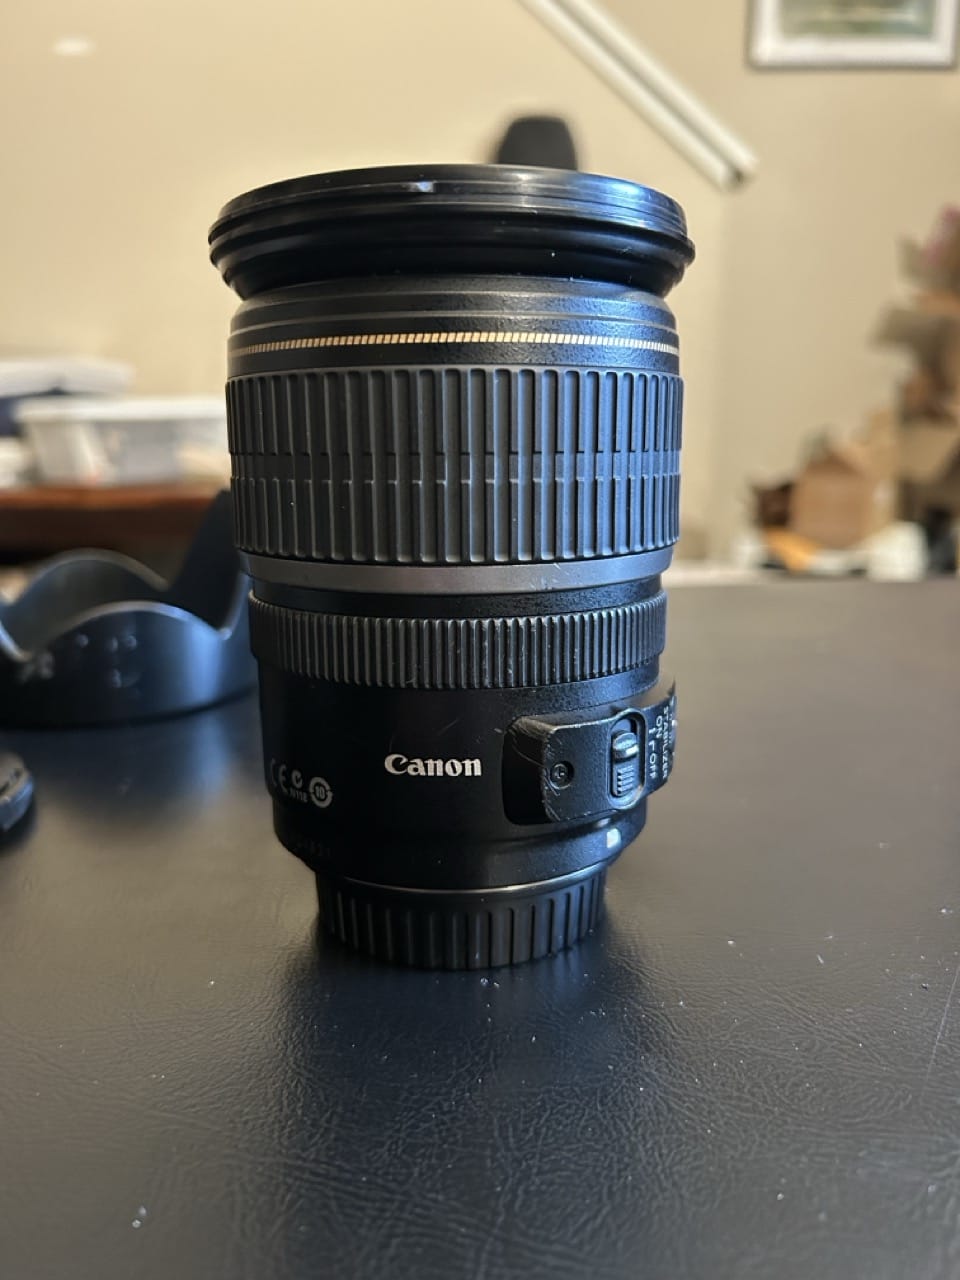
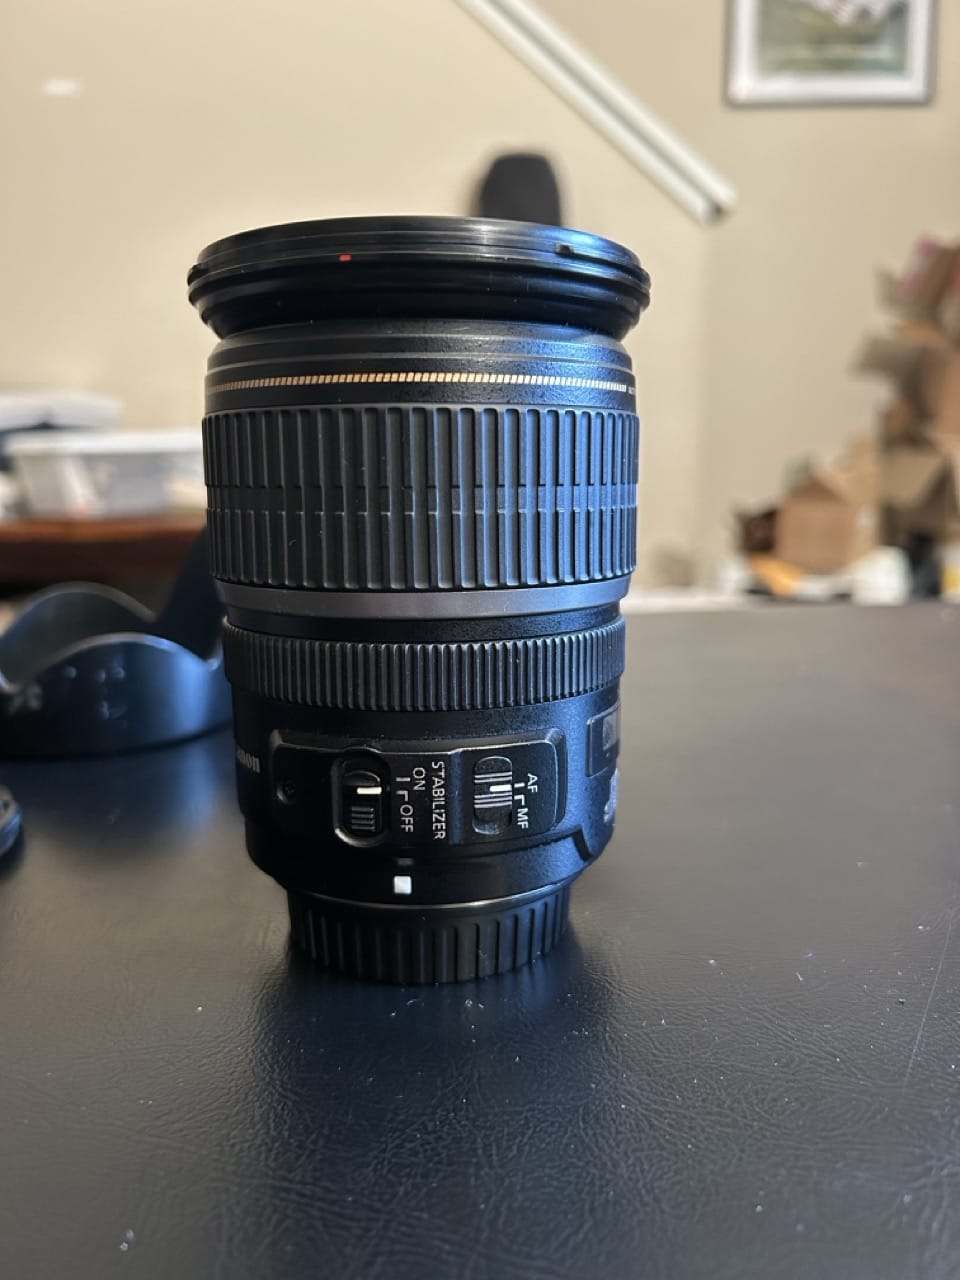
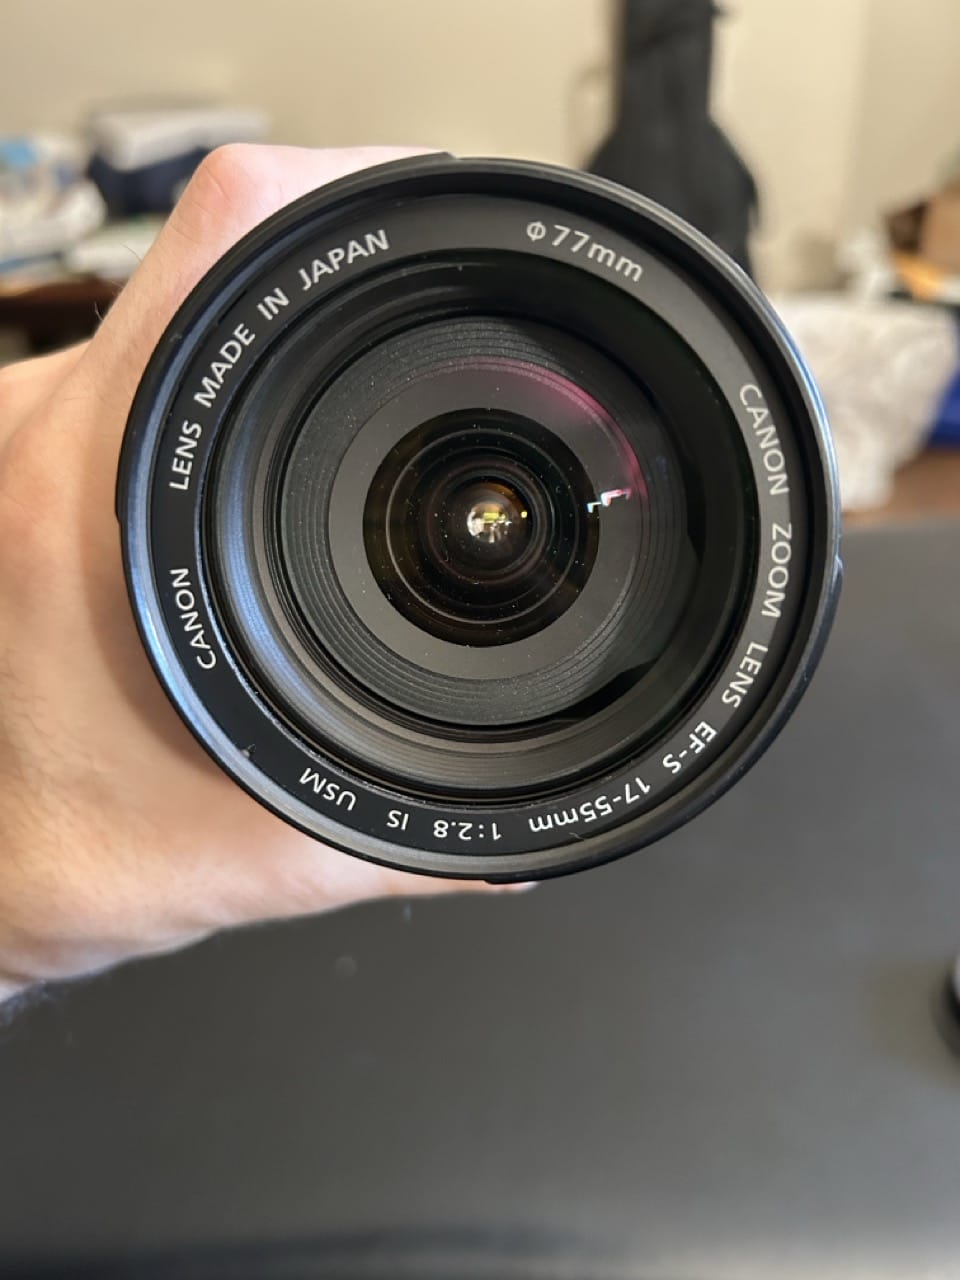
VR is Nikon lingo. On some Canon lenses, there’s a switch that’s called “Image Stabilization” and we abbreviate it as IS. There’s a chance your 18-55 has it. There’ll be a second switch right next to the auto/manual focus switch right on the side of the lens. (not all lenses have this though so if you don’t have it don’t sweat it). It helps with shooting handheld at slower shutter speeds.
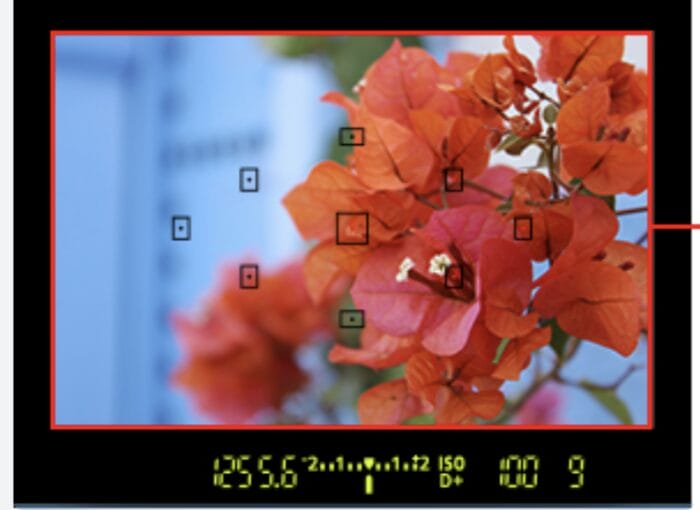
As far as your original question… keeping an eye on your lightmeter is gonna be your main weapon for making sure everything is set correctly. It’s the scale with all the numbers on it underneath what you see when you look through the viewfinder (eyepiece) (see the attached pic).
You want that arrow to generally be pointing right at the 0 with the combinations of settings you have set (it’ll be close). Leaving your camera on evaluative metering while you’re learning is going to be fine.
This is usually the order I set my settings when I’m playing with Manual.
1) ISO — ideally this is as low as possible. I like 100 or 160 (outdoors full sun); 400-800 (outdoors shade); 1600+ (indoors)
2) aperture — depends on what I’m shooting. If I want all of the image to be in focus, higher numbers like f8 or f11; if I want a blurry background, f3.5 (or as low as your lens will allow).
3) shutter speed — the general rule is 1/whatever your focal length (zoom) is. I usually go a couple clicks faster to be safe. So if you’re shooting on your 18-55mm all the way zoomed in, don’t go slower than 1/60.If the meter is still reading too low with your shutter speed and aperture, go back to your ISO and raise it.
Take the shot. If it doesn’t look right, tweak the settings and try again! You’ve got the right idea by trying new things and figuring it out.
You’ve got this! Welcome to the hobby 🙂
–Logan
Attachments:
May 16, 2026 at 5:22 pm #101074Logan LamarParticipantMore pictures 🙂
Attachments:
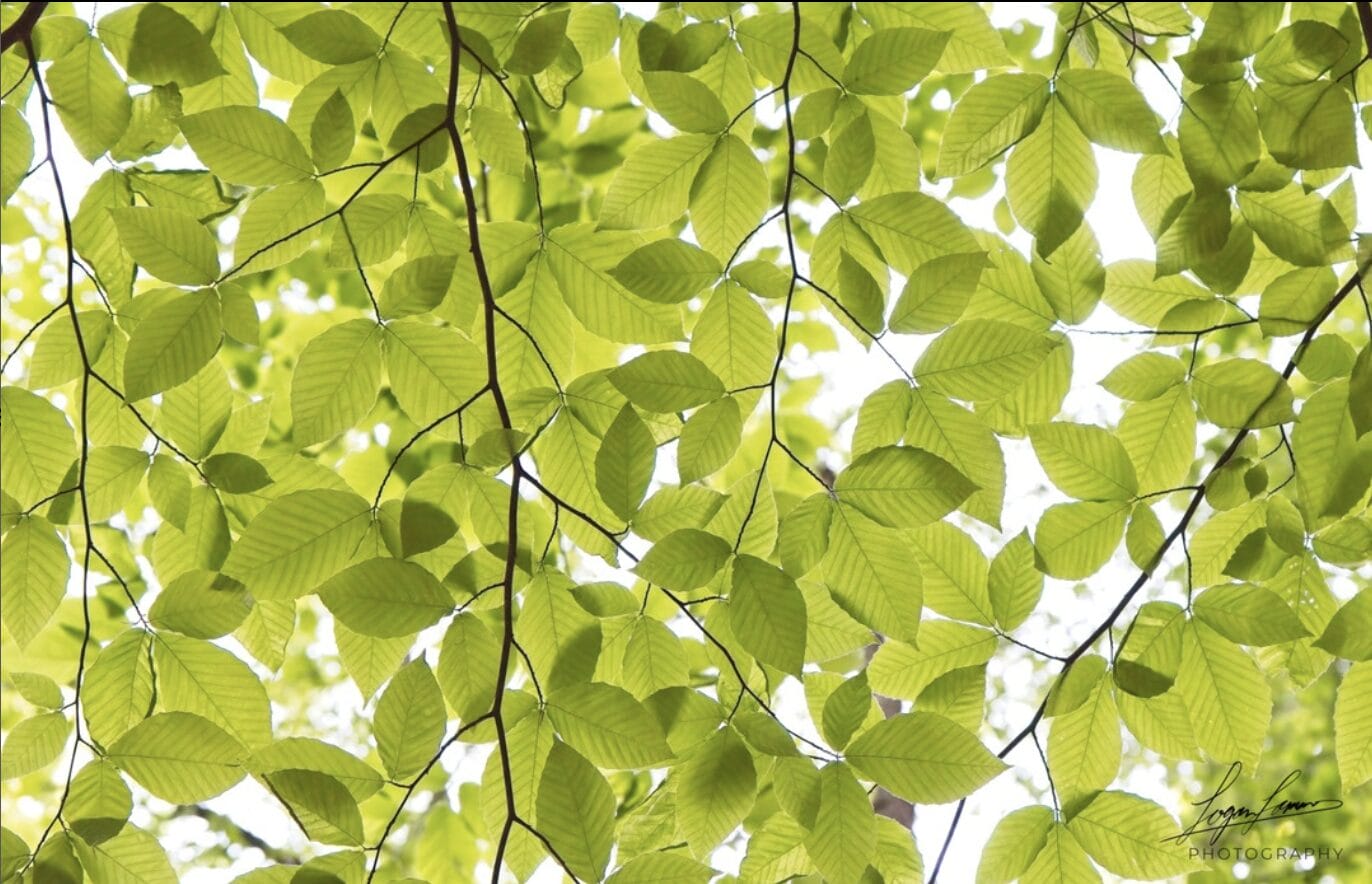
June 11, 2025 at 2:17 pm #96002Logan LamarParticipantDefinitely did not mean to post the leaf picture twice but there we go… XD
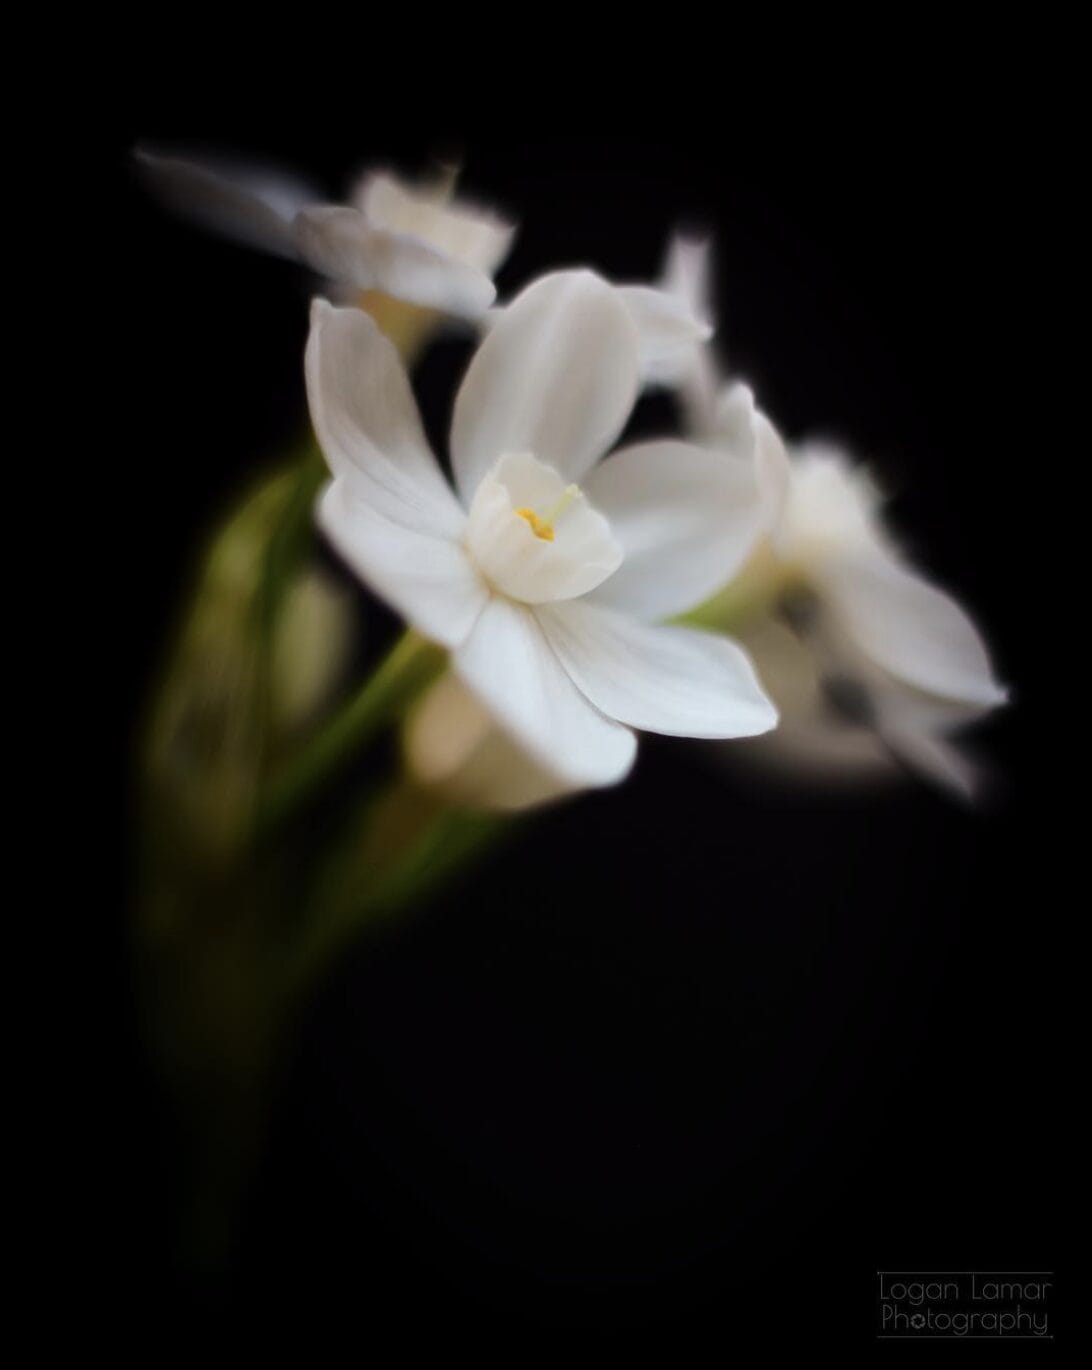
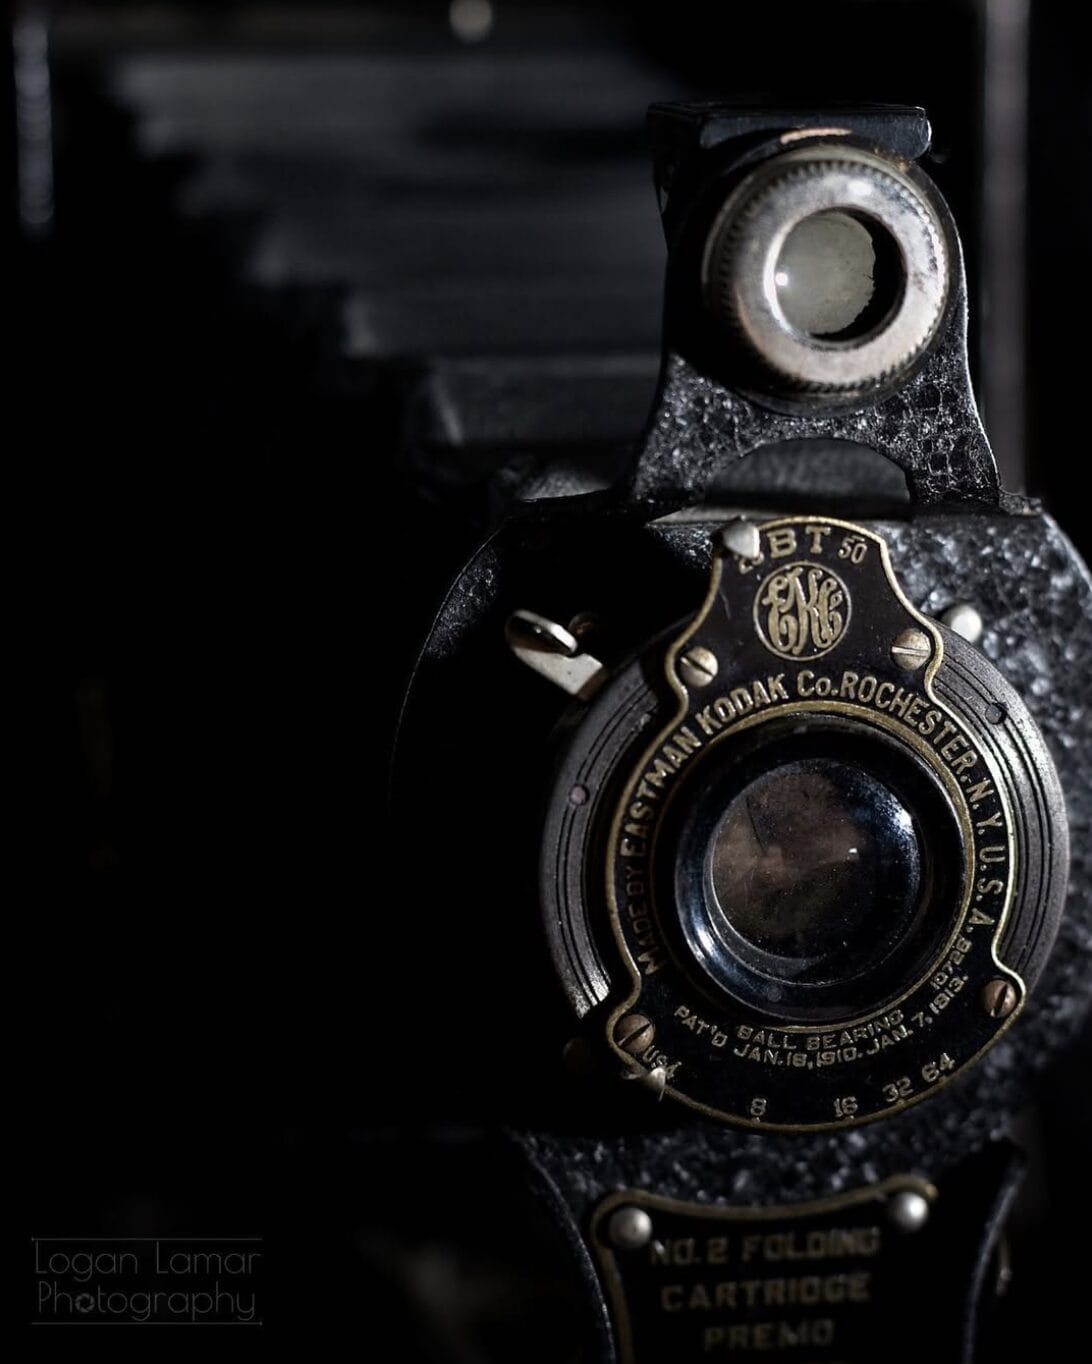
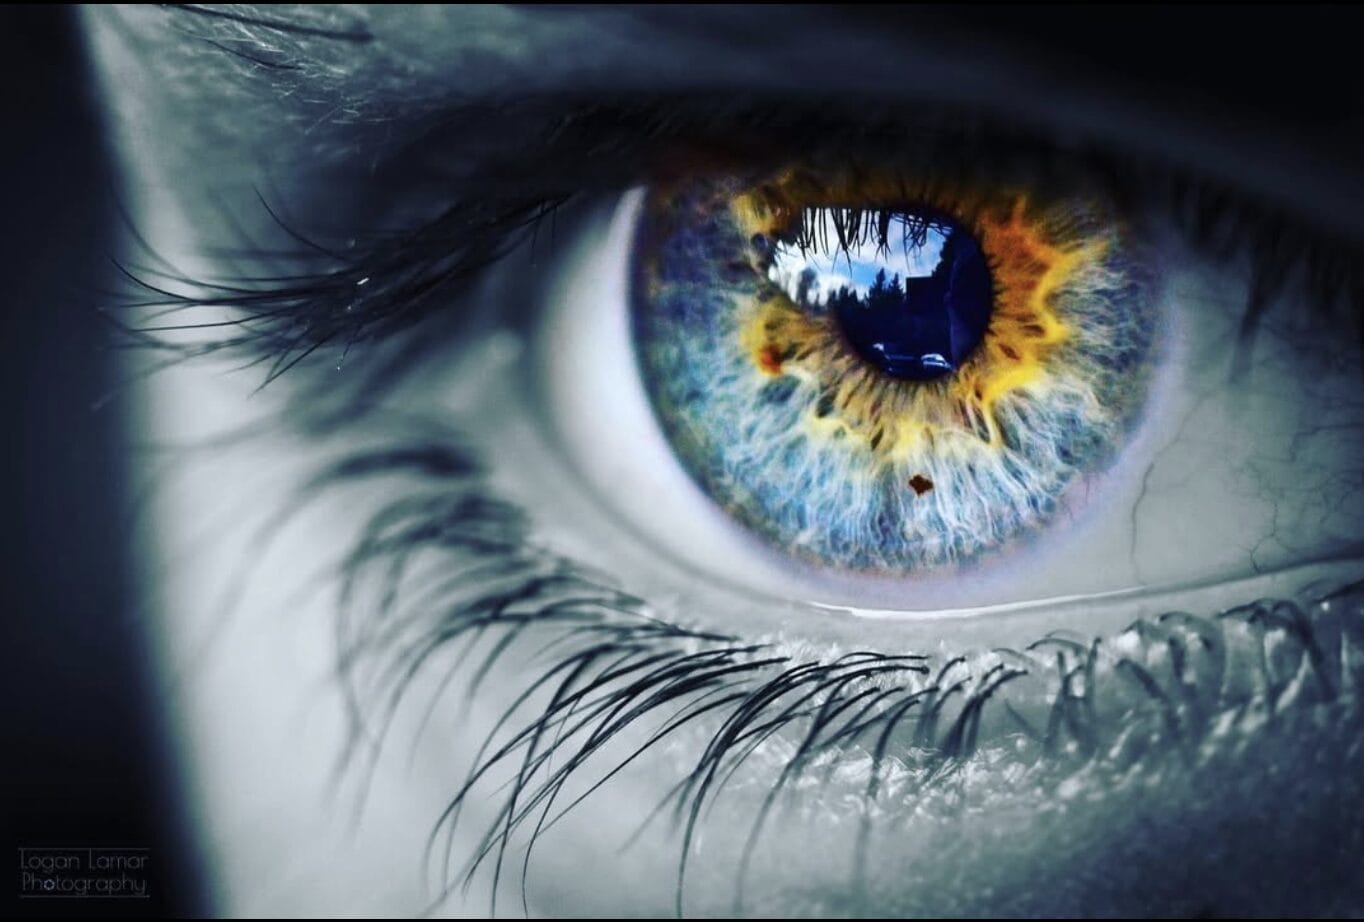
June 11, 2025 at 2:16 pm #95996Logan LamarParticipant@racedude8 Macro and abstract photography are going to be your friends. For abstract, look for patterns, textures, weird lines/shapes. Macro photography can be great indoors. If you don’t have flowers to shoot, find something else in your house that is interesting or buy flowers from the grocery store. Photographing eyes is something that I find fascinating too and they can be a BLAST to edit to pop the colors. It sounds like you’ve got some land with a bit of sky… ever shoot clouds?
Are you near a road, or city (or even a small town)? Shooting cars at night can be interesting to get some light trails. Old buildings and houses are loaded with texture and stories.
Just some ideas for you… practice, practice, practice around your locale… and then, when you do a little internet research, drive 3 hours, and go backpacking for the epic shots, you’ll find all the compositional and technical skills you worked on while shooting things that were “boring” will serve you well. You’ll grow to be way more observant. … and your shots will stand out from the walk-up-and-shoot-the-scenic-vista smartphone shots that everyone has too many of.
—Logan
Attachments:
November 29, 2024 at 11:30 pm #91429Logan LamarParticipantHey @joannapotter !
I assume this is your first portrait shoot (so congrats!). I think you’ll have a lot of fun.A huge part of getting good portraits is good lighting. If you’re doing this outdoors, you’ve got two options: shoot within an hour of sunset or sunrise (golden hour!) or shoot whenever you’d like when it is overcast. If you’re going the golden hour route, I really like backlighting my subjects by having them face away from the sun. It’s a good way to get an airy look to your pics and it can look quite good. If you’re shooting when it is overcast, there will be less light, but it will fall evenly on your subject without harsh shadows. If it’s bright and sunny outside and it’s during the middle of the day, either reschedule your shoot or find some even shade.
Camera settings depend on what you’re going for. When I’m shooting portraits, I like to use a wide aperture (think f/2.8 or however wide open your lens will allow) and a fast shutter speed to avoid any motion blur. If you’re shooting headshots, focal lengths around 85mm look very nice (so bring your telephoto lens if you’ve got one!). I think the last time I shot senior portraits, I was using my 50mm f/1.8 a whole bunch, which would be another good choice, especially for head-and-shoulders or half-body shots. Don’t be afraid to change it up and try different lenses for different poses!
I find posing to be one of the hardest things to do, and usually I find that looking at other photographer’s work can give me ideas. I know Lenspiration does have a posing database if you have a paid account (https://www.lenspiration.com/proposing/). Looking up “senior portraits” on the Internet would probably yield some results that would not be Lenspiration-appropriate… but I’ve found that looking up things like “family photo posing” or “how to photograph your kids” tends to yield better results (I really like clickitupanotch.com but it’s more geared towards photographing small kids). You really want your subject to look as natural as possible. Giving her something to sit on or to lean against can go a long way! Try a lot of different poses and shots and get creative. Maybe try to incorporate her interests and activities too.
Have a few jokes ready or do something else (or have her do or say something odd) to make her laugh… you can get some really genuine smiles this way.
Editing goes a long way in giving photos that extra pop.
Good luck to you!
—Logan
November 9, 2024 at 10:58 pm #91177Logan LamarParticipantWOW you’ve got a lot of stars in these shots! Very nice job!
Of the four that you put here, I really the wide angles a lot more than the ones that were more close up. They’re sharper, they’ve got more stars, and they really elicit that feeling of awe that you get when looking at the night sky, and the random meteors add a little bit of interest too.
If I could change one thing about the edit, I would dial your saturation down a great deal. You’ve got a lot in here to try and bring the aurora out, but you’re beginning to overpower what the image file is capable of and introducing some weird artifacts like color noise. Dial it back. I like to think the sweet spot is to where the viewer just begins to see the vividness of the lights, but the final amount is up to you. Saturation is like playing with spices. Sometimes you need a little, sometimes you need a lot, and a lot of this depends on the chef—but try to avoid putting too much in or you’ll overpower the natural flavors of whatever you’re cooking.
Other than that… really nice job. I admire astrophotographers a lot. Shooting the stars is one of the most challenging things to do in photography and you’ve seemed to master some of the basics (like NAILING the focus and shutter speed! I didn’t realize how hard that is at night until I tried it!).
—Logan
November 9, 2024 at 10:34 pm #91176Logan LamarParticipantHi Miriam!( @mnavurskis )
This is an interesting topic of conversation, and I do agree with you—it’s gotten so so so easy to “fake” an image these days (the generative AI tools scare me haha). We live in a culture that has pretty much poisoned itself with convenience, and AI images are no exception. To encourage you though… I think Lydia’s got the right idea. The “easier” it is to generate images automatically and digitally, the more people will value the handcrafted and analog. I think this is partially why film photography and vinyl records are growing in popularity (and why it also might be a good idea to begin printing your photos).One way to I look at is through relationships: think about the last time you visited a mom-and-pop local restaurant in your community. Was it the most amazing food you’ve ever eaten? Was it the most exciting? Probably not. But I’ll bet you still thoroughly enjoyed yourself and I hope you left a nice tip for the server. Same thing goes for live music. Could you listen to more amazing or “better” music for about $8 a month on Spotify? Yup. But if you’re like me you’d rather spend $40 to go hear someone who’s maybe not as amazing do it live for 2 hours. You value the experience because you value the people providing the experience. As you build relationships through your photography, people will value your images—because they value you.
When it comes to retouching images… photography is an art form and a tool for expressive communication. If you feel like it’s “cheating” to airbrush a photo, then don’t do it. You are the artist. I’ve heard of some photographers who intentionally leave powerlines and other “imperfections” in their work and creatively include them in their compositions, and their work shows a genuineness and a rawness that AI doesn’t replicate well. It will grow you significantly as a photographer if you make it a point to get it right in camera every time, and you’ll begin to develop a unique style over time with where and when and how much you decide to break into your Photoshop tools.
I use Photoshop quite a bit more sparingly than I did in the beginning (it takes a lot of time!), though I do use Lightroom moderately to develop my images. I view it as part of the creative process and I try to capture or create feelings through my work rather than strictly document what was there. If I’m painting a picture, no one is looking over my shoulder and saying that I should have used a lighter shade of blue to more accurately replicate the sky. I’m creating something new.
Hope this helps!
—LoganJune 10, 2024 at 11:20 am #87278Logan LamarParticipantI’d highly recommend the Master’s University 🙂 (masters.edu)
I actually went to the campus for a couple of years to complete a Biology degree (graduated in 2023!) after taking about a year’s worth of credits online.The Marketing Media or Cinema and Digital Arts degrees would be the closest to what you’re looking for as far as degrees are concerned, but I’d imagine you might be able to just take the Graphic Design class…
May 18, 2024 at 10:02 am #86926Logan LamarParticipantHi Jemima! ( @laura-aome )
I’ve tried a couple of different ways of shooting star trails. There really are only two ways of doing it: either you leave the shutter open for a long time, or you set up your camera with an intervalometer and take a bunch of shorter exposures (about 30 seconds apiece) back to back to back and stitch them using StarStax (which is FREE and easy to use! https://expertphotography.com/starstax-review/) or Photoshop (which is not free and has a bit of a steep learning curve).
The first method (leaving the shutter open) is the easiest, though you are right! You do have to account for the image getting really bright at ultra-long shutter speeds, and you will need to stop down (though not nearly as far as f/32) and keep your ISO relatively low. I’ve got a book that gives some base values for star trails (Photography Night Sky by Jennifer Wu—I’d highly recommend it), and it says that if you want to leave your shutter open for 2 hours, stop down to f/5.6 and manually set your ISO to 200. You can add more stars by shooting with a wider aperture (like f4, f3.5, or f2.8) or increasing your ISO, but use those values as a baseline.
I’d also recommend shooting as zoomed out as possible (at least 24mm or 18mm or even wider, if you’ve got it). Shooting with a new moon (or when the moon isn’t out) is going to be important as well.
I’ve tried this first method once before on a beach, and it worked (sorta). I don’t remember my settings and I unfortunately can’t access the original file at the moment, but I’ve attached the image. You can see there are few stars visible, and the dunes are a bit bright due to lights from nearby houses. It was my first try though, and it’s exciting to see something like that come straight out of your camera!
The second method (in my experience) yields much more impressive results, and it’s what most professionals use (but it does require a little more legwork and things can get a bit technical!). I’d recommend picking up an intervalometer (or using this hack: https://www.lenspiration.com/forums/topic/shooting-the-perseids-shooting-stars/) and then shooting a series of 25-30 second exposures. If you’re going to do this, make sure that you also have a manual white balance set as it will make the rest of this a lot easier (I set mine to 4000K). When I did this, I set my ISO to 640, stopped down to f/5, and left my camera until it had taken 264 pictures (about 2 hours). I then developed the RAW files on my computer (this is not required if you’re shooting JPEGs) and merged the images in StarStax… and wow it was a night and day difference.
I’d recommend picking up a copy of Photography Night Sky, especially if you’re just getting started (I found it at my local library). It’s super helpful and makes star photography pretty accessible. I also like Dusk to Dawn: a Guide to Landscape Photography at Night by Glenn Randall. Both books are detailed and thorough and will help you get started.
Hope this helps!
—Logan ( @loganlamar )
Attachments:
May 15, 2024 at 12:20 pm #86902Logan LamarParticipantHey @lenspirationlydia! (I almost used your old handle!)
You’ve probably already had this looked at on the webinar (which I was sorry to miss as a long-time Lenspiration member), so I’ll keep this super brief!
Things I like:
–that sky. those clouds are super super cool looking and you certainly picked a good time to shoot.
–lead in lines! (Roads are so amazing for that aren’t they?)
–the subject of the tree next to the road
–your edit of the sky. You really excelled here and that’s the first thing I loved about this pic! The clouds aren’t blown out, there’s a little bit of pink off to the right, and there is so much delicious contrast here…Things that I think could be improved:
–competing subjects. I like the tree… but then there’s a neat looking sunset on the left that distracts.
–horizon is dead center.
–the dead bushes on the left
–greens seem to be slightly oversaturatedIf I were there, I’d try to shoot this picture from on top of the road (move the camera to the right; watch for cars!) to meld the two subjects of both the tree and the sunset, and then I would also try to include more sky and less ground by either tipping the camera up and potentially shooting from a lower perspective (this would also hide the dead bushes). Then I would maybe desaturate the greens from the grass just a smidge in post processing, but that’s a matter of style.
I hope you find time to get outside and shoot this month 🙂
—Logan @loganlamar
May 15, 2024 at 12:05 pm #86900Logan LamarParticipantHi @abigail16! It seems you’ve figured out the aperture trick for sunstars! Good job! (and welcome to Lenspiration by the way!)
I think you (@abigail16) and @nateb might be referring to two different phenomena here. Abby, in your photos, you’ve narrowed your aperture and partially occluded the sun in order to get the “sun-star” effect (which is not usually a post-processing filter, but an in-camera setting—stop down to like f/11 or f/16 or narrower—though you certainly can photoshop these in). The amount of “rays” in the sun-star here depends on which lens you’re using, as it has to do with the way the lens is constructed. A lot of kit lenses will give you six-pointed sun stars (my Canon EF-S 18-200 does that), while other lenses (like my 10-18 or my 50mm or my 17-55) will give you more points. You can pretty much shoot these with anywhere: you need to stop down your aperture (use Aperture Priority mode or Manual and set it to f/11 or higher) and shoot into a bright light source that is partially occluded.
@nateb, I think you’re referring more to a weather phenomenon, and you’re right, it is highly elusive. You need to have—again—a partially occluded sun (trees, mountains, buildings, and thick, low-altitude clouds work well) and then you need something for the sun to light up or shine through. If you’re outside, you need mist or fog (early morning hours right after sunrise are ideal for this!). If you’re inside, a really dusty room will do the same thing. With these, your aperture matters less. These are also harder (though not impossible!) to photoshop in.Now back to the original photos…
@abigail16, I’m assuming you’re trying to use the sun-star effect, and you’re using it well here. One way you could make your images a lot more powerful is to not make the sun the main feature of the composition. Think of the sun-star as an ingredient (like sugar!) and not the whole recipe—you need other ingredients to make it taste good. This is why your first image with the fence in my opinion is much more powerful than the second. There’s a lot to like here: you’ve included the foreground, you shot from a lower perspective, you’ve got the fence as a lead-in line, and then you’ve got a really nice lens-flare acting as another lead-in line. A couple of things you could improve on would be space (the image feels “crowded”) and including a stronger subject (your lead-in lines seem to just point to the back fence… which is okay but could be better). To fix space, I would move a touch closer to the fence and turn your camera a little bit more to the right… or I would jump the fence to put it on the right side of the image so I can show more of that beautiful open sky.
To fix the subject is a lot more subjective… you’ve got to ask yourself “what drew me to this location and made me say ‘I want to take a picture of that'”. Once you figure out what that thing is, try to emphasize it by using the rule of thirds and moving your camera around to remove as many things that could distract from it as possible. (This is one of the hardest things to do in photography by the way and you’ll spend the rest of your life trying to master it).Hope this was helpful! and if you have questions don’t hesitate to tag me. 🙂
— @loganlamarAttachments:
April 20, 2024 at 3:34 pm #86376Logan LamarParticipantHey! This looked kinda cool so I thought I’d jump in. I’m proud to say that @jamesstaddon was the first one to show me how to edit a RAW image at a homeschool conference eight years ago… it feels interesting to edit his image using some of his same techniques!
Like @lenspirationlydia, I didn’t look at James’s image before starting. I’m using ON1 Photo RAW 2023 to edit this image.
The first thing I noticed about this pic was that the composition wasn’t grabbing me as much as I’d like… I’m not on scene, but I do have a powerful tool at my disposal: the crop tool (Lenspiration tip #1). I cropped the image down to a 8×10 aspect ratio, putting the house (which I thought was the best spot for the eye to go) on the 3rd.
I then went into exposure and cranked it up about a stop and a third. Snow is supposed to be white, not grey! Usually the next thing I’ll do here as well is drop my blacks about 8-10 clicks (Lenspiration tip #2) and then because it’s a snowy image I popped the whites a little bit as well. I increased global contrast a bit too, gave it a little bit of structure (I think lightroom calls it “clarity”) and warmed up the white balance a smidge.
Then I went into my ON1NoNoiseAI section (the image didn’t really need it but ON1’s denoiser is scarily amazing and it also sharpens the image nicely). I let the robot do the work here and didn’t touch it after turning it on.
Jumped into curves, played a little bit with the contrast again…
At this point my sky was really blown out, so I went into the local settings, painted a mask over the sky using a feathered brush, dropped the exposure about a stop or two, popped the contrast, and then played with curves again for the sky. I brought in a little bit of red and blue with this tool as well to try and warm it up and make it play to the morning light.
Last thing I did was pop a vignette over the top of it (Lenspiration tip #3)… this draws attention more toward the sky and house.
If I were taking this picture, I’d probably recompose a smidge (at least for my edit style). I like the tree, but I feel the creek is a lead-in line that keeps derailing my eye to the left side of the frame.
… and then I looked at James’s edit. Very moody! It makes me feel like this image was taken at dawn… his edit is good too because he darkens the whole image except for what he wants the attention at.
… and then I looked at Lydia’s edit. Light, bright, and airy, which is part and parcel with what I’ve seen Lydia shoot before 🙂
… and then I looked at @samuelwest ‘s edit. I like how he captures the texture in the snow. It looks soft and inviting, which is something I don’t think I did very well.
… and then I looked back at mine. If I had to do it over, I’d decrease my contrast a bit.
This was a good challenge and I think it’s cool to see how we all approached the same image differently!
Attachments:
March 28, 2024 at 9:00 am #86122Logan LamarParticipant@jerrell I’ve definitely heard of them, as I’ve spent many moments looking at camera gear… I think I was looking into that same lens for a while believe it or not! I’ve never used them though. Bryan over at the-digital-picture.com has reviewed a couple of the older iterations of them (https://www.the-digital-picture.com/Reviews/Tokina-11-16mm-f-2.8-AT-X-Pro-DX-II-Lens.aspx). I usually read his reviews extensively when I’m looking at putting down some money on some new gear.
One thing you could try would be to rent or borrow the gear you’re thinking of purchasing (just make sure to block out a time to shoot with it!). @jamesstaddon once let me borrow his 70-200 f/2.8 at a conference eight years ago. I was blown away by the quality boost and I didn’t hesitate to spend the money to rent it when I was asked to shoot a friend’s wedding several years later. I’ve borrowed other friend’s lenses before and made markedly different decisions (I have one friend with a Tamron 17-50… I tried it… and the autofocus is way too slow for what I need it for). I’ve had excellent experiences with lensrentals.com. Might be worth looking into.
https://www.lensrentals.com/rent/tokina-atx-i-11-16mm-f2.8-cf-lens-for-nikon-f
March 8, 2024 at 10:29 pm #85693Logan LamarParticipantWow this is super cool! I’ve always wanted to dabble more in night photography! I know Samyang and Rokinon both make good astrophotography lenses. They’re wide with a manual aperture and focus, but they’re cheap and sharp and I think some are designed specifically around astrophotgraphy (so they handle stars pretty well). Look into them. I’ve got one on my Amazon wishlist that’s been parked there for a few years now haha.
Getting your hands on different gear is always fun… but sometimes shooting with the “wrong” gear will give you better results and stretch you more as a photographer. So, while you not might be able to get “more sky” right now, maybe you can put the aurora next to something else as part of a different composition? Just thoughts 🙂
-
AuthorPosts