
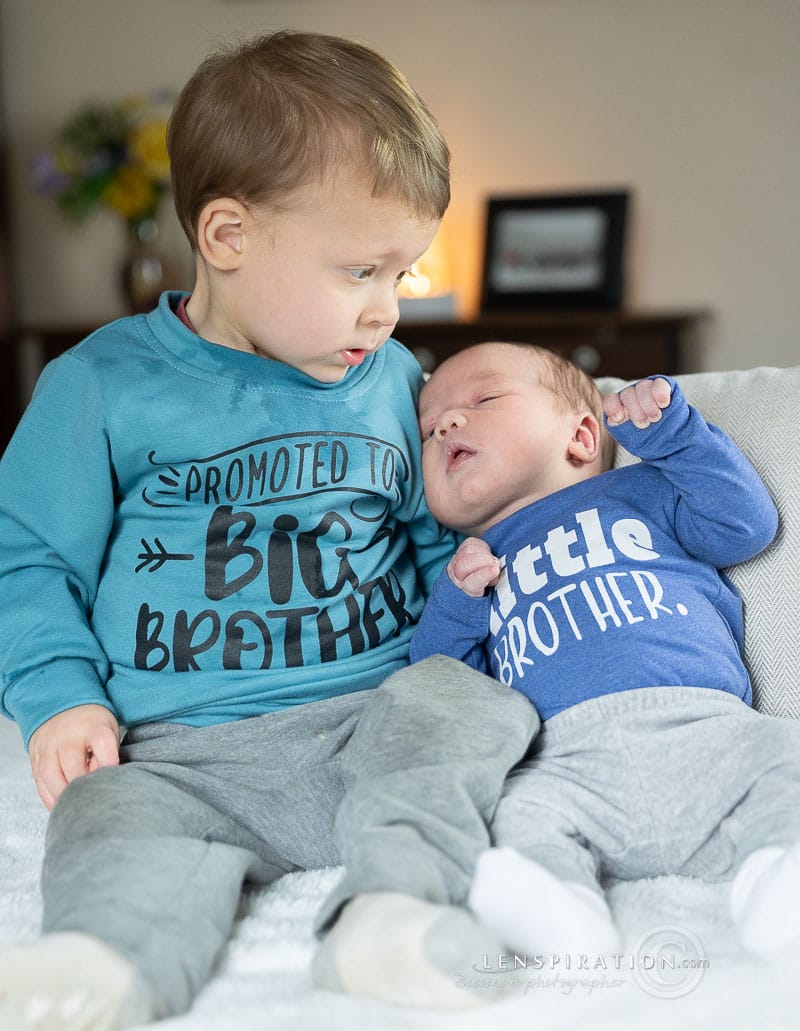
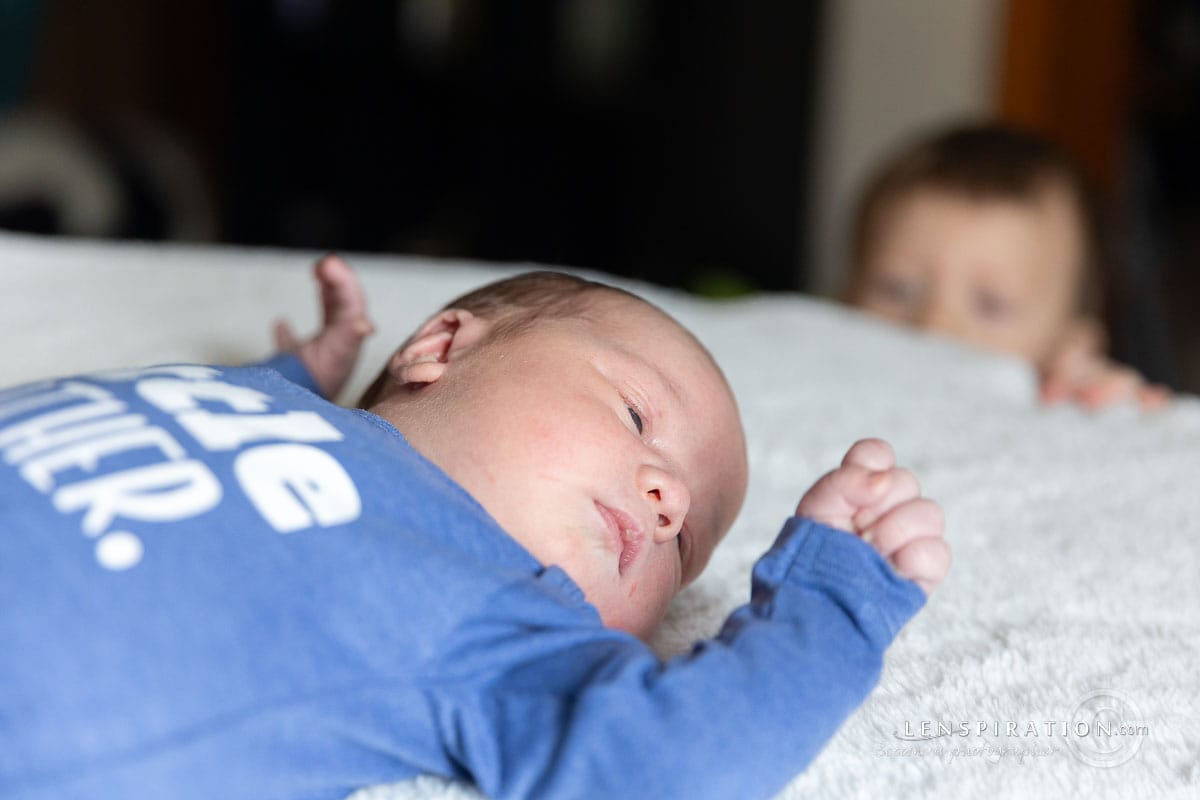
This is the time of year for Christmas cards and family photos! It was just earlier this week that I was spreading a white blanket on the dining room table (in front of a big, bright window!) to take “real” photos of our two little boys together for the first time.
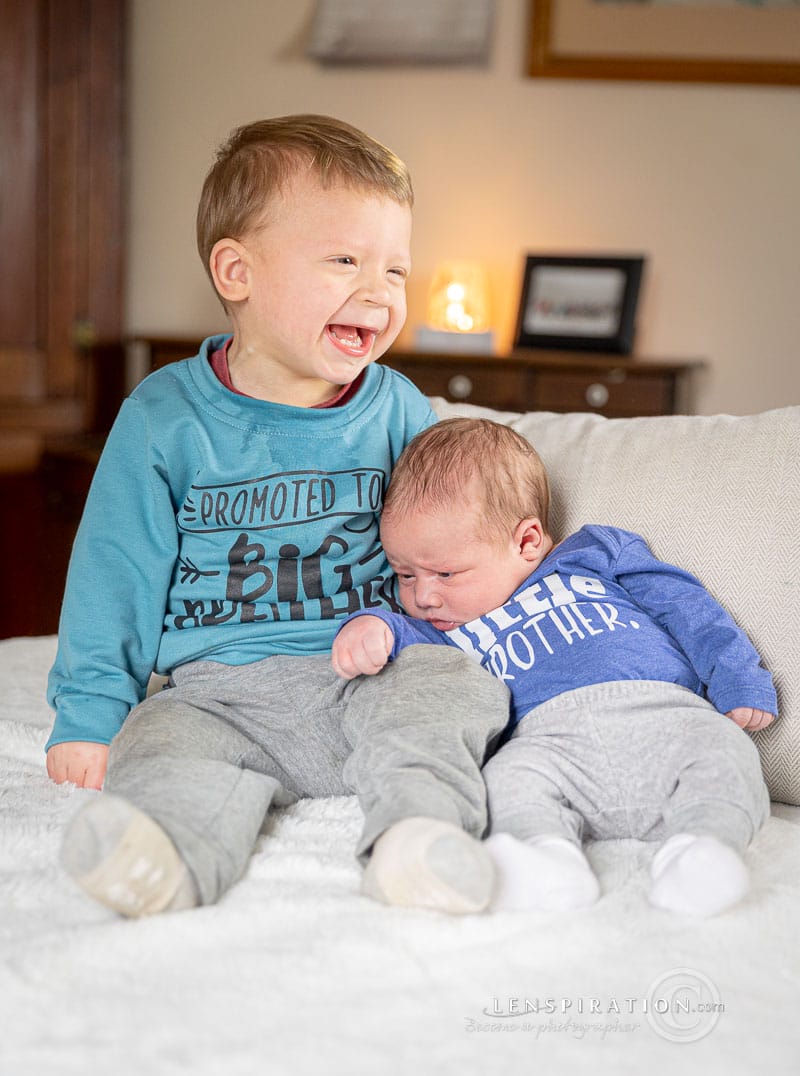
Skills in photography really come in handy at this time of year! But family portraits is not the only way to bless others with your photo taking skills. There are many things you can do this Christmas to give the gift of photography!
And so that’s why this month’s photo assignment is “The Gift of Photography”. Whether it’s as simple as printing out a photo and framing it to give to someone you love, or offering a free photoshoot to a family you know, we’re going to use the month of December to not only grow our photography skills, but also to practically share them with others this Christmas season!
In the assignment details, I give you 3 different ideas for how to fulfill this assignment. Below, I will expound on each idea, hopefully giving you some help an more details on how to fulfill whichever one of the ideas you decided to do.
1. A Framed Print
One way to bless someone with your photography is simply to give them a framed print.
It’s a simple concept, but actually making it happen will take some time and forethought. Here how you’ll want to go about it!
First, choose who you’re going to get the framed print for.
Your Mom probably wants photos of various family members. Your sibling might appreciate a printed copy of their senior portrait. And Grandma would love individual or group photos of her grandchildren!
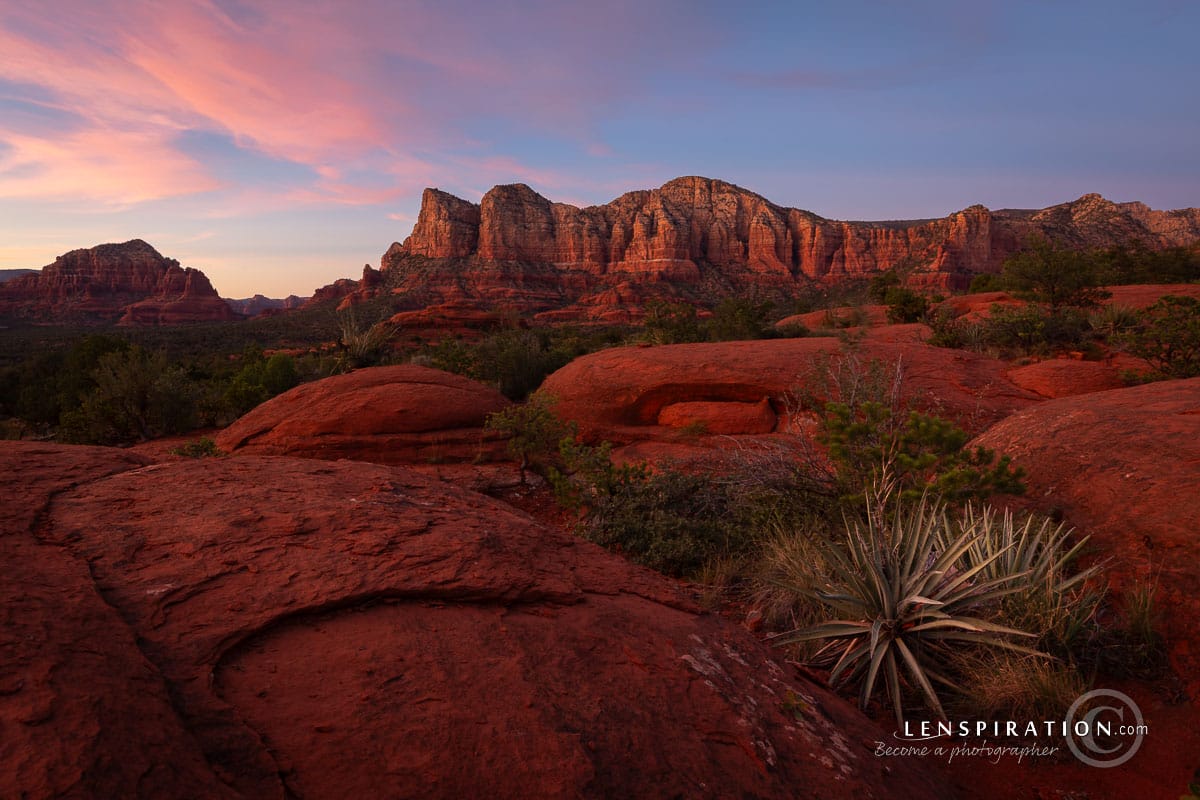
But who else do you know? A father might want a gorgeous landscape photo sitting on his desk taken by his son or daughter. Or maybe even a large, fine art, framed photo hanging on the wall!
Who you’re going to give the framed print to will depend on what photo you’re actually going the frame. And I guess it also depends on how much you want going to spend on your gift. But think outside the box!
Second, find or photograph the photo.
Once you’ve figured out who you’re going to photograph for, you will know whether you need go take new pictures, or if you already have what you need in your current portfolio.
Most folks want current pictures, so because we have the whole month of December to fulfill this assignment, my recommendation would be go to take some new photos!
Third, figure out what frame you’re going to use.
While it might be professional to make a frame to fit your photo, going that route is super expensive. I generally go the other way around. Find a nice frame that isn’t being used. Or buy a cheap one at Goodwill. Of course you want it to look nice and fit the person you’re gifting your framed print for, but you don’t have to spend an arm and a leg on frames and matting.
If you know what frame you’re going to use, you’ll know how to crop your photo in editing.
Fourth, edit the photo for printing.
Cropping is one of the first things I’ll do when editing my photos. Crop it to the correct ratio. And make sure to leave some extra room around the edges. When placing a photo in a frame, portions of the edges are covered either by the frame or by the matting. You want there to be plenty of breathing room around the subjects of your photos.
After cropping, edit the photo to taste, like you do all your other photos. That’s a good starting point for tweaking it specifically for printing.
There are three ways you can edit your photos for printing:
- Hope for the best. If it looks good on the screen, why wouldn’t it look good in print? If you’re simple kind of person, you can always rely on “auto” everything. Maybe a program has an auto color correction option. Maying you’re just printing straight from your phone. Feel free, take what you have to Walgreens or Walmart, and hope for the best. It might be dark, it might greenish, but maybe that doesn’t matter to you. Grandma is going to “oooh” and “ahh” over her grandkids no matter how unflattering the photo may turn out.
- However, if you’re a little more picky, like me, it wouldn’t hurt to run a test photo or two first. This is usually how I do it. For family portraits that get updated every couple of years, I don’t have the time to get everything perfect. But I do want my prints to look nice. So, here’s what I do. I edit a photo to look nice on my computer. Then I get it printed cheaply at Walmart or the local pharmacy. It’s ok if it looks awful. The point is, I use that photo to calibrate my screen! I find the calibration options on my computer and tweak them, changing my screen to match the print as closely as I can. After that, I can re-edit the photo. Once it looks nice on my screen, I can take the new file back to the exact same place to get it printed a second time. Chances are, it will look a whole lot nicer. Now, this doesn’t always work because printers don’t always print consistently. But it will definitely get you better results than the first option.
- The other option is to get your photo printed as professionally as you can. Preparing the photo on the computer in the correct color mode, with output sharpening (and the whole nine yards), is the process I go through when preparing photos to be printed in my calendars. My calendars have to be perfect. They are fine art. So if you are doing a large, fine art framed print for hanging on the wall for generations to come, you’ll want to spend more time getting it just right. And that’s what I talk about in the Lesson, Printing Your Work, in the How to Share Your Photos With the World course. Members can access this content for free via the “My Courses” button at the top of the screen when you’re logged in.
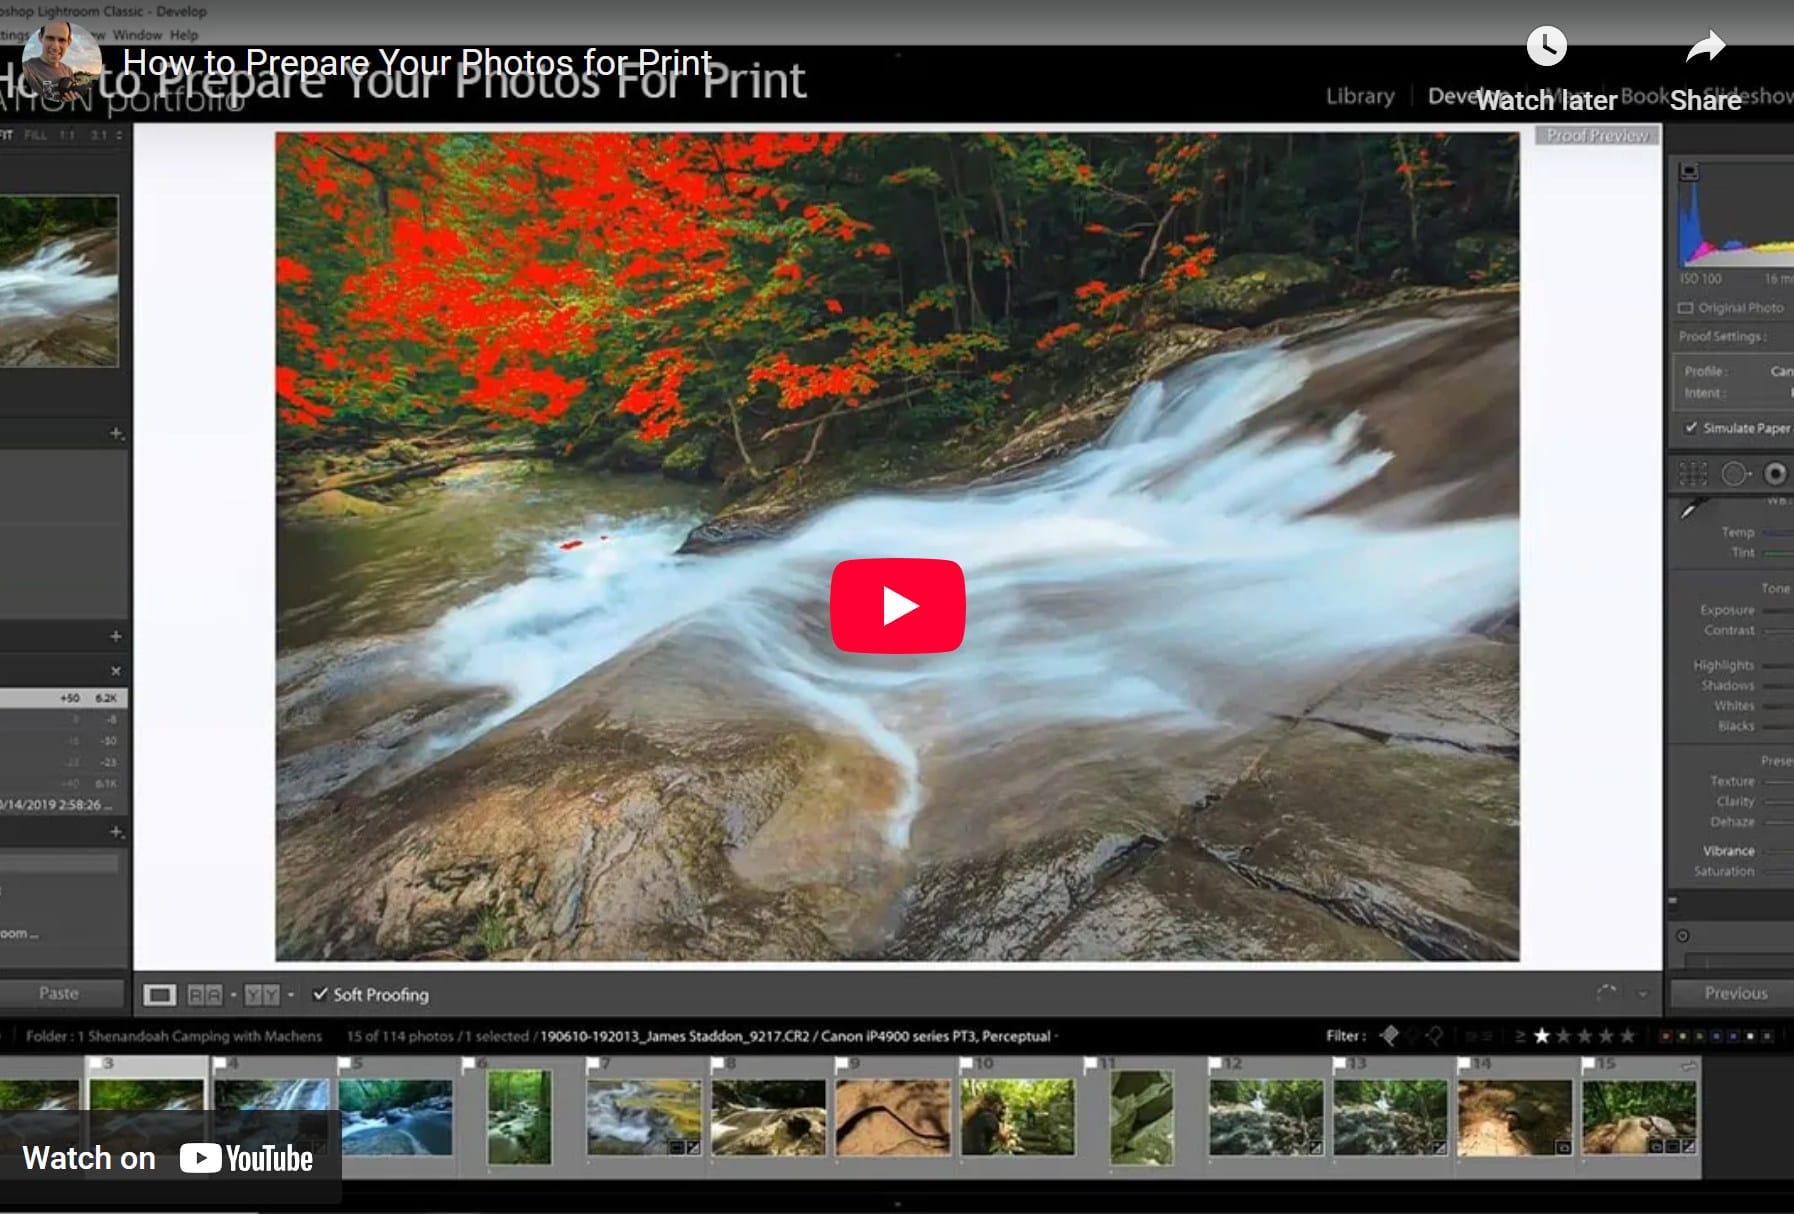
If you’re not getting the results you’re looking for at your local cheap place, there are other options online. Mpix, DG Print Lab, . . . ask around, do your research. It can get pretty expensive, pretty fast, but you’re going to get better quality if that’s what you’re going for.
And of course if you have your own color, inkjet printer, you might as well give that a try too!
Once you’re photo is in-hand, stick it in the frame, wrap it up, and get it ready to give to your special person at Christmas!
2. Photoshoot
Another way to bless someone with your photography is to offer to do a portrait photoshoot!
This is a real blessing. Especially to a family with lots of kids who never gets their photo taken at a professional studio because it’s too expensive . . . or they can’t all fit in a regular studio. 🙂
Make up a nice little gift certificate, print it off, and give it to them on Christmas Day. Then use use all the skills you’ve learned shooting previous Lenspiration photo assignments to go and do a little bit of family portraiture!
After the photo shoot, you can use all the information I talked about earlier in this blog post to get them a framed print.
Or, you could go the easy route and just deliver the best photos digitally. There are pros and cons to doing it this way, but some of the pros are: the family can pick which ones they like best to print, they get more photos, and they can do what they want with the photos, like post them on social media, etc.
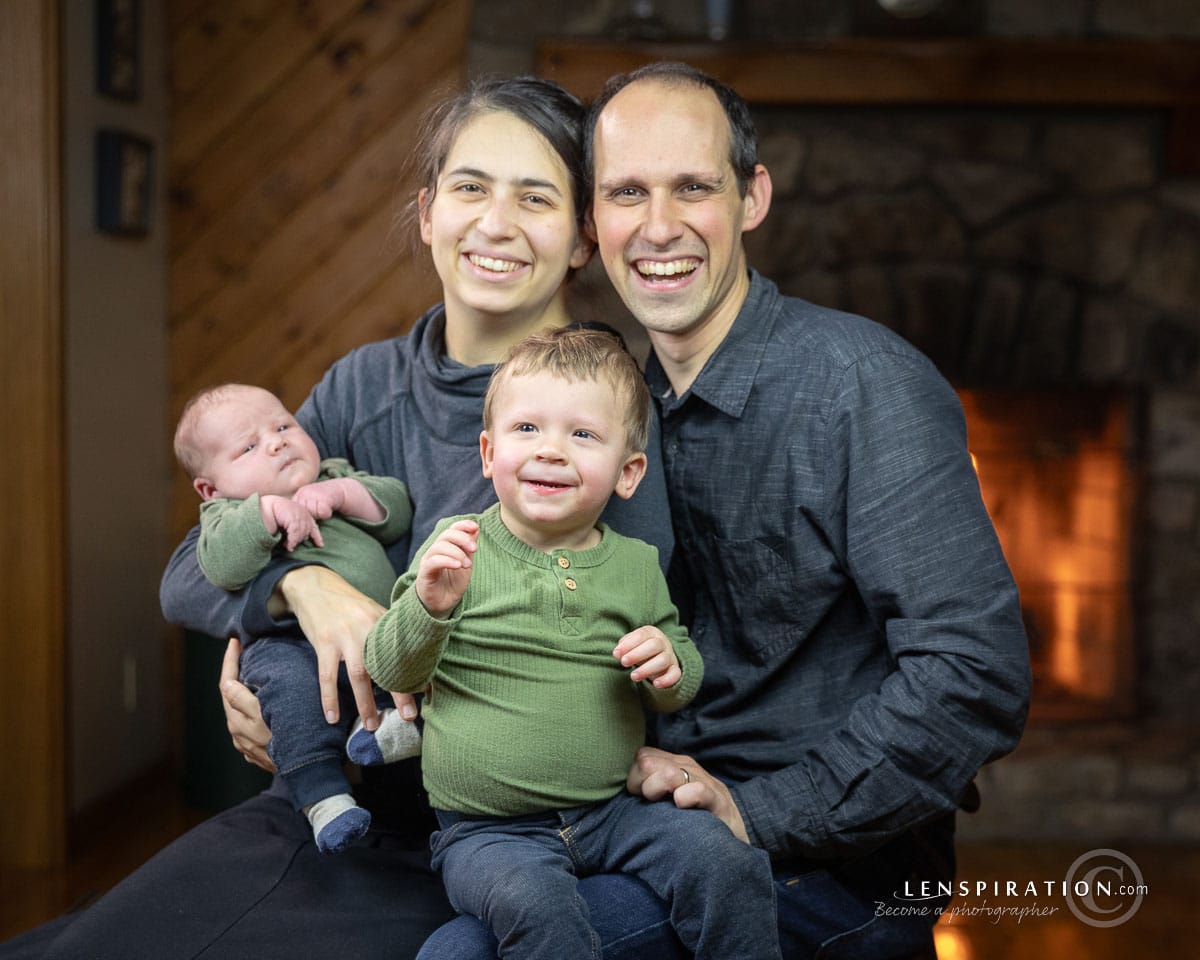
A photoshoot is an extremely practical and always-appreciated gift. And who knows, you may be the only person they know who could give it.
3. Notecards
Lastly, another way you can use your photography as a gift to others is to make up some notecards! This is a more advanced idea. It will take some doing. But it makes for an exceptional gift! Here’s how I would go about doing it.
Pick the right kind of pictures.
The easiest part in creating this gift is taking the photos for the notecards. You could even pull nice photos from your existing portfolio.
What you’re looking for are scenes that fit the occasions that people are writing notes for.
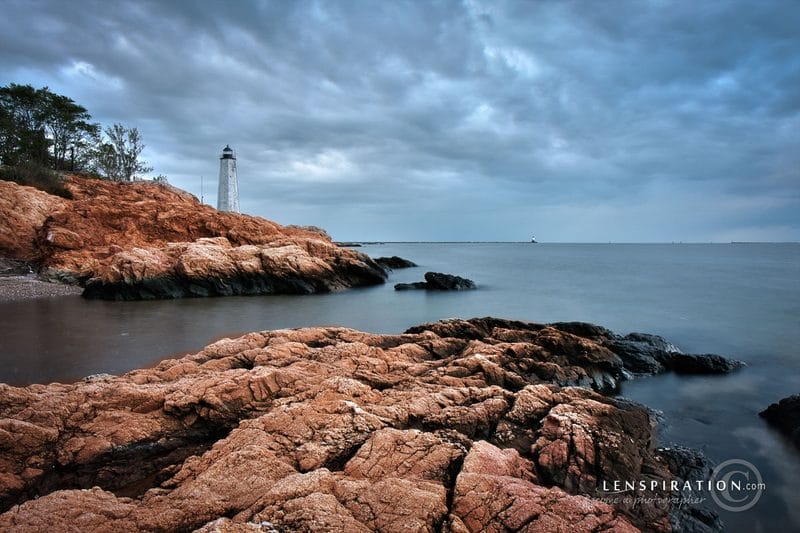
A dramatic, stormy seascape might make an awesome desktop background. But no one is going to want to send that off with birthday wishes.
Think “thank you”, “get well soon”, “anniversary”, “Christmas”, “baby”.
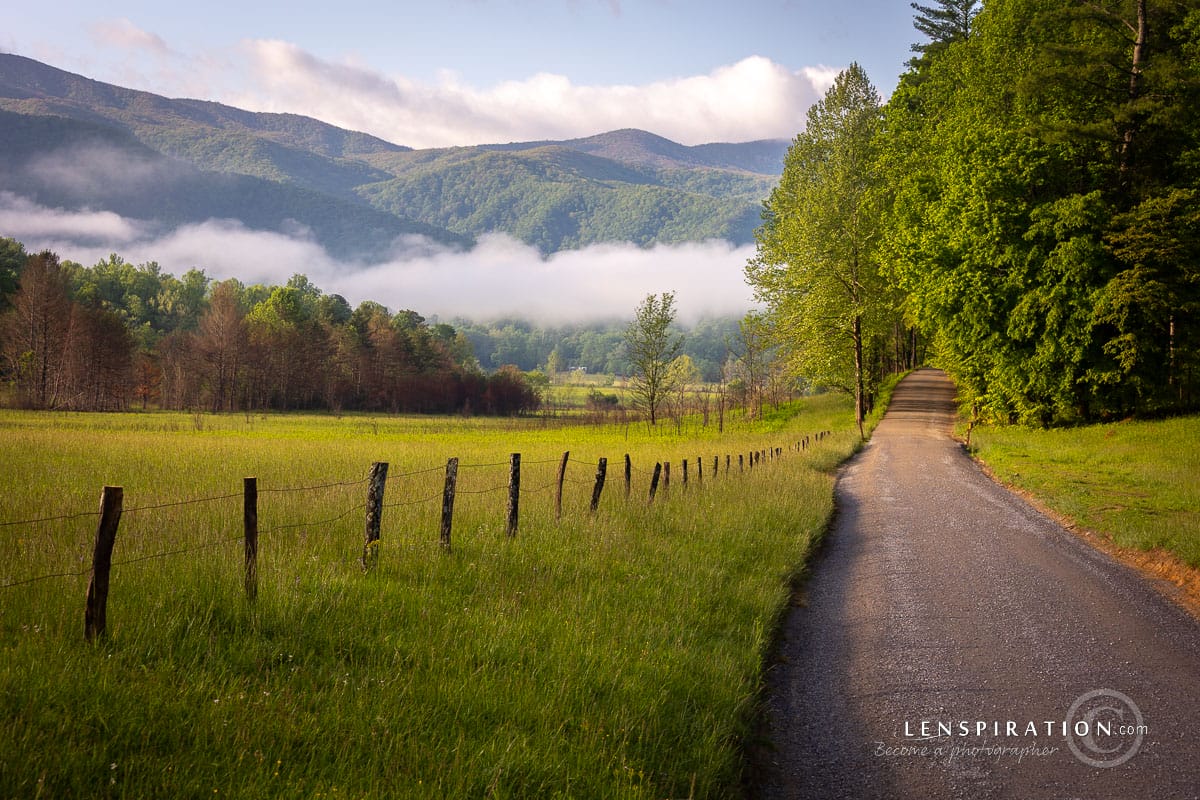
Pick pictures that are generic, bright, calm, happy, sweet, tranquil. Little birds, lighthouses, sunbursts, paths, mountainscapes, church scenes, fall colors, wide open fields, a lake with a boat.
Decide on the amount of pictures you’re going to use.
The amount of photos you choose to make into notecards will depend on how much money you’re going to put into this gift.
Notecards typically come in a box of 10 or 12.
So, are you going to print 1 photo on all 12 cards?
Or, are you going to print 12 photos, each printed on 1 card?
Or something in between?
Printing 1 photo on 12 cards would be the most cost efficient way to do things. In general, the more you print of the same thing, the less the unit price is going to be.
But that option isn’t super special. There’s uniqueness in variety.
So, you could go with the second option and print 12 unique cards. Depending on where you get them printed, though, it may not be possible to print a quantity of just 1 each. This is a problem I’ve run into in the past. So what did I do? I just up and printed 100 of each and started selling them!
And this is a fine thing to do. However, from personal experience, I’ve found can be difficult to sell notecards. They are so easy to produce, the competition is steep. And because someone can always find a cheaper way to print them than me, it’s nearly impossible to turn a profit. I wouldn’t recommend trying to sell them unless you’re ready to approach it from a business standpoint.
So this leaves us with the in-between option. It still might be hard to find a way to print only 3 or 4 of each design, but a set of 12 notecards with 3 or 4 designs provides some variety without having to spend time and money on 12 completely different designs.
But now, what size do I crop them?
This depends on where you’re printing them.
If you’re printing them yourself, on your own printer, you could make your notecards any size.
However, the typical notecard size is is 5.5×4, roughly half of an 8.5×11. Another common size is 5×7.
These are both different than the typical 4:6 ratio we are used to cropping our photos at. So just be aware that some of your photo will need to be cropped
Well, now comes the hard part.
Design.
We could talk all day about this. And one of these days maybe I’ll write more about it. But a notecard is more than just a pretty picture.
You could keep it simple and just write “Photography by me” on the back of the card. Or, you could get fancy and design text on the cover, add stuff in the middle, and put together all sorts of stuff on the back.
But whether simple or fancy, you’re going to need some sort of page layout program. Word or Google Docs come to mind first. However, they are both pretty clunky for designing anything other than 8.5x11in. So, I would recommend something like Affinity Publisher. Or if you’re pro, Adobe InDesign.
If you’d like more tips on adding text design to your photos, Lenspiration members can read an article on the topic here.
Please feel free to share any experience you might have with page layout programs in the comments below!
Where to get them printed.
Designing the notecards was the hard part. And now, printing them is the other hard part.
Of course, the easiest thing to do would be to print them yourself. Inkjet printers are intended for printing colorful things like notecards. However, most notecards are not printed on glossy paper. So I’m guessing a color toner printer could also possibly work.
I’m not sure about this, though. I grew up with inkjet printers, and that’s what I have experience with. But I just bought a color toner printer on Black Friday, and it’s being shipped to my house as I write, so I’ll have to do some experimenting with that and let you know some day.
If you don’t print them yourself, then another option would be to work with a local print shop. It’s easy to get things printed at Staples. And if you’re printing more than just a dozen cards, you could contact a local printer to see if they would do a low volume job for you.
Or, of course, you could use online printing places like Vistaprint, Moo, or GotPrint. I have experience with all of these, and they all do excellent work. You’d have to see what options they provide. They can be pricy sometimes, so do your price comparing before placing your order.
Then there are envelopes to think about.
Thankfully, finding envelopes for 5.5×4 is very easy. They slide beautifully into A2 envelopes.
Same thing with 5×7 cards. The A7 envelope is designed for them.
I usually buy the amount of envelopes I need on Ebay or Amazon. If you get your cards printed somewhere, they’ll often include envelopes with the cards. Just check the product details or ask the store if that’s something they include.
And as if all these things weren’t enough to think about already, there is one more aspect of the set you’ll need to think about.
How will the set of notecards be packaged?
Will you tie the set of 12 cards & envelopes with pretty string? Will you buy a little box to put them in?
There are lots of places where you could buy artsy packaging, and I’m sure brick and mortar places like Michael’s or Hobby Lobby would carry them too. From brown cardboard boxes, to perfectly clear plastic boxes, to expensive, white, premium boxes. I’ll let you do your Christmas shopping.
It’s a wrap!
Wow. After going through all that, gift-wrapping your notecards and putting a bow on top is going to feel like the easiest part of all!
But it’s worth it, right?
If nothing else, it will be a good learning experience . . . which is exactly what this assignment is all about!
Now It’s Your Turn!
The goal is to use our gift of photography to bless our family & friends during this Christmas season. Choose one of the three options above, and get to work creating your Christmas gift! Click here for all the details for “The Gift of Photography” photo assignment.







0 Comments
Trackbacks/Pingbacks