This was a tough photo shoot to bring you along on! Taking a video at night is quite a challenge. And that hillside! It is literally a field of thorns. But come now! Let me take you behind the scenes, and show you how that epic, pre-dawn trek unfolded!
The app PhotoPills puts the beginning of Blue Hour at when Civil Twilight begins.
And this is great. Civil Twilight is certainly the time of day when things will appear more blue in your photo because the natural light that exists is reflecting down from the atmosphere. And if you’re facing away from the direction of the sun, the sky will definitely have a very rich blue saturation.

But I like to extend the term Blue Hour to include Nautical Twilight as well. During Nautical Twilight, the sky is still blue, but points of artificial light seem to “glow” more.
For example:
1. Beginning of Nautical Twilight
Unedited

Edited

2. Beginning of Civil Twilight
Unedited

Edited

3. End of Blue Hour
Unedited

Edited

All three edited photos are fantastic photos! And I edited each one to intentionally accentuate the glowing lights in the valley. But which edited photo looks like it glows the most? To me, number 1 does, the one taken during Nautical Twilight. I think it would have been even better-looking if I had exposed it properly, using f/5.6 instead of f/11, or maybe using Bulb mode to extend the shutter speed from 30" to 60", or even 120".
This is what I was trying to say in the video. If I make Blue Hour synonymous with Civil Twilight, then I find myself missing out on the benefits of being on-location during Nautical Twilight. So, if you want “blue” looking photos, I would suggest using Nautical Twilight + Civil Twilight as your guide post, rather than just Civil Twilight.
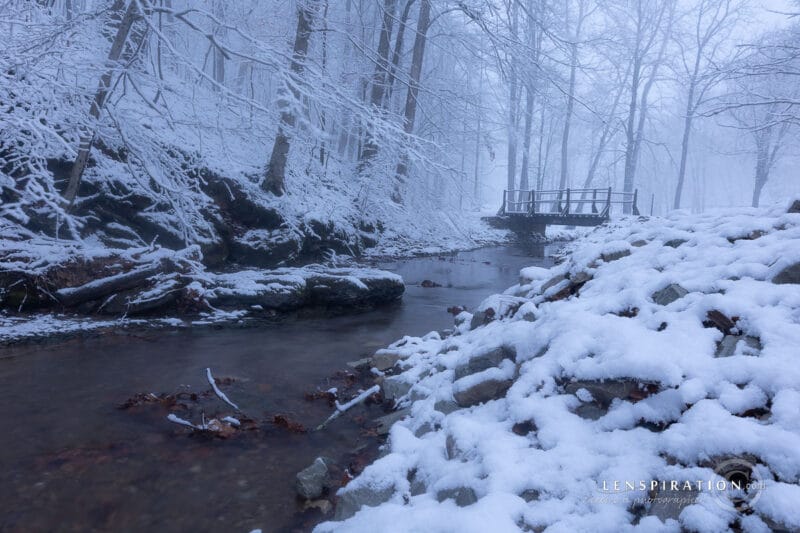
In the video, I hopped from perspective to perspective. When I arrived, I thought my first perspective was best. I liked the framing and there was still lots of empty space for the verse.

This was good, but I thought maybe the town felt too small, so I zoomed in a bit and left the entire sky empty for the verse.

I didn’t like how my eye was naturally led to the dark, non-snow-covered trees in the bottom right corner, nor how the pine trees weren’t an integral part of the scene, so I re-framed the shot to put the valley more in the right side of the frame.

I liked that better. It was definitely getting lighter by this time, but I wanted to do something more purposeful with that foreground branch at the top of the image, so I moved to another perspective.

Compositionally, I think this fills the frame best. But that’s not what they wanted for the calendar, so I moved down the hill a bit and framed the same basic shot except for without the branch at the top. Using faster shutter speeds by this time allowed more texture to show up in the sky, which I like.

And by that time, Blue Hour was over! The cozy glow in the town below had completely disappeared.

Going Deeper
Since knowing exactly what looks "peaceful" or not is so subjective, I thought it would be fun to run this public opinion survey on a large assortment of photos to get a group opinion on what photos look peaceful and which ones do not. The survey is public, so you can see everyone else's answers, and everyone else can see your answers!

After you've taken the survey, Lenspiration members can read this new Premium Training article, How to Create Photos That Have a Peaceful Feeling, to get my input on exactly how to create photos that feel peaceful!

Now It’s Your Turn
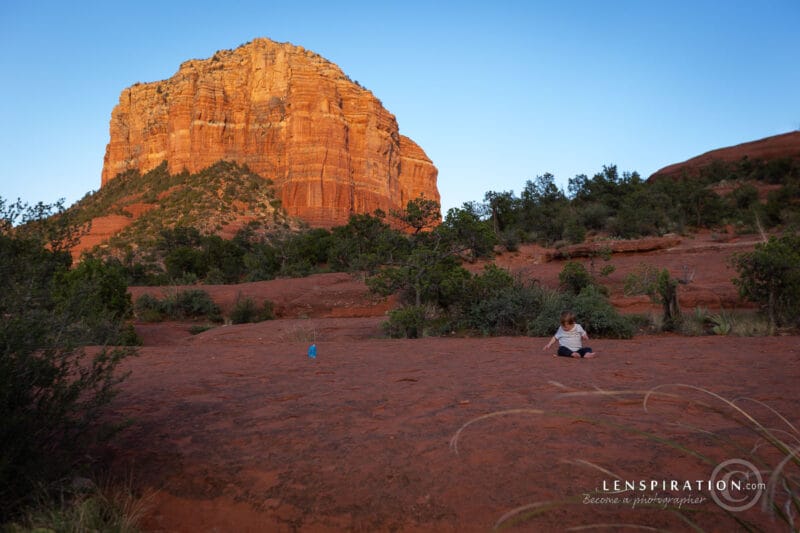
And now it's time for you to have your own little adventure! It doesn't have to be a snowy scene. It doesn't have to be during Blue Hour. But it does have to look the best you can make it look like A Peaceful Scene. And before you head off to Colorado, are you sure there isn't an amazing spot close to home?


0 Comments
Trackbacks/Pingbacks