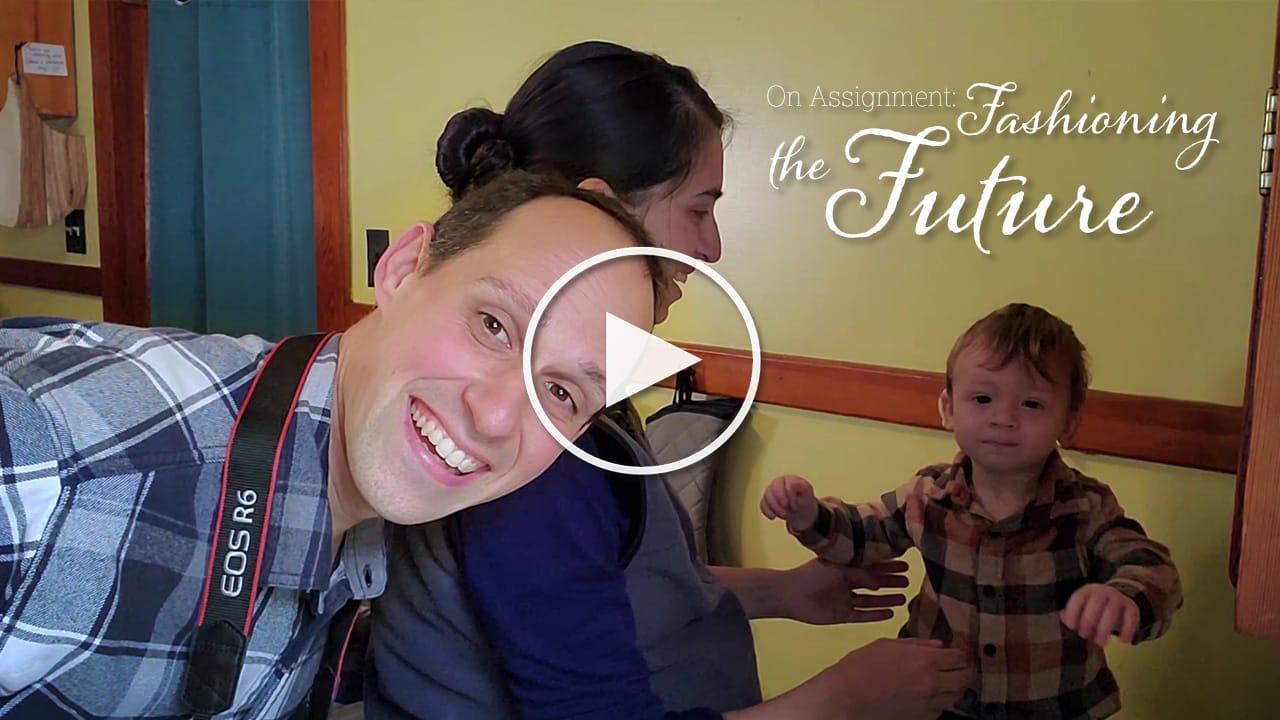
Concept photography. What is it? And how does one go about conducting a photo shoot that successfully captures the concepts one is attempting to illustrate? I wanted to make the current photo assignment, Fashioning the Future, more instructional than usual, so I sat down and thought through exactly how I go about shooting these kinds of photos. And here’s what I came up with!
1. Define exactly what you will photograph
What concept do you want to portray? In the current situation, I’m gathering all the information from the photo assignment details. Familiarize yourself with every nuance of the clients request. Then let your creativity fly! With the assets you have available to you, how can you best capture the concept the client is going for?
2. Find subjects who will pose for you
Who will model for you? Is there a sibling, parent, friend, or acquaintance from church who would be willing to let you take pictures of them? This influences when and where the photo shoot will be, plus what your setup will look like. For me, I figured I could easily accomplish the assignment with the folks in my own little family.
3. Choose a location for the photoshoot
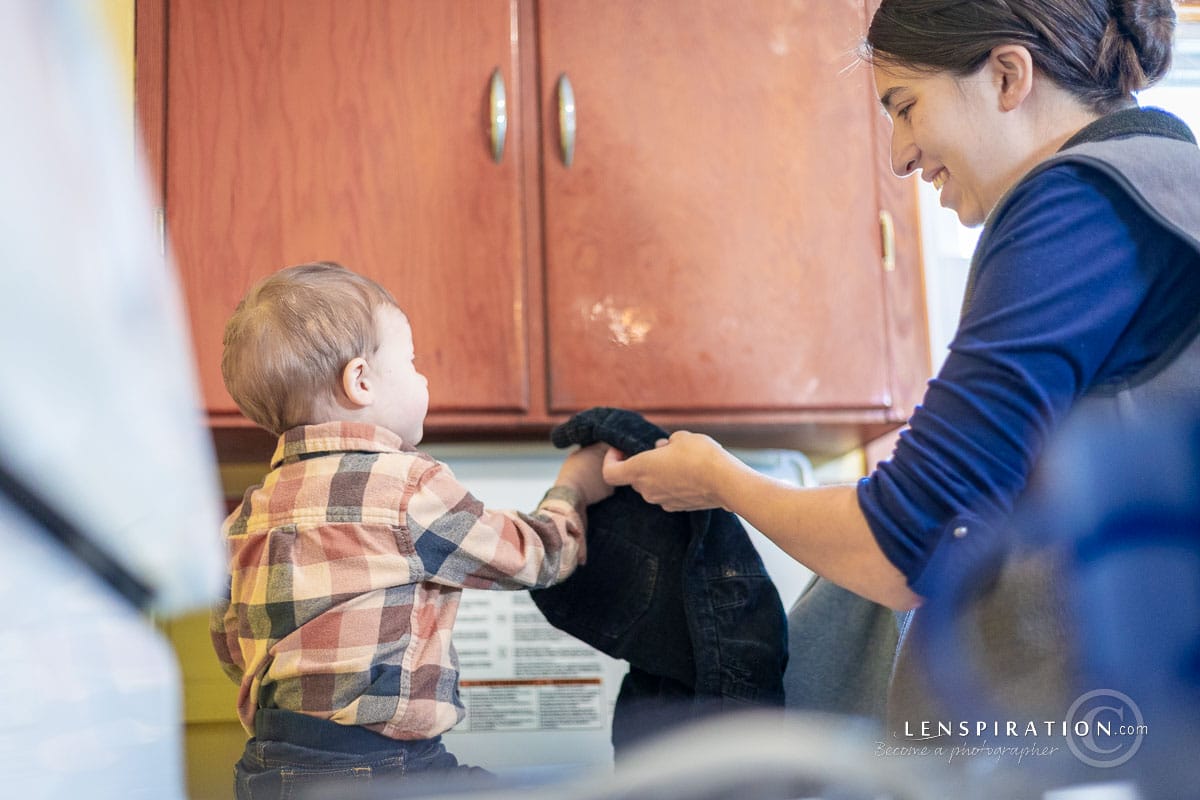
Where is the best place to conduct the photoshoot? Sometimes you’ll have many options. Choose the most photogenic location as you can! Sometimes you may be quite limited to where you can shoot. That was my situation. I couldn’t think of a single laundry room that I had access to that looked photogenic! So I decided I would just make the most of what was at my house.
4. Think through lighting
In what ways can you control how the scene is lit? The outdoors gives you a lot of flexibility. Whether it’s sunny or cloudy, you can make great photos outside fairly easily. Indoor lighting, however, requires a bit more thought. You need to take intentional control of color, angle, and quality of light. At first, I thought the indoor location I had chosen was not going to be good for lighting. The sun never shines into that corner of the kitchen. However, I discovered if I took the curtains down, for most of a sunny afternoon light reflects off my neighbor’s white house and streams right into the perfect spot!

5. Take responsibility for outfits
What will your subjects wear? Don’t let them arrive in whatever clothing they randomly decided to wear that day! Tell helpers what to wear. Make sure it’s Biblically modest, appropriate for the activity being photographed, and that colors are complementary. With the orangey cabinets in our kitchen and yellow walls, I had my subjects wear complementary blues and oranges. In retrospect, I probably wouldn’t have had Julianna wear the gray vest. I thought a neutral color would be fine, but I feel like the photos needs more warmth than the gray provides.

6. Bring the right equipment
What camera and lens combination is best for the situation? Will you need to bring anything for lighting? This is largely based on the effect you’re going for, the space you might be limited to, and what equipment you actually have to work with. I decided I wanted to use my 50mm prime lens. Even though I didn’t have much room to work with, I like how sharp it is and the background blur it could provide because it has a wider aperture than any of my other lenses.
7. Take charge of setup
You’re the one who everyone is expecting to run the show. Take charge and set up the scene however you want! Get people and props into position. For my photo shoot, I used a laundry basket in the foreground to create a bit of depth and it ended up adding some needed brightness too.
8. Get the camera set up
Before actually shooting, step away for a minute and use the knowledge you currently have of photography to get the settings on your camera set up the best you know how. What shooting mode, aperture, shutter speed, ISO, focus mode, or drive mode is going to be best for this photo shoot? If you don’t know the settings on your camera, go learn them! You can’t expect to take good pictures if you don’t know your camera.
9. Start shooting!
Once everything is ready, you can begin engaging your subjects and taking pictures! Tell your subjects what to do. Take a documentary approach. Or micro manage every movement. Or a combination of both! I usually tell people generally what to do and then take pictures, pausing them when I see something I like and want them to do over again . . . and again, and again. 🙂 I took a ton of photos, and only a precious few had good expressions, were in focus . . . and had Mordecai throwing the clothes in the right direction.

10. Composition is still king
Don’t forget to compose photos nicely as you click away! It’s a whole lot harder to compose pictures nicely when there are so many other things to think about. One way to help with this is to take photos with extra space around the edges so you’ll have some wiggle room for cropping later in post processing.
11. Don’t forget to review your photos as you go
This may not even need to be mentioned in the modern age of digital cameras, but sometimes I get so caught up in the fun and challenge of shooting that I forget to stop and think about the photos that I’ve taken! Look for ways to make them better. What do I like about the shots I have? What do I not like? How can I change things to make things look better?
12. Repeat
After shooting and reviewing one pose, don’t feel bad about reshooting the exact same pose until it’s perfect. Of course, keep the needs and limits of your subjects in mind (like, a 1 year old), but you usually don’t have to worry about adults minding doing the same thing over and over for you. They’re there to help. On the other side of the coin, don’t be such a perfectionist that you wear out your subject and they walk away thinking in the back of their mind that they never want to help you again.
13. Change things up!
Before moving on to a completely different setup somewhere else, see what else you can do with the current setup. Change your angle, or swap out models, or reposition the lighting, or shoot with a different lens. While people and props are availale, get a few different variations of the same setup!
Now it’s your turn!
We do a lot of concept photography here at Lenspiration for the monthly photo assignments. But now that we’ve dissected a concept shoot together, I hope you now have a better idea of how to conduct one yourself. Go get the details for “Fashioning the Future”, and I’ll look forward to seeing the photos from your concept photography photo shoot!


Great breakdown of concept photography — really helpful to see the step-by-step process from idea to execution! Loved the emphasis on lighting and composition. Quick question: do you have suggestions for shooting strong concepts with limited gear or minimal props?
Well, as you can see in my video, I had minimal props. Just whatever was in the kitchen. It’s only logical, too, that the photographer, not the camera, is the secret behind good pictures. So regardless of what equipment you’re using, if you know how to use it to it’s max, and know basic and advanced principles in photography (especially in the areas of composition and lighting), then you really don’t have to rely on expensive equipment, lighting, and props. In the hands of an amateur, expensive things will appear amateurish. Push yourself to photograph both what you love and what you find difficult using what you have, and soon you will find your limits, the bottlenecks, and you can work those one at a time. It’s a lifelong journey!