After last month’s relatively difficult assignment, I was excited to get out and photograph something a little more up my alley. But just because this assignment is easier doesn’t mean it doesn’t have its own special twist. The fun part about this assignment is the “seasonal” aspect! Wherever you happen to be in the world, whatever makes this time of year unique from all the other seasons in your corner of the globe, capture it with a path!
I happened to be in Connecticut when I photographed this assignment. So I most definitely had to wait for snow. What is a winter photo in New England without snow?! Problem was, there was literally no snow for weeks in the forecast! But then, something unexpected happened . . .

Did On-Camera Flash Work?
First off, I thought it would be fun to see if my little experiment with the on-camera flash worked. I almost never use on-camera flash because it generally illuminates subjects with harsh, flat light. However, this situation was a little different. I was hoping that a little flash would highlight snowflakes close to the lens, making some of the falling snow more visible in the photo and increasing the overall feeling of it being a wintery day.
Well, here is a comparison using two very similar photos. The first one is without flash, the second is with the flash.


Sadly, it doesn’t look like there is any benefit with shooting with the flash. Looking closer, here’s a comparison zoomed in to 100%:

There doesn’t appear to be more snowflakes in one photo over another. The only main things I can see differently are hazy spots in the photo with the flash like the one circled. They seem to appear only in the flash photos, so my guess is that flash actually did more harm than good.
Of course, my situation is only one of many scenarios one might find themselves in during a winter shoot, but from what I can tell from my photos, I think I would conclude that it would be better not to use flash when photographing falling snow. I would have to experiment with it more under different scenarios.
Do My Photos Look “Scenic”?
Because we are photographing for Enjoying the Journey, we want our photos to look as scenic as possible. By looking at their 2025 calendar, you can see the kind of photos they like to use: vast and expansive. And the best way to get these kind of photos is with a wide angle lens!
It was quite disturbing to realize, then, on the day that it decided to snow, that I didn’t have my typical landscape-photography setup with me. Julianna had taken the Sienna out for the afternoon, and my full frame camera, 16-35mm lens, and tripod were all in it.
All that I had left with me was a 17-55mm lens on a APSC-sensor camera. This meant that my widest field of view was the equivalent of about 27mm. The difference between 16mm and 27mm might not seem like much, but when you’re dealing with the wide-angle side of focal length, it can be the difference between “nice” and “epic”.
But I was going to do the best I could regardless! Plus, I knew that most students who would be photographing this assignment would not have a full frame camera, thus it would make the demonstration video more applicable if I was challenged with the same handicap.
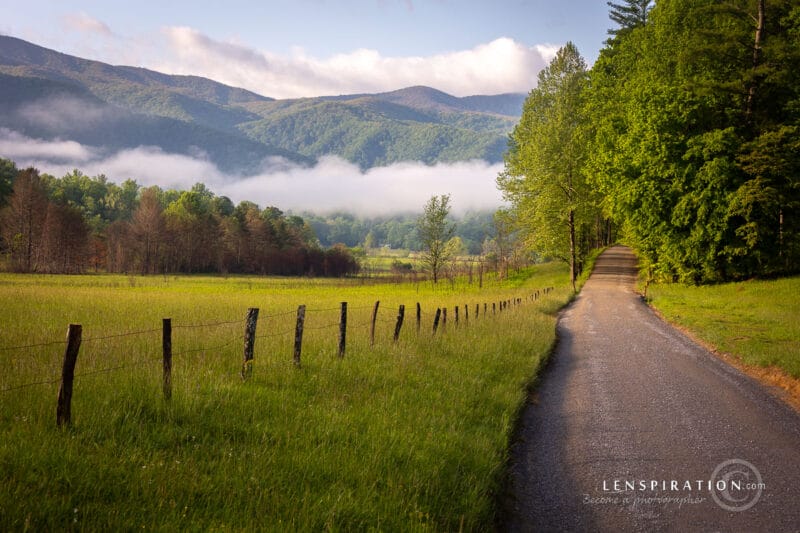
The first shots I took (above) didn’t feel very “expansive” to me, so I went up onto the bridge to photograph from there.

This perspective looks even less expansive!
So I went down to the path to photograph there.
The sunlight through the trees added a nice touch!

But the photo seemed to lack a clear subject, so I moved on to the second bridge.
Using Editing to Make Things Look More “Seasonal”
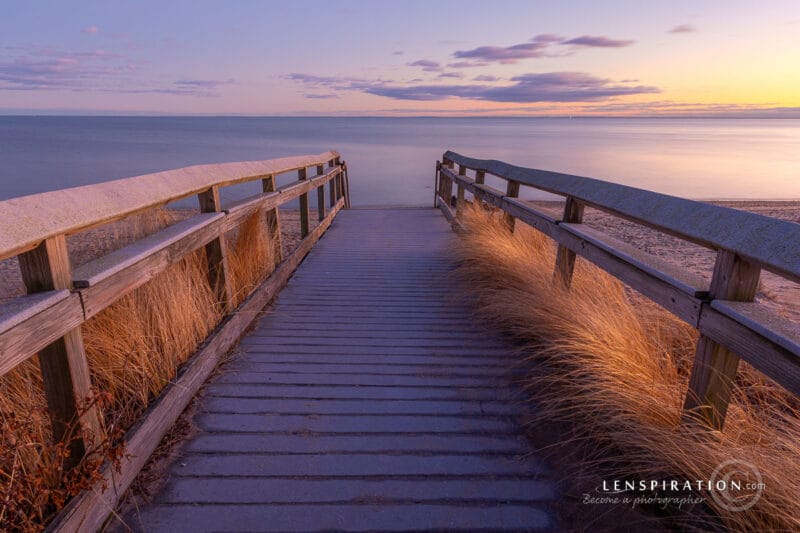
The second bridge provided my best “scenic path” photos!
Even though most of the snow was gone by this time, the smaller bridge, the unpaved but distinctly-dark path leading up to the bridge, and the symmetry of the wooden rail leading up the bridge all work together to make this photo have a more scenic appearance.

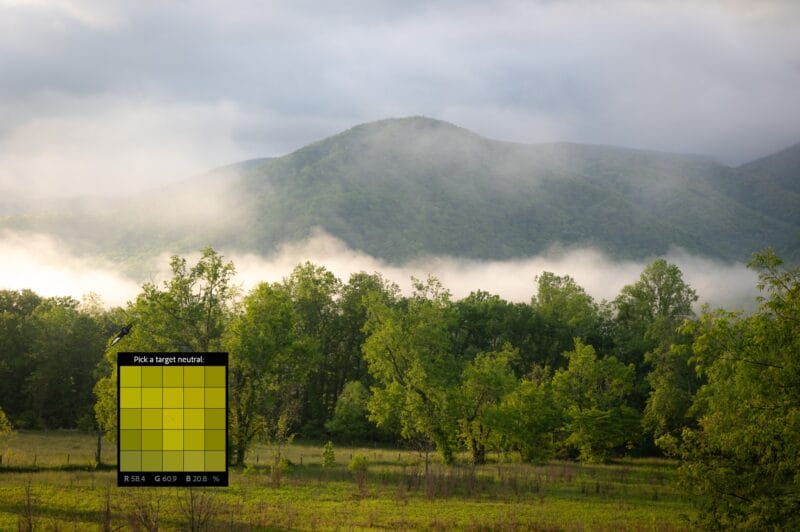
And as I was editing these photos in preparation for this blog post, I discovered that there were things I could do to make the photo look more appropriately “seasonal”. Desaturating the photo made things look more cold and wintery. And also for some reason, adding a little more “Clarity” also helped.
Here’s a comparison. I like the natural, woodsy colors of the first one, but the second one looks more seasonal for our purposes.


Now It’s Your Turn to Shoot This Assignment!
I’ve had a few other opportunities to photograph seasonal paths since that unexpected snowfall in Connecticut. But I’ll have to share those excursions in future posts. 🙂 For now, it’s your turn to go out on your own little excursions to find as epic a path as you can that illustrates as best as you can the season that you’re in! But first, don’t forget to gather all the details for this assignment, Scenic Seasonal Paths. Can’t wait to see your photos!


0 Comments
Trackbacks/Pingbacks