
The photo assignment we’re shooting this month for HEAV may feel intimidating for some at first. However it isn’t necessarily as difficult as it may seem. Read through the Happy Homeschoolers assignment details slowly and receptively, take note of which aspects would be easy for you to do, and then start fulfilling it one step at a time!
The hardest step in shooting this photo assignment for me was finding a family to photograph. I am not part of a typical homeschool family anymore with children ranging from 9-18. All my siblings are grown, and Mordecai isn’t exactly old enough yet to fill in as a homeschooler. 🙂 I did have one family lined up to photograph, but unfortunately, they had to cancel because of sickness. There were a few other options I could have pursued, but each one was ruled out one by one for various reasons.
Thankfully, a friend from church happened to mention the work day he was having at his cabin with a family, so I was able to pursue that option and the Lord worked it out in the end.
With a family lined up, the next step was to actually go and photograph them! Equipped with ideas from the photo assignment details, plus a few ideas of my own, I ended up taking photos for both basic and advanced levels of the assignment. Below is a video of how the photoshoot unfolded. I hope it helps you see how you can photograph it yourself.
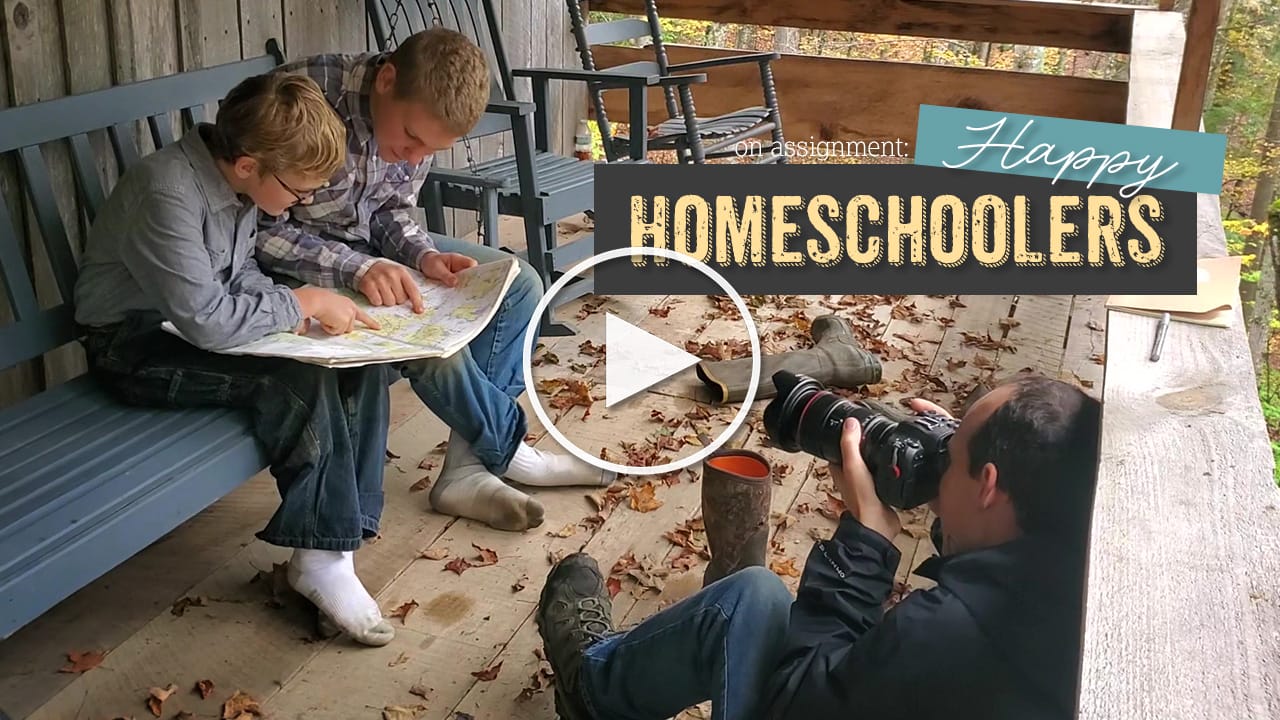
Watching the video of me shooting a photo assignment is always a little embarrassing. 🙂 Are you hard on yourself, too? Always noticing all the little mistakes that no one else would ever notice? But it’s good for me, to critique myself. Below are some of the things I especially noticed I’m glad I did, and then some things I wish I had done differently.
Things I’m Grateful I Did in This Photoshoot:
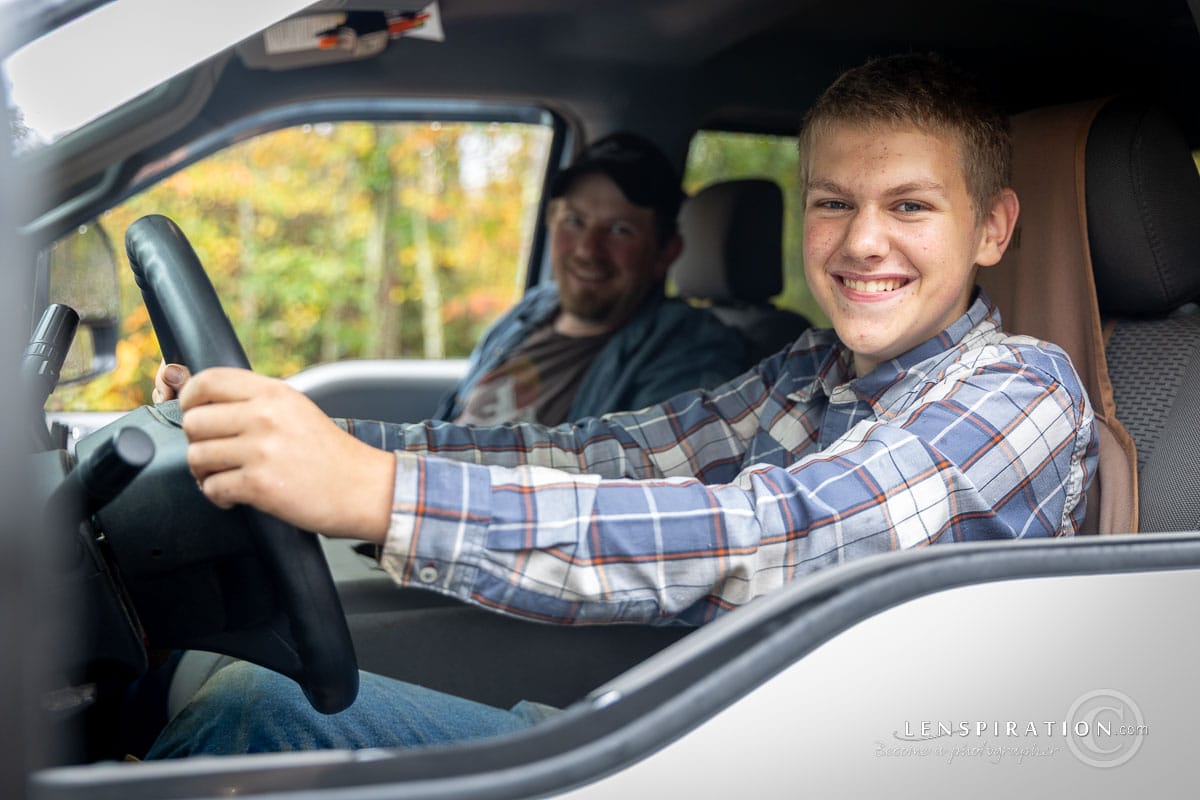
For one thing, I’m glad I did as many set ups as I did! It took longer, but now I have more great photos! I think in total I did about 8 different set ups, the last one being drivers ed with Dad.
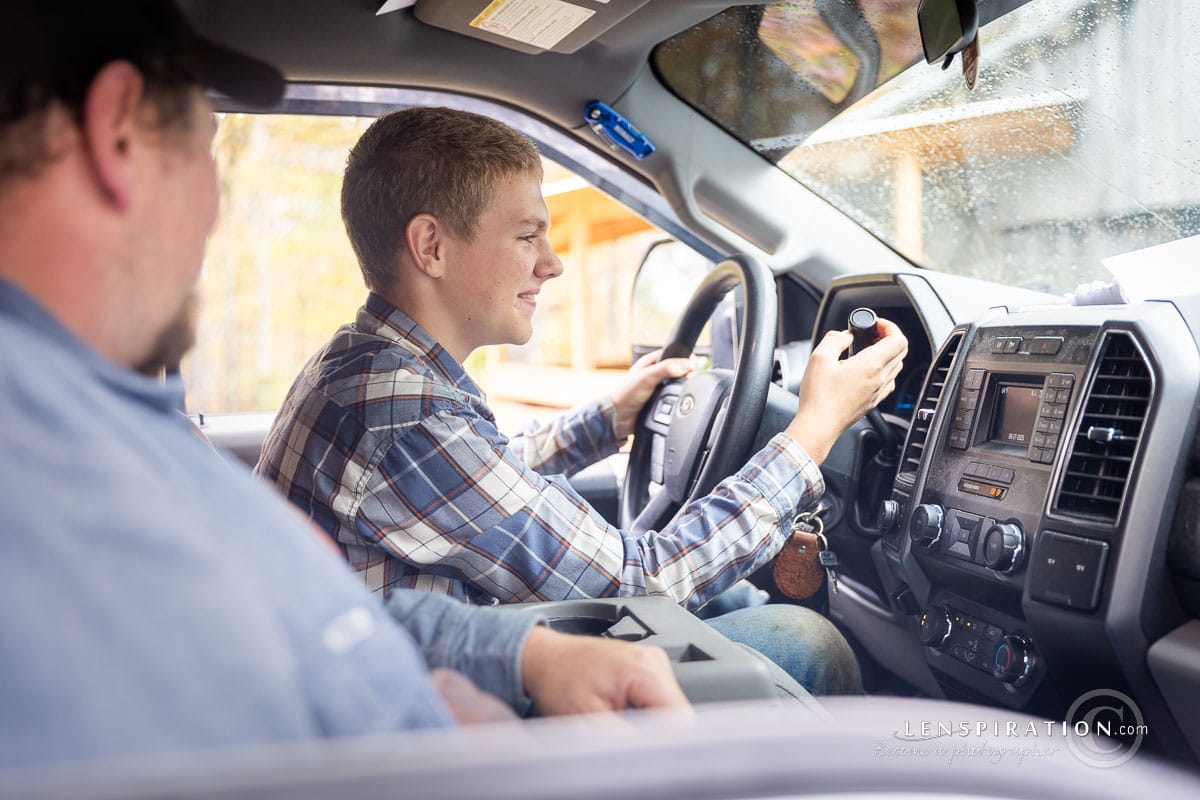
Another thing I noticed when sorting through my photos after the photoshoot, was that I liked the photos that had distant backgrounds better than backgrounds that were close. There’s just more blur, creating more separation and the impression of depth.
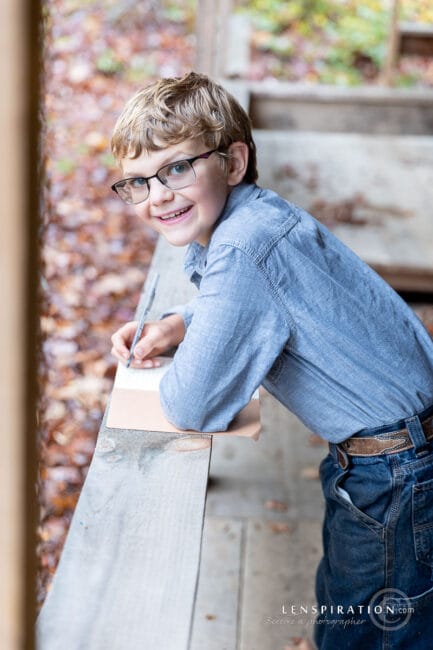
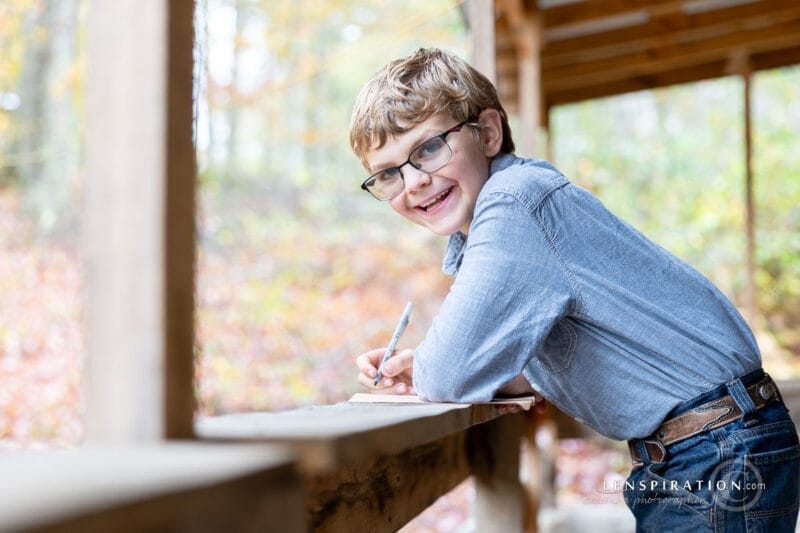
It’s crazy how tilted I find my original photos to be sometimes! The above photo (on the right) is nice and straight, right? We’ll that’s only because I straightened it in post. Here’s the real, un-straightened version:
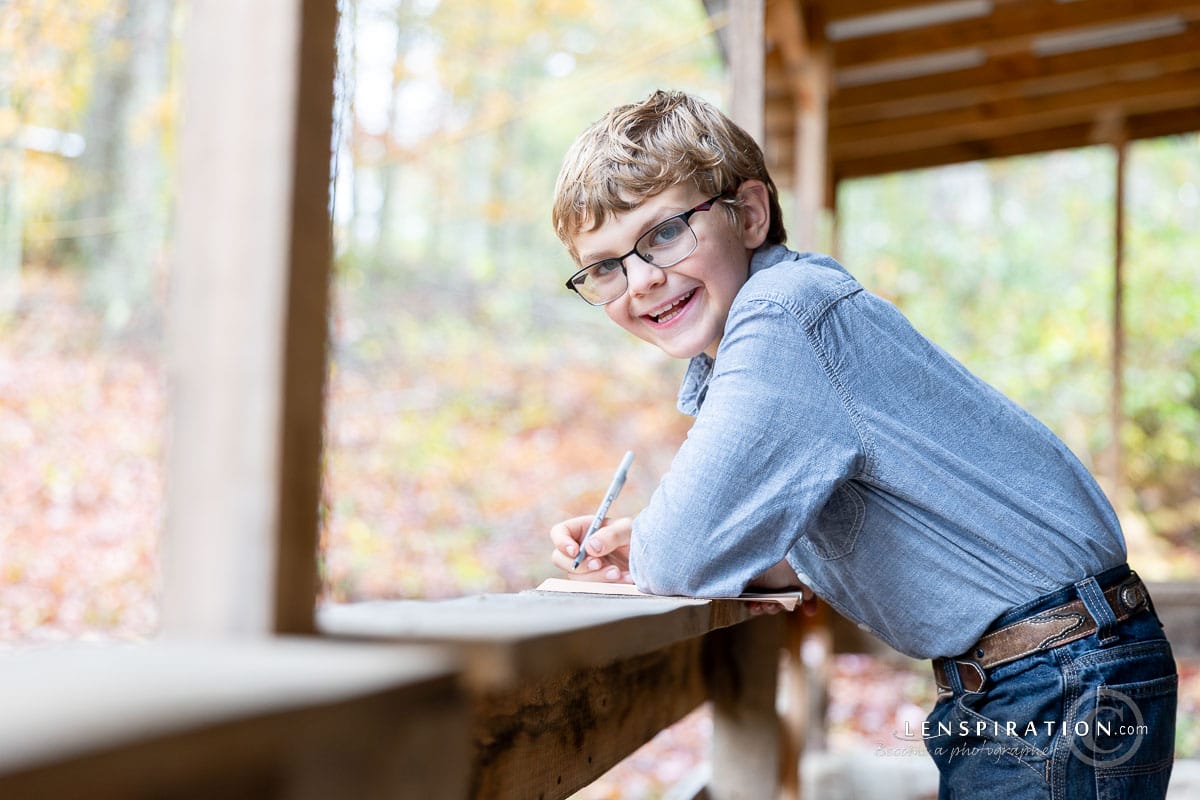
This is where it’s usually a good idea to shoot photos with a little extra room around the edges. Not a lot. Just enough to account for mistakes. And I didn’t do this by zooming out. If I zoomed out, the background would be just a little less blurry. Instead, I kept the same focal length, zoomed in as far as my lens would go, and just stepped back a little to frame the subject with more space around them. I’m still loosing a bit of blur because subject distance has increased, but I don’t think as much.
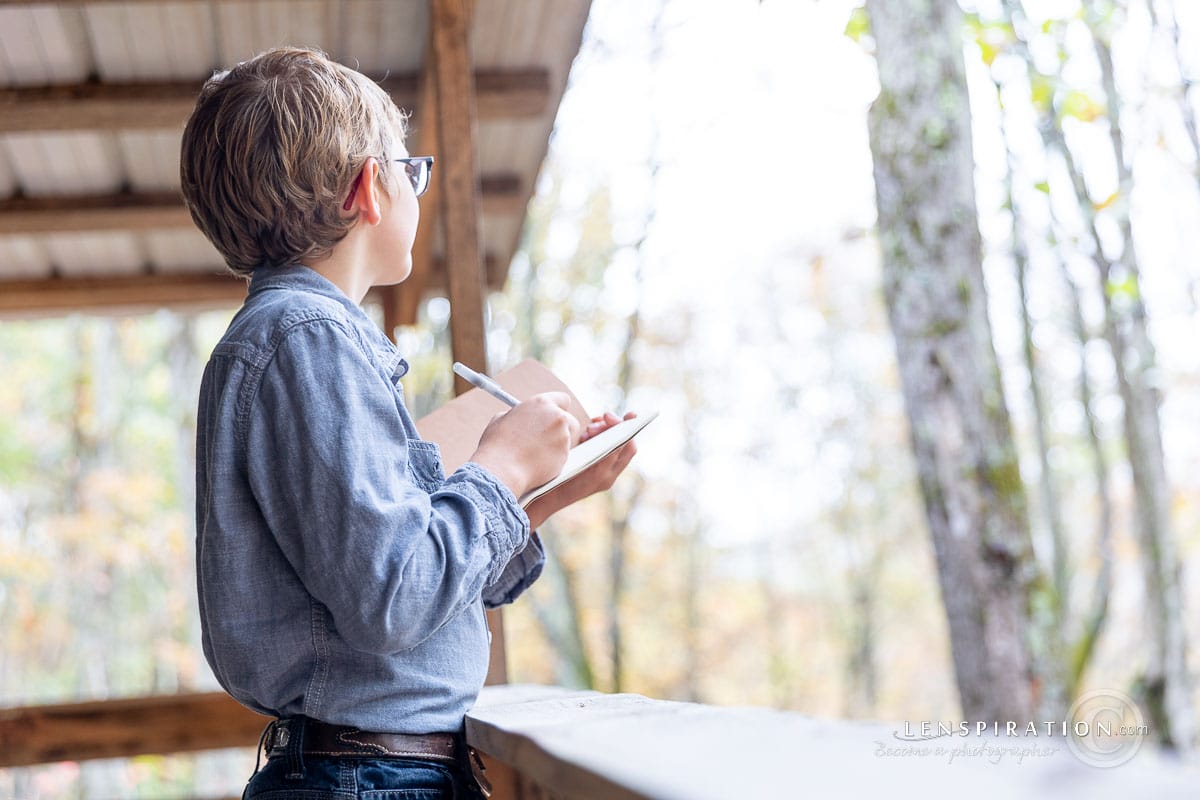
However, leaving something un-straightened can actually be ok sometimes. It depends if it contributes to the story of the photo. In the following example, the fact that it’s not straight, in my opinion, matches the “wonder-full” feeling of the photo. It’s less grounded. More “floating” like, inviting the viewer to travel out into the open space where the boys attention is presently engaged.
Another thing. Asking a subject to smile at the camera is good; but depending on the model, if you ask them to laugh, you can get even better expressions sometimes. It doesn’t always work, but for this assignment, when we really want to emphasize “happy”, I think it worked really well:
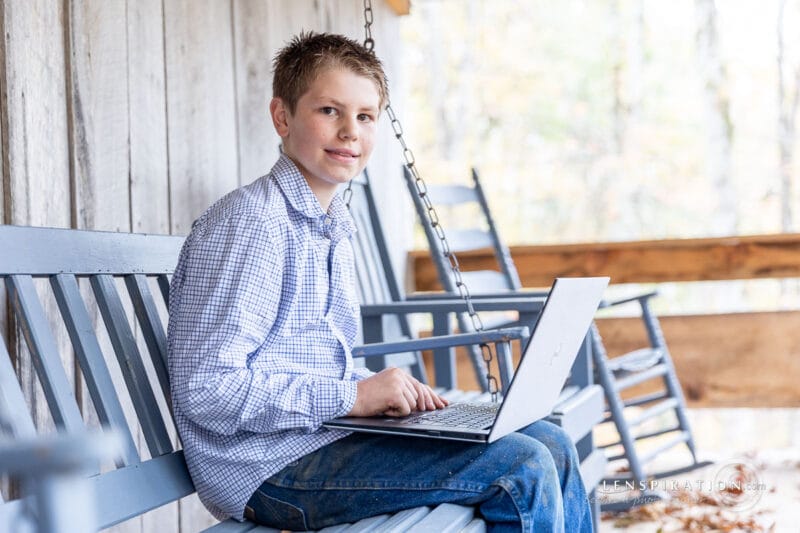
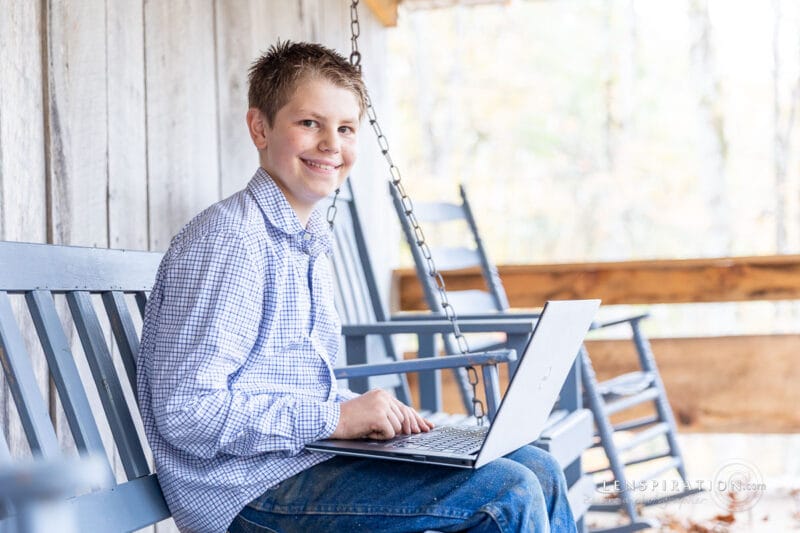
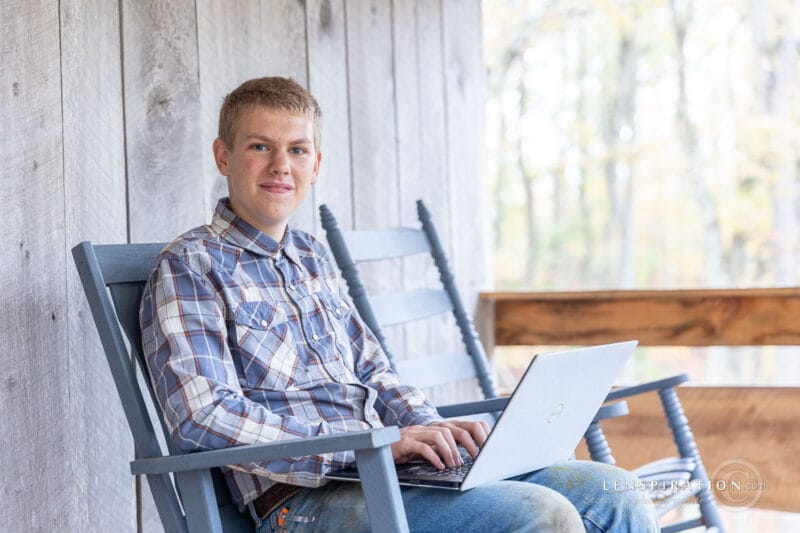
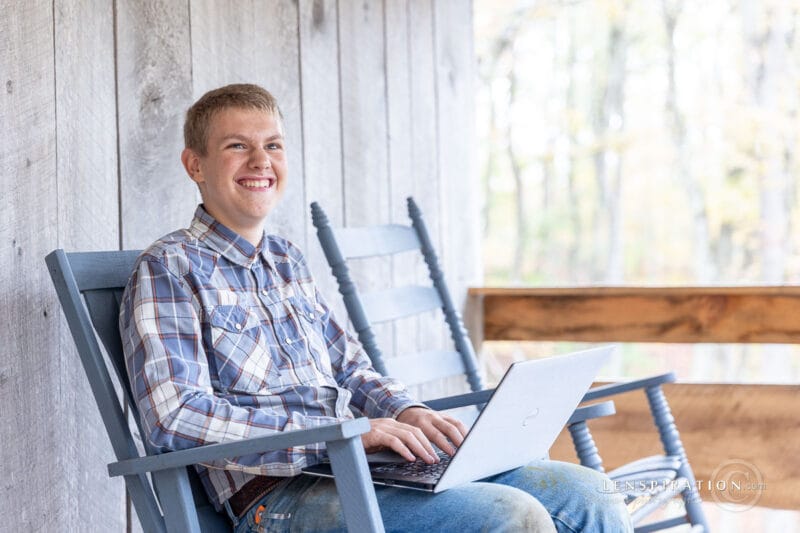
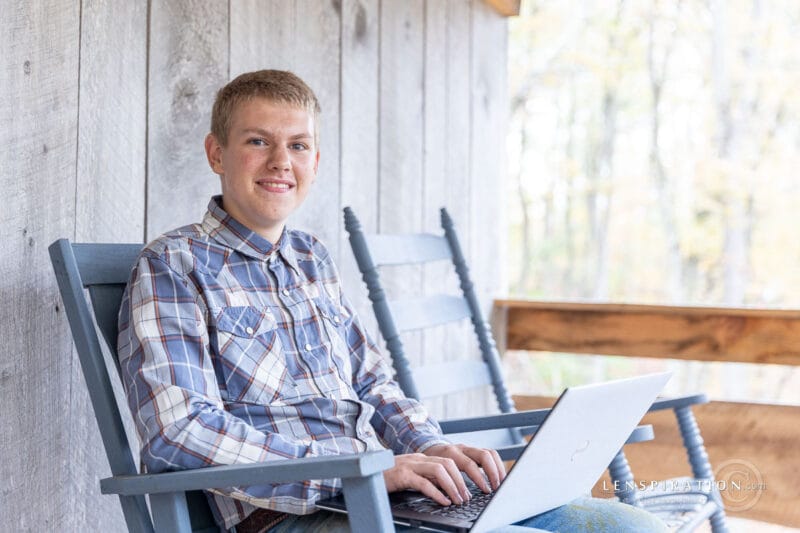
I didn’t do this for every set up, but I’m really glad for the time I took on some set ups to get multiple variations on the same pose. It just gives some variety to choose from later. I’ll like some poses better than others.
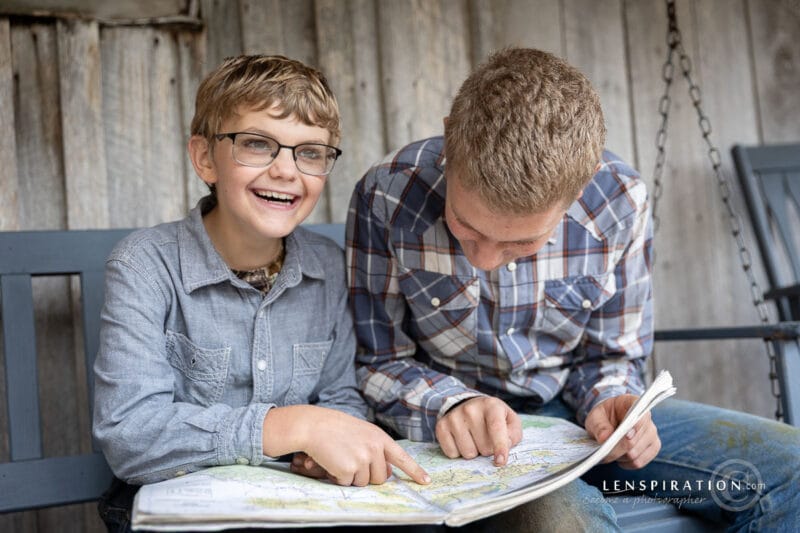
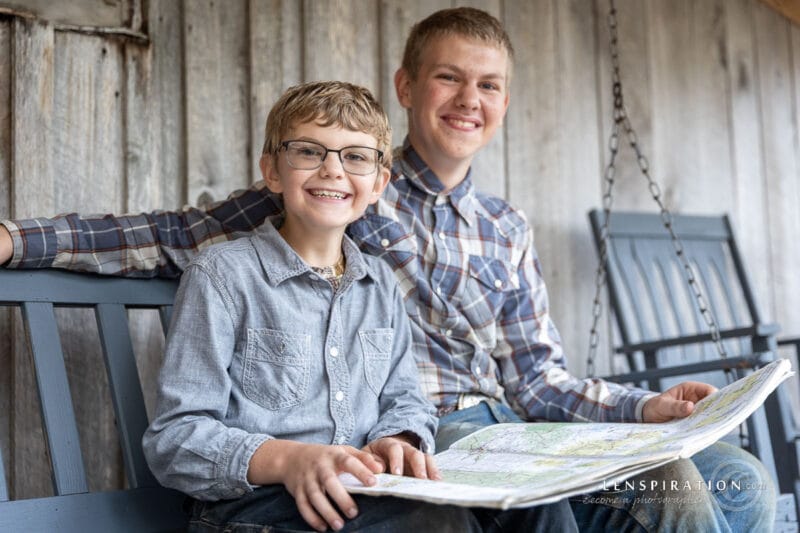
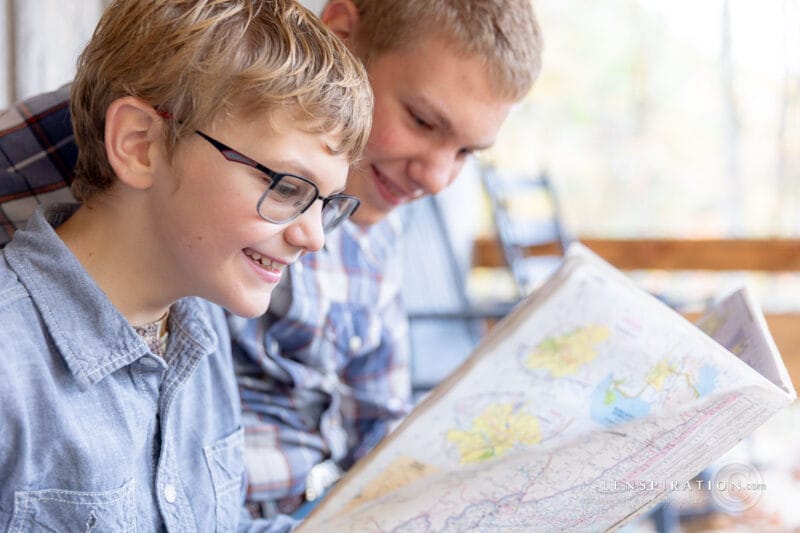
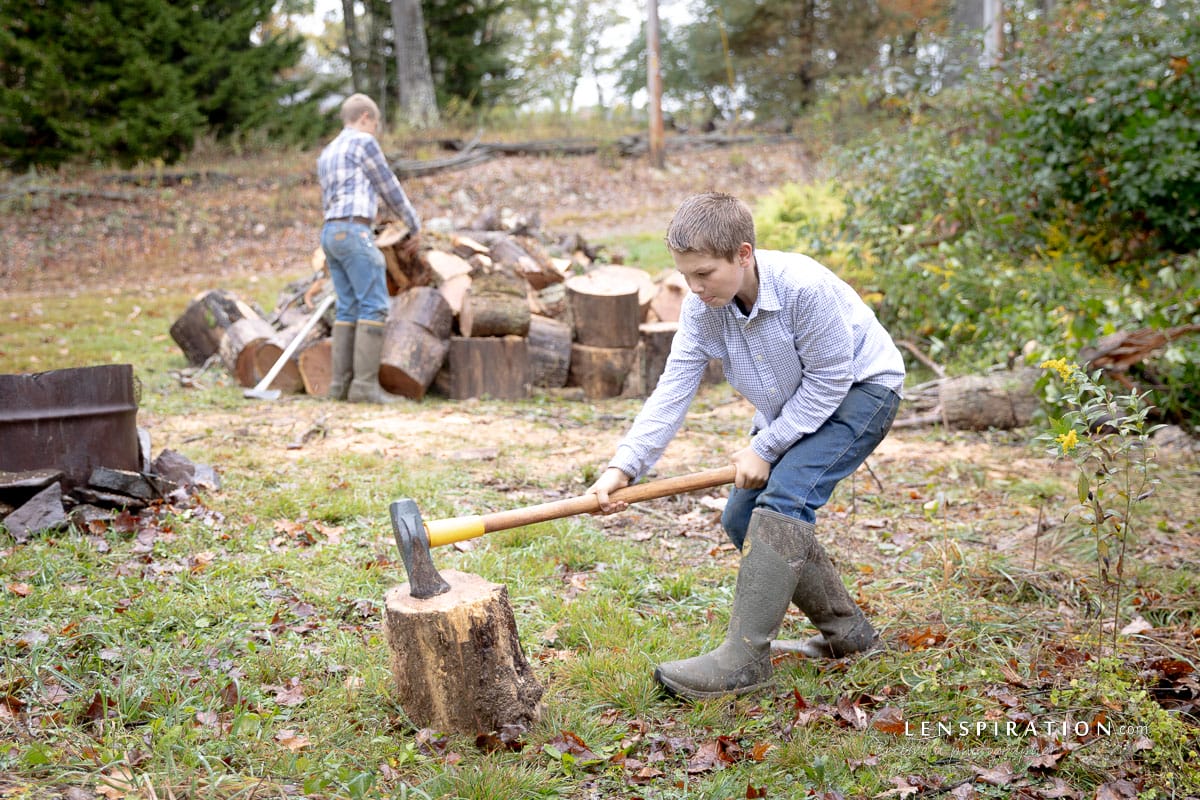
When I had the boys splitting wood, below is was what I was seeing initially. It was impossible to get good background blur because the subject was so large I couldn’t zoom in much. The background is very distracting. So, I’m glad I kept working with the set up!
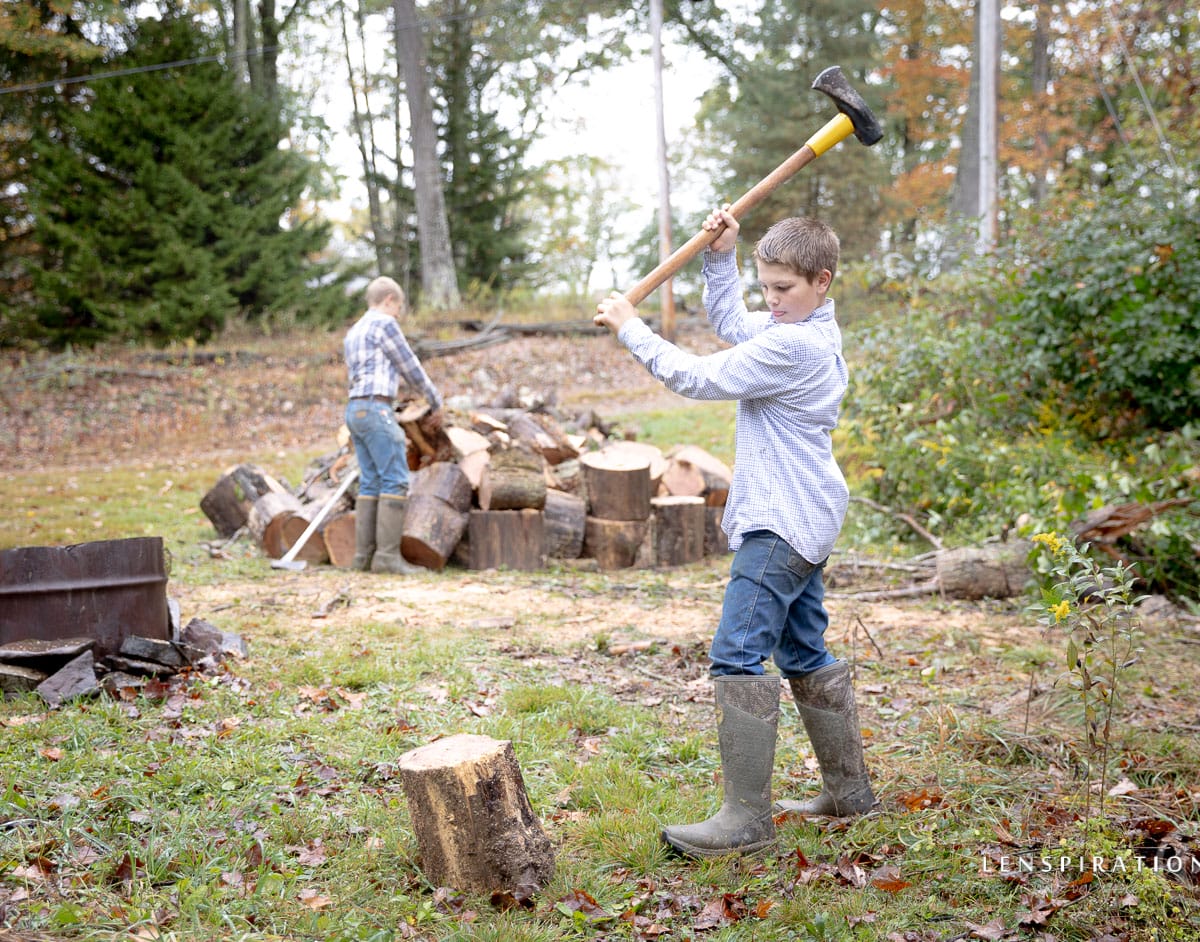
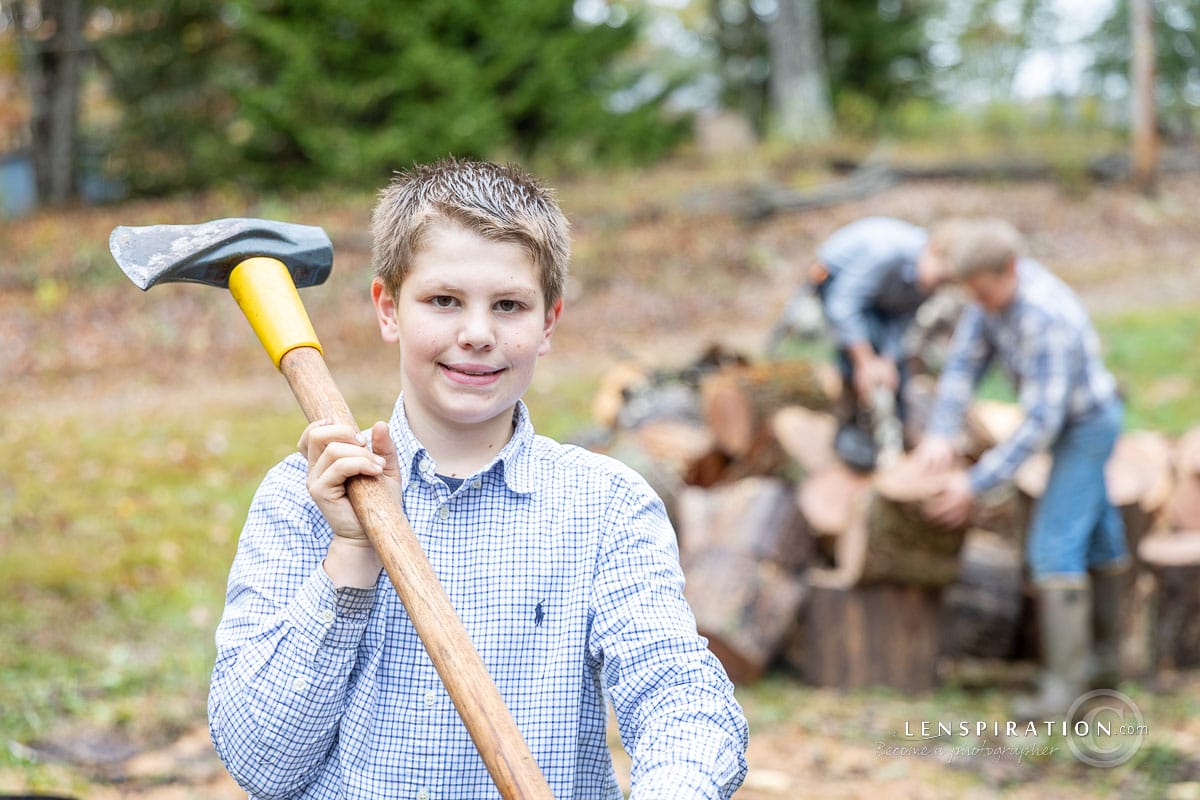
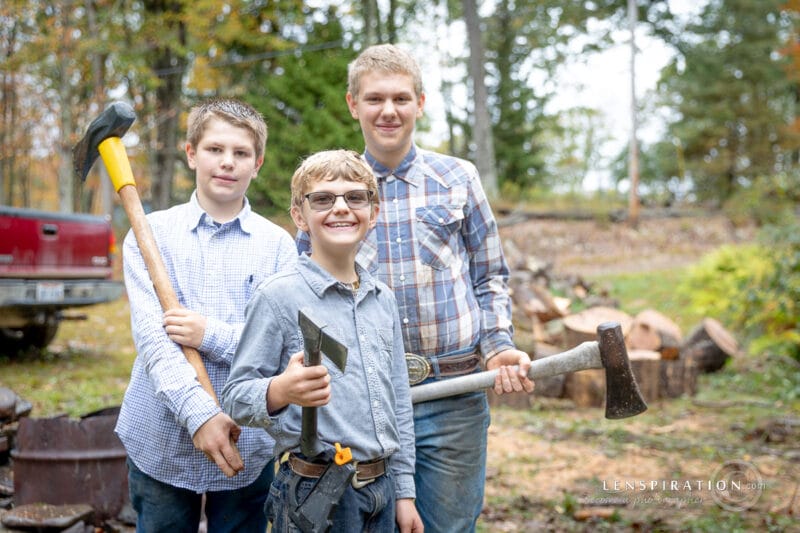
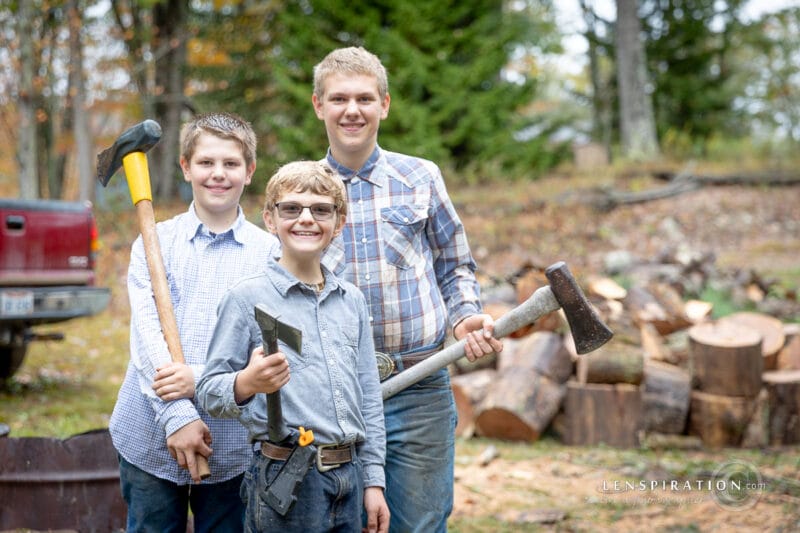
The concept of splitting wood together is a good one, but it’s hard to have someone actually splitting wood in a smiley way. It’s just not natural. This is why I brought them all together with their tools. Initially the boys head was against the sky. So I moved over slightly so his head would be against the green tree.
Things I Wish I Had Done Differently:
First off, for this photo assignment, I wish I had slowed down and made sure to use each boy’s name more, instead of saying “you and you” so much! You can’t notice it in the video too much because we cropped out a lot of the times I did that. 🙂
Secondly, I wish I had had Brett unbutton the top button of his shirt at the beginning. It’s too formal-looking for these casual set ups around the “farm”. Thankfully, it did get unbuttoned at some point before the final set up.
Another thing. Dirt on knees is pretty noticeable. 🙂
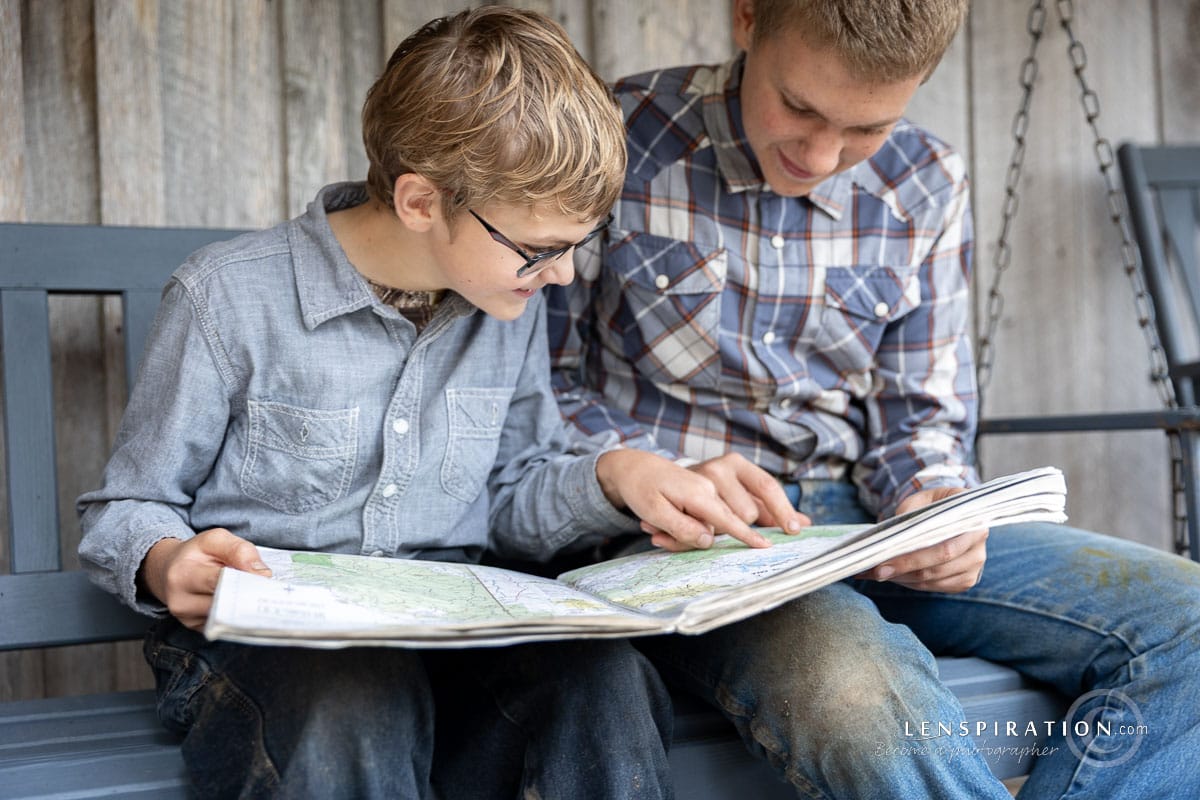
They had been working in the rain beforehand so I’m surprised it isn’t as noticeable in other photos. I guess I’ll just have to do some Photoshop work there. 😀
When viewing the photos in post, I was really disappointed at one sequence of 14 photos where the subject’s eye was not in focus. The frame of his glasses were in focus, but not the eye.
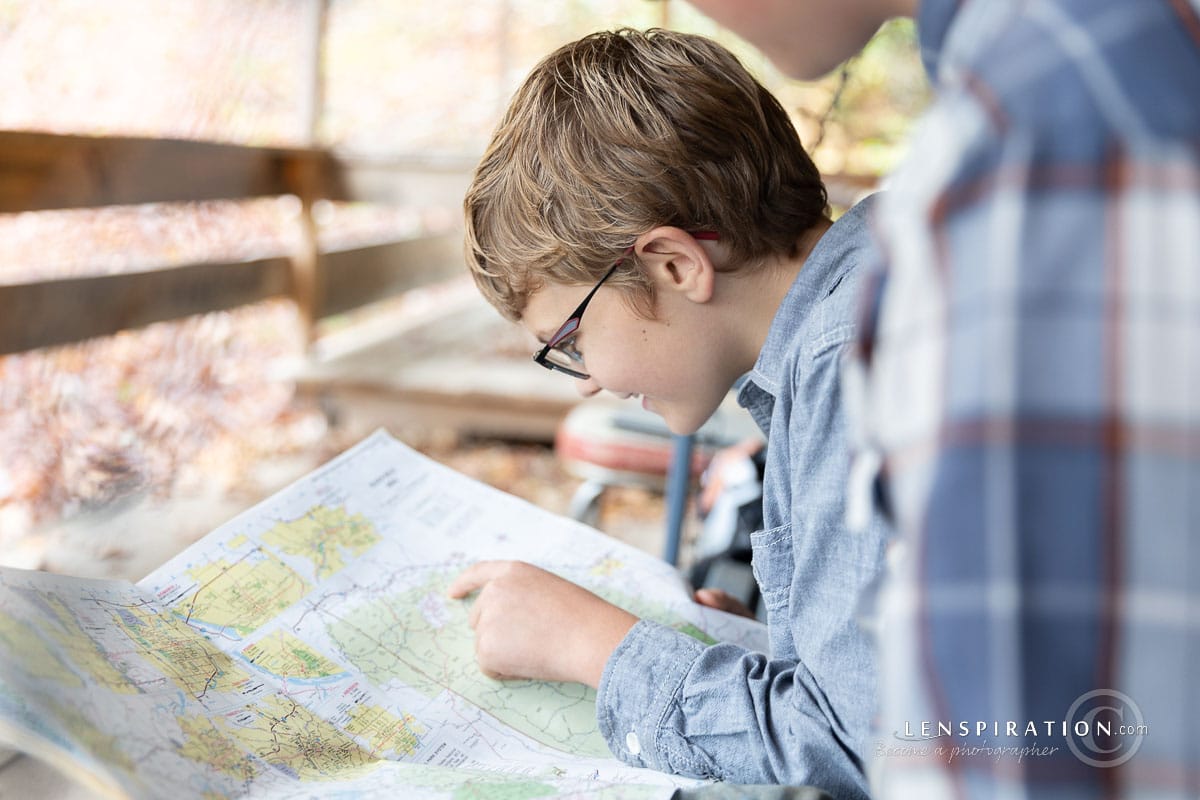
Thankfully, a 15th photo did have his eye in focus. It’s the only photo in all the photos I took from that angle that was actually focused on his eye. Whew. That was close!
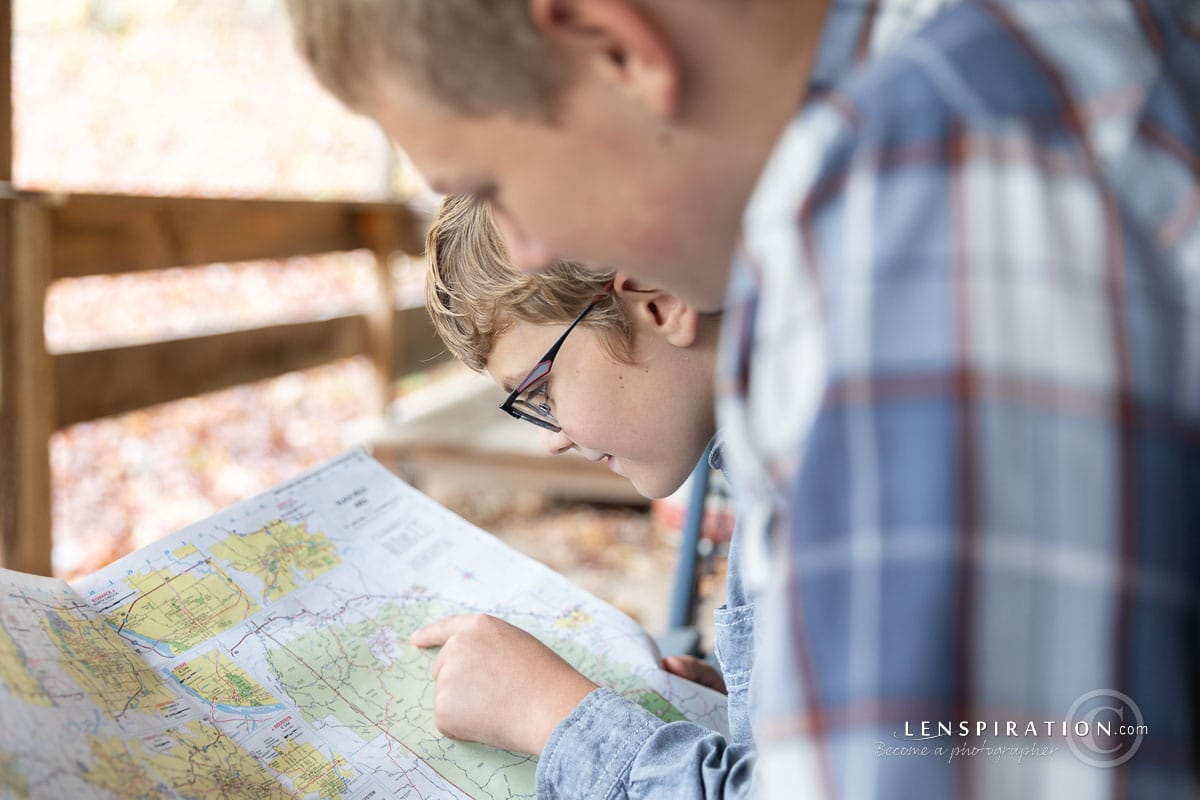
Now It’s Your Turn to Shoot Happy Homeschoolers!
Ok, you’ve seen me shoot it. And you’ve seen my photos as inspiration too. Now it’s your turn to go out and shoot this photo assignment! Don’t try to duplicate what I did exactly. Just browse through some of the ideas in the details, grab a few friends or siblings, and go have fun coming up with photos that showcase what happy homeschoolers do!







0 Comments