
Ever wondered what it might take to put together one of your own calendars? It still surprises me, every year, how much time it actually takes to assemble one! Here are the 10 steps it takes me to pull mine together every year:
1. Choose 12 photos
This is what you helped me do earlier this month with the 2024 calendar survey!
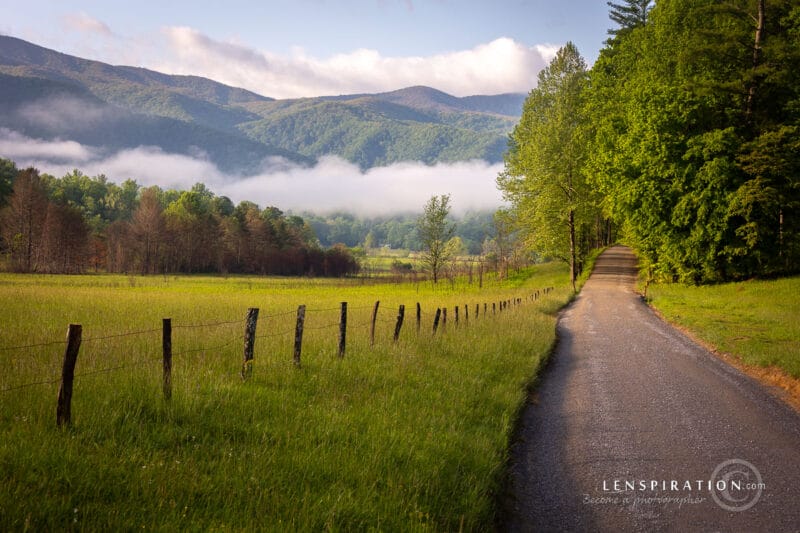
The 12 photos for 2024 are now chosen. I’ve found that calendar photos need to have two qualities, simplicity and intricacy, at the same time. They need to be simple in the sense that there’s one main subject. A barn. A covered bridge. A mountain peak. There needs to be a clear main subject. Something that draws the attention of the viewer right off. A secondary, complementary, subject is also helpful, allowing the eye to have a secondary place to hang out after it has feasted on the main subject for a while. This keeps the eye from wandering out of the frame.
But the photo also needs to be intricate. There needs to be little details that are not perceived at first. Swirly clouds in the sky. A plaque giving the date of when the covered bridge was renovated. A person off in the distance somewhere. A little something that surprises the viewer even after they’ve been looking at it a couple weeks. They will be looking at it for a month, after all.

2. Edit the photos
Once photos are chosen, they need to be edited to perfection. I’ll usually take three passes over a photo that I want to prepare for high-profile printing.
The 1st pass is to get it how I want it to look overall. Bringing it into the correct exposure. Getting the shadows and highlights into proper contrast. Playing with different methods of saturation. Leveling the horizon. Making local adjustments.
The 2nd pass comes a day or two later. What impression do I have when I look at the photo now? Is it bright enough? Is it too saturated? Did I remember to edit out the dust bunnies in the sky? I’m looking for every little detail I can think of.
The 3rd pass often comes right on the heels of the 2nd pass. It’s mainly to sharpen and remove noise.

3. Prepare the photos for print
I’ll then export the photos as DNG (usually) and save them in an “Original” folder next to my calendar document. I’ll open each one in Photoshop and use a pre-made Action to convert them to CMYK, make appropriate color corrections, set correct black and white point values, sharpen them one more time, and save as a a JPG in a different folder called “Links”. These JPG files are the actual photos that I’ll link to in my calendar document.

4. Create a (or update a previous year’s) calendar document
You’d be surprised at how much time it takes to update a previous year calendar’s dates and holidays to the following year. But I have processes in place now that really help streamline this step.

5. Create cutouts
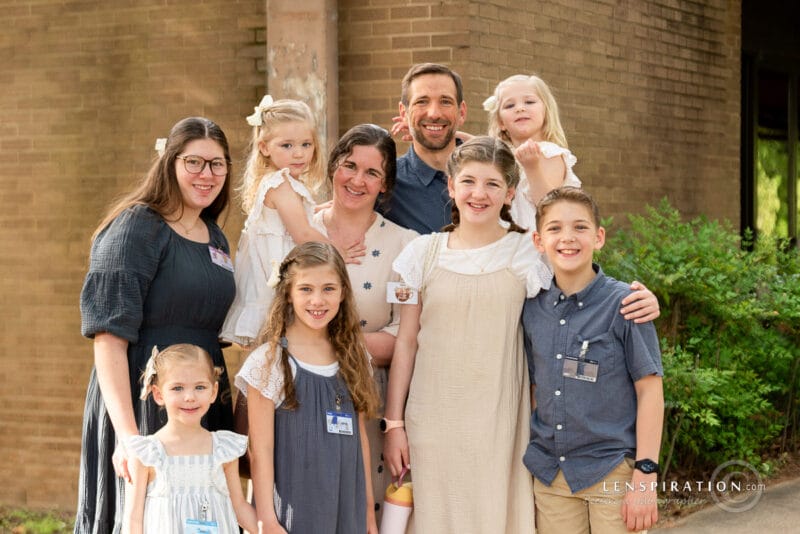
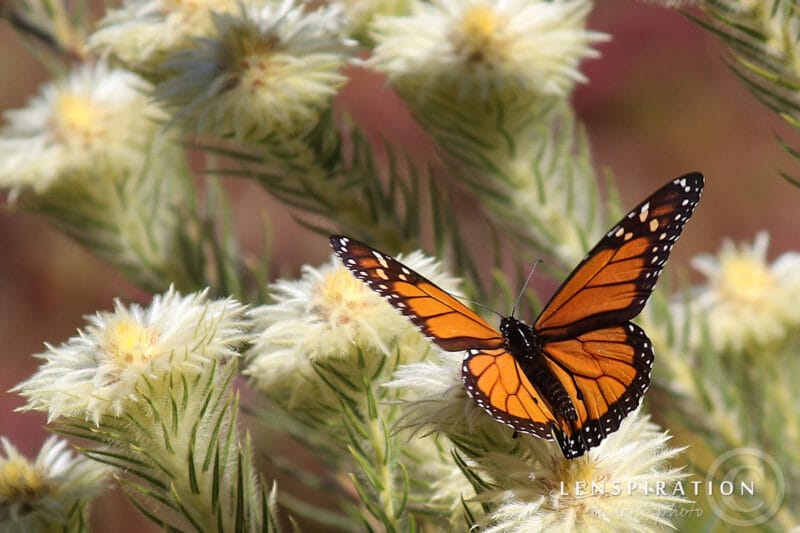
I like to make my calendars unique by addling little cutout images to each page. I was inspired to do this when I saw it done in a non-fine-art calendar one time. But those were just small cutouts from the main photo of the month. I felt that surely, if I was the one who photographed the main photo, I would have complementary photos that would provide more variety and a unique touch. So, I’ll try to find a different angle on the main subject to use as a cutout. And sometimes, it works out to actually us an animal as a cutout! I remember when I was a kid, I would pick up giant books about animals simply to peruse through them and look at all the pictures of the animals. So, I think having animal cutouts makes the calendar more fun for little people to look at too.

6. Determine the theme
I enjoy giving my calendars a “hymn” theme each year. Adding the lyrics of an old hymn on each month helps add depth to the calendar. More than just pretty pictures. Remember, folks are going to be looking at each page it for an entire month. What plethora of things can I give them to walk away with every time they look at it? And hymns have a powerful way of sticking in your head and bringing encouragement or proper perspective at just the perfect time! I’ll try to pick hymns that have a common thread, too. This past year, I enjoyed meditating on Isaiah 43:19, “Behold, I will do a new thing; now it shall spring forth; shall ye not know it? I will even make a way in the wilderness, and rivers in the desert.” So, I made the theme “The Lord Makes A Way” and then chose hymns that had to do with God doing just that in our lives in a variety of ways.

7. Design the cover
With a theme in mind, and 12 photos to choose from, I can now design a cover! I will usually pick the most popular photo from the survey. But sometimes I’ll pick my favorite of the 12, or maybe the most calendar-cover looking, or the one that illustrates the theme best. When designing, I’m almost never content with my first draft, so I often find myself designing a couple different ideas and then choosing the one I like best.

8. Add Scripture, photo titles, and photo locations
Having Scripture on each month is probably the most important aspect of the calendar. This is the only way it can be a witnessing tool. I’ll usually choose Scriptures after the 12 photos, theme, and 12 hymns have been chosen so I can find verses that relate and help tie the whole thing together.
Coming up with titles for the 12 photos can be done at any time, but I almost always wait to the end because it’s so hard to do! It’s not uncommon to spend an hour trying to come up with fitting titles.
Thankfully, plugging in the location of each photo is a whole lot easier. All the photos in my Lightroom catalog are tagged with the exact location where I photographed them.

9. Write stories
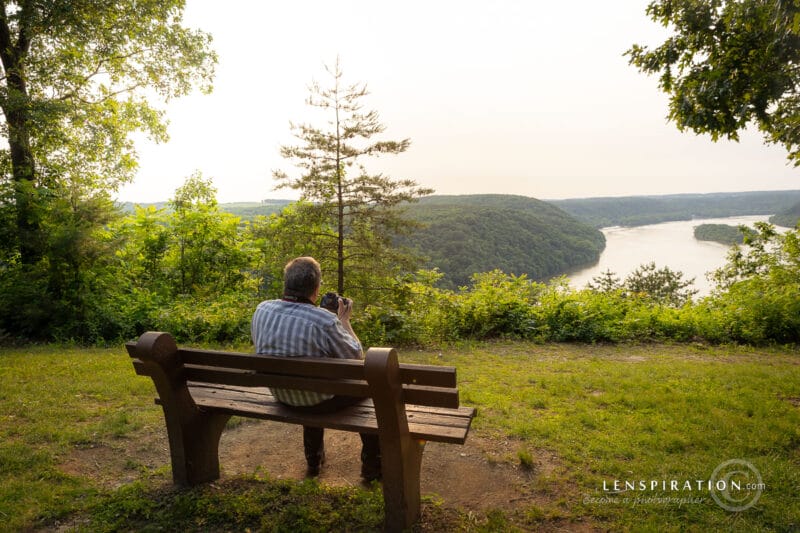
To way to make the calendar a truly singular, one-of-a-kind product is to add little stories about how the photos were taken at the end of the calendar. There’s always a story behind every photo! Why did I take it? Why was I there? Who was I with? What made me decide to photograph it? What fun memories do I have surrounding that photo? Again, helping the viewer get to know the photographer a little better and sharing a bit about the life of a photographer gives more depth to the enjoyment of the calendar.

10. Launch it to the public!
Finally, the calendar is all assembled and ready to share with the world!
I’ll export the entire thing and use a whole folder of templates to create a giant stash of web-sized featured images to stick on a special page on the website. Which is now available for public viewing! Find out which 12 photographs I decided to use and enjoy your experience of the 2024 Lenspiration “The Lord Makes A Way” fine-art wall calendar here on the Lenspiration website!


0 Comments